Christmas come early

Progress over the past week has been a little slower than I had hoped. I've still managed to get stuff done but work has been massively busy so by the time I get home I've not felt up to much. But whilst my actual progress might not have been as good as I would have liked the ordered parts have been arriving at a steady rate, its almost like Christmas has come early
In my last post you may recall that the crank arrived from DPR along with the custom flywheel. This week the rods arrived from AA-performance which means that one I manage to source some bearings and cut the case for the larger barrels I can commence with some trial assembly.
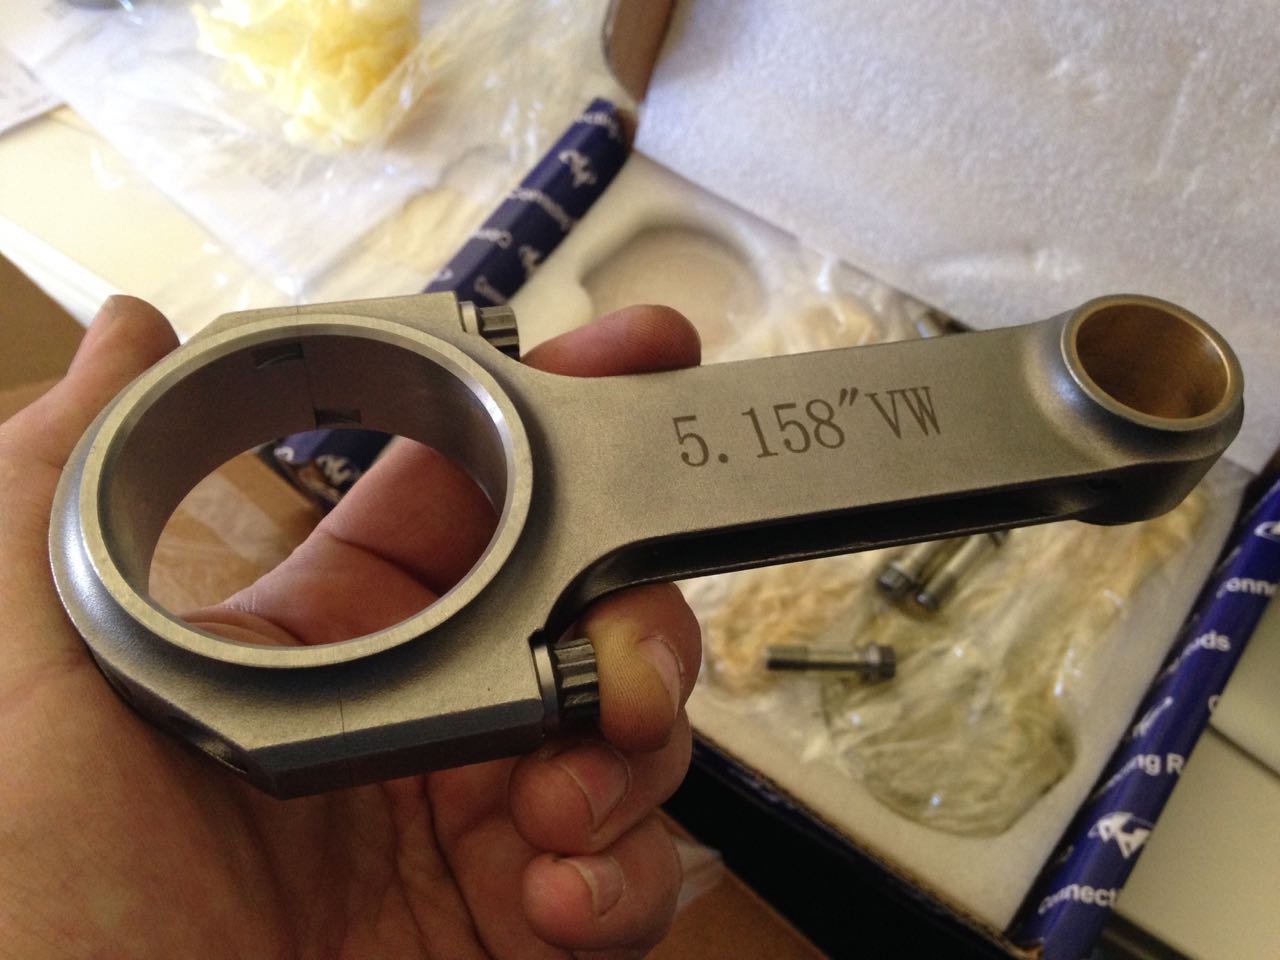
The rods are fiarly heavy at some 530 odd grams and whilst there's plenty of material that could be removed to make them lighter I will only balance them at this stage. Ultimately the engine will not be massively high revving so the weight reduction would be of limited benefit. The rods were only available in one length which is a little dissapointing as I would have much preferred a longer rod to reduce piston velocity. But again I can live with this as the engine will not be high revving. Wrist pin is 20mm to match the 40HP big bore pistons and whilst I will hopefully end up with some custom forged J&Es there is every chance that funds / time may dictate that I have to run with them so retaining the 20mm pin diameter seemed to be the sensible option.
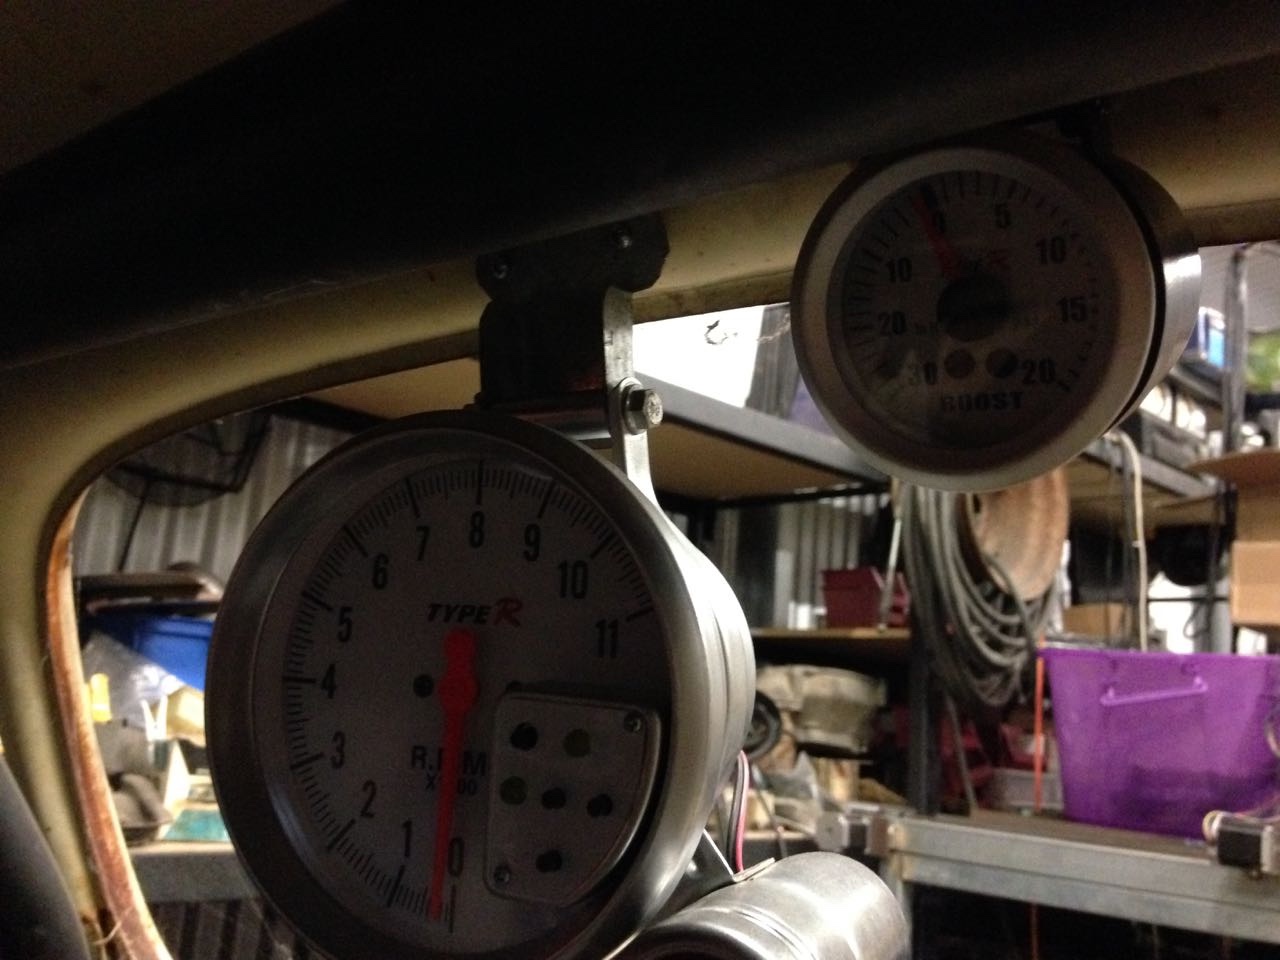
Along with the new rods I received some guage pods, these will allow me to mount the remaining oil temp, oil pressure and the all important boost guage up next to the tacho. I still need to fabricate some kind of bracket to mount these but that is a minor detail and can wait until I need a quick fill in task to carry out.
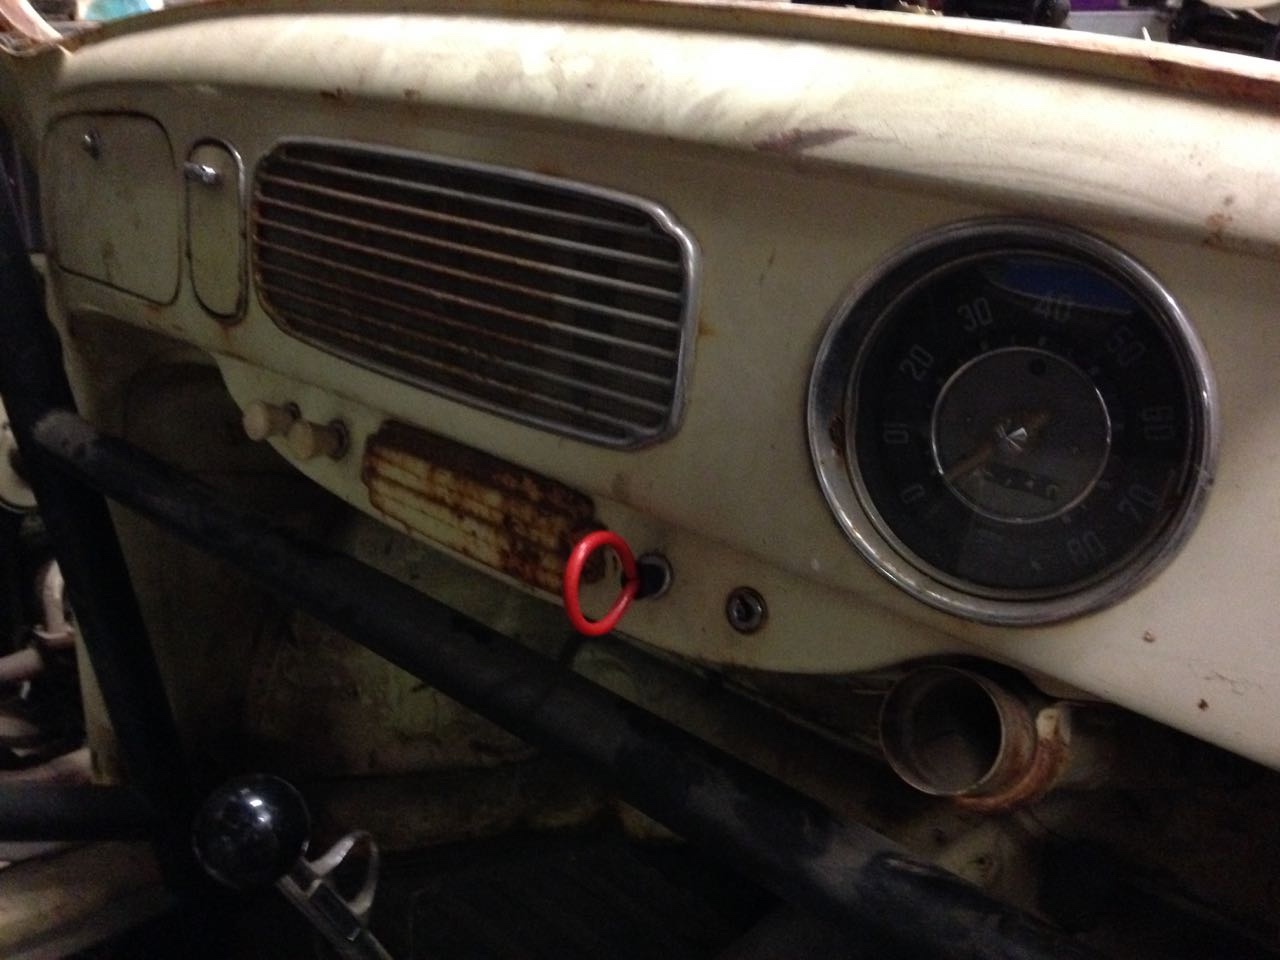
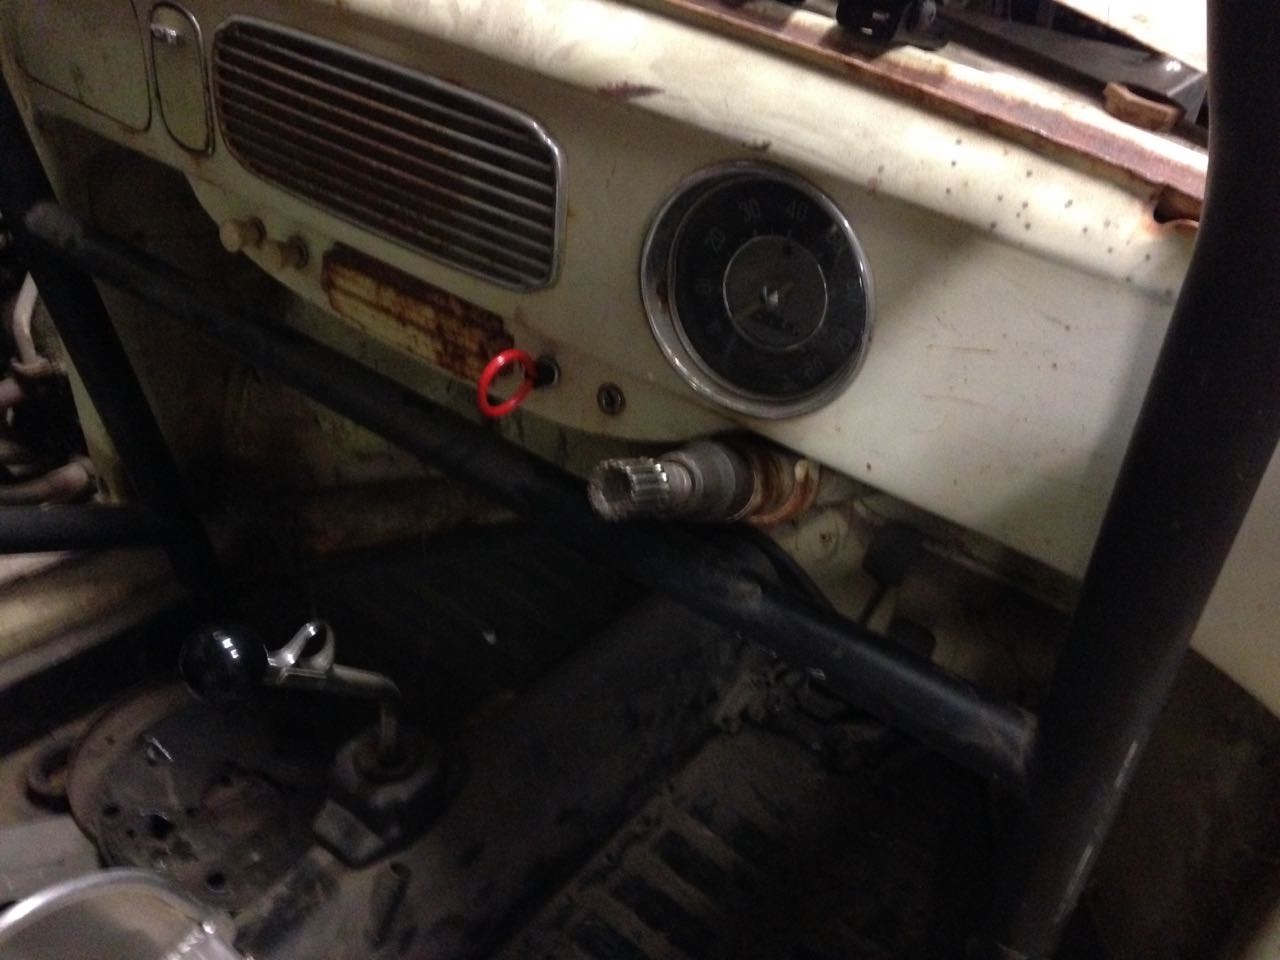
Whilst I've not really got stuck into any major tasks since last week I have managed to get a lot of small things polished off. For example running the emergency shut off cable through the dash...
...and making up a boss for the $10 steering sheel that I bought from Gumtree

I started with a nice quick release steering wheel boss and some 5mm aluminium
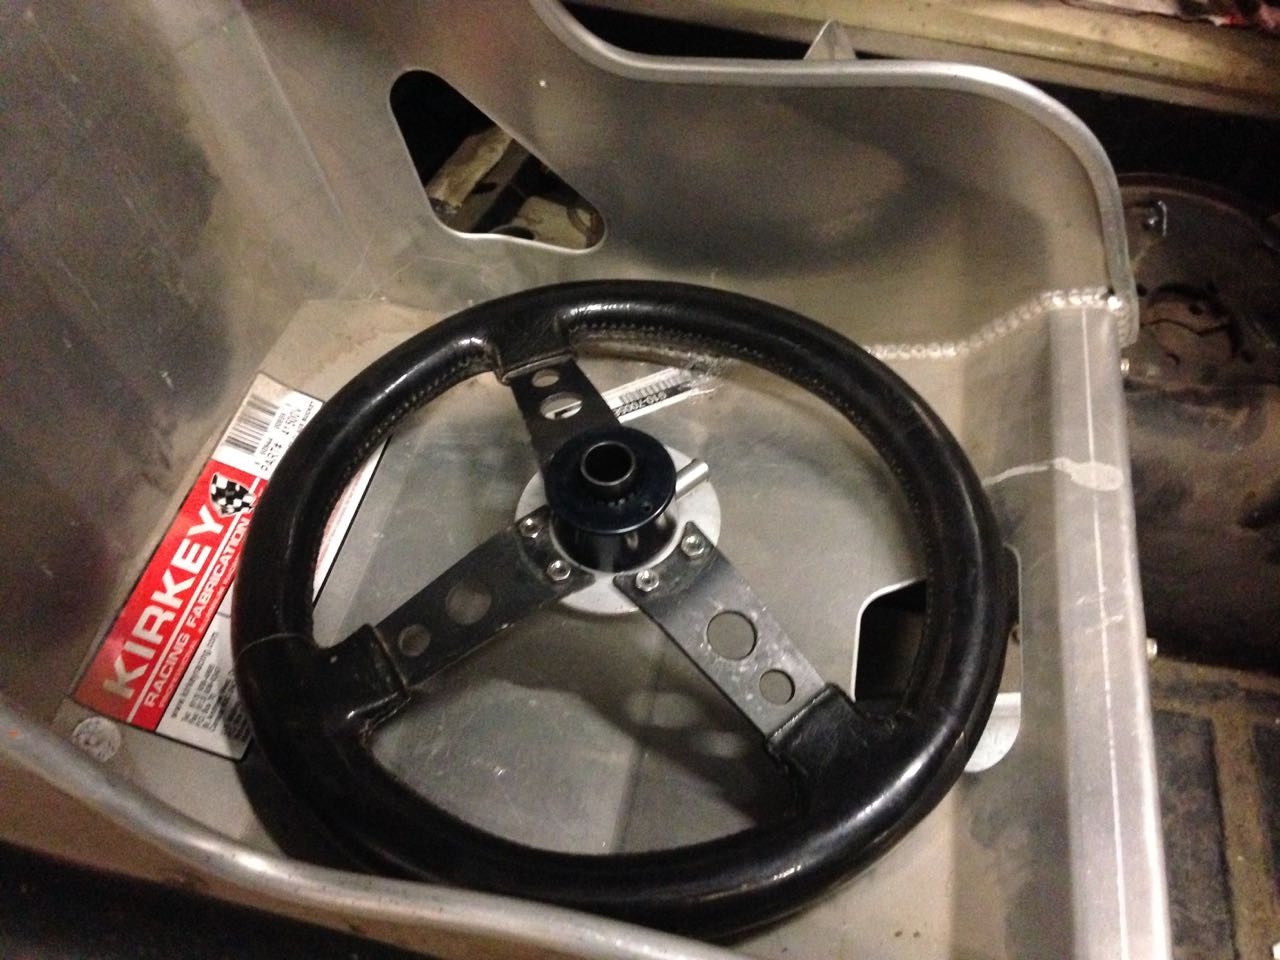
And cut out a circular boss that allowed me to mount the wheel to to the boss.
I then cut down the steering column
And welded the splined portion of the quick release hub to the end of the shaft
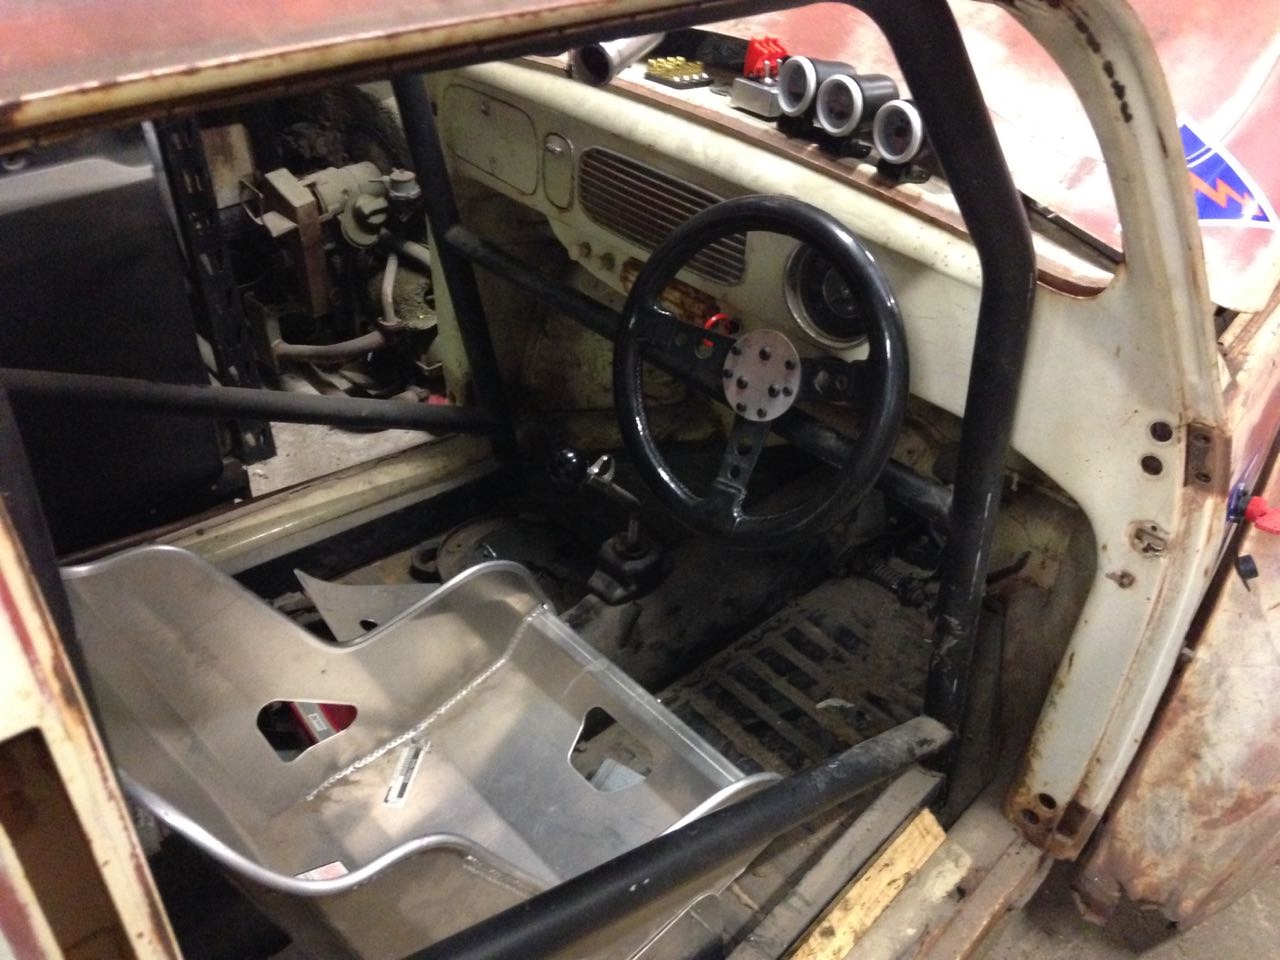
Having a removable steering wheel is a massive advantage when trying to climb out of and into the car with a roill cage, it makes life so much easier.
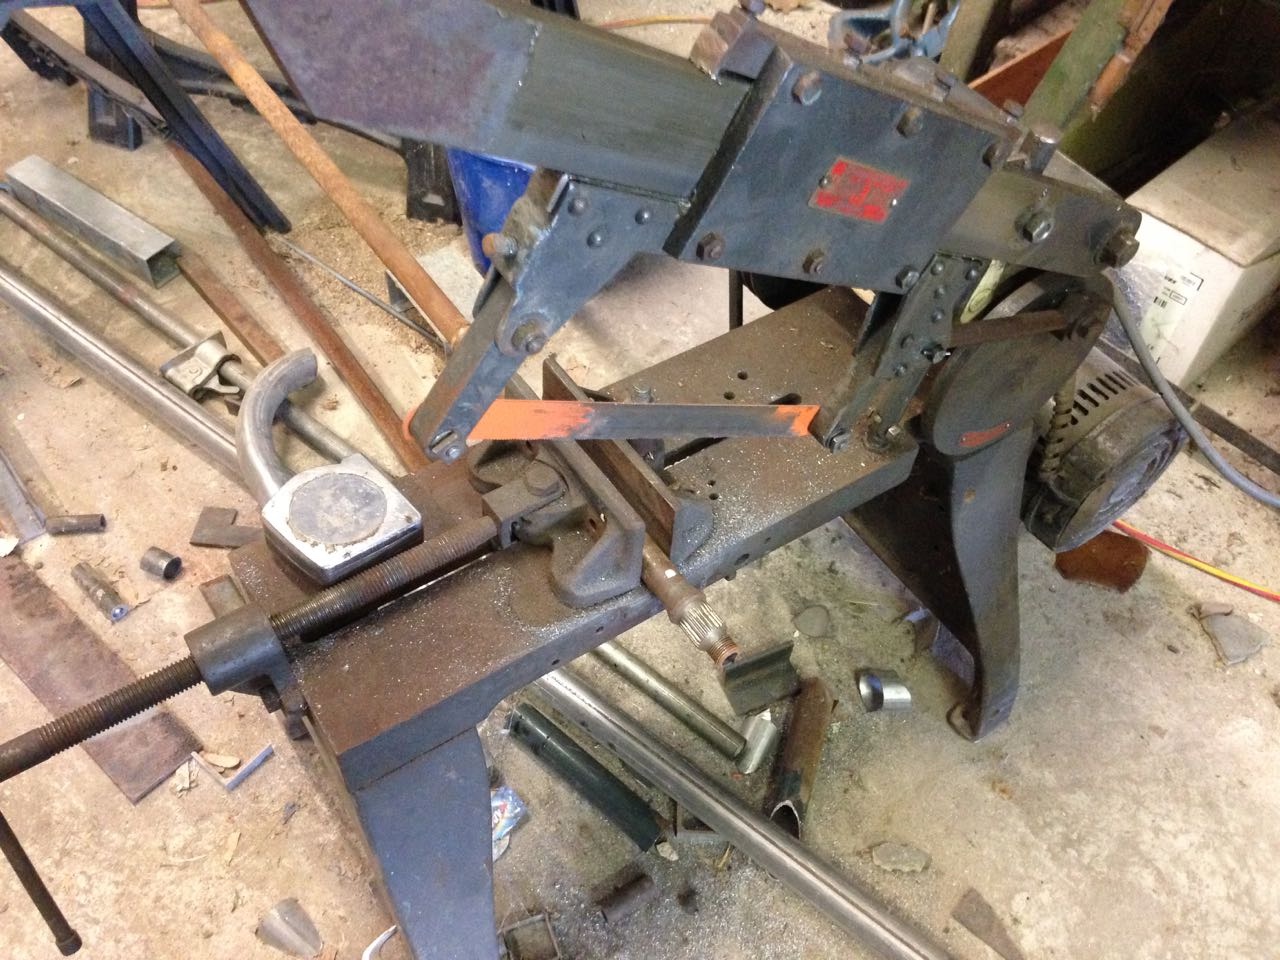
You may recall that I had planned to fix my moon discs with 6 bolts. Having now got some welding gas I decided to tackle this job so that I could go and get the tyres fitted. I carefully marked out the location of the nuts on the rim and set about welding them into postion. Well after about 20 minutes and more than a few melted nuts I decided that perhaps it wasn't the easiest or quickest option and that my original intention of using Dzus fastners was the way to go...
After some careful measurment I bent up one of the mounting plates that I bought specifically for this purpose. and drilled out one of the moon discs to accpet the Dzus faster. I opted to fit the Dzus fastner along with the mounting plate. Others remove the acrual screw part fo the fastner and press a recess into the moon disc so that the screw sits flush. Call it lazyness or trying to be time-smart, I decided that this was too much work.
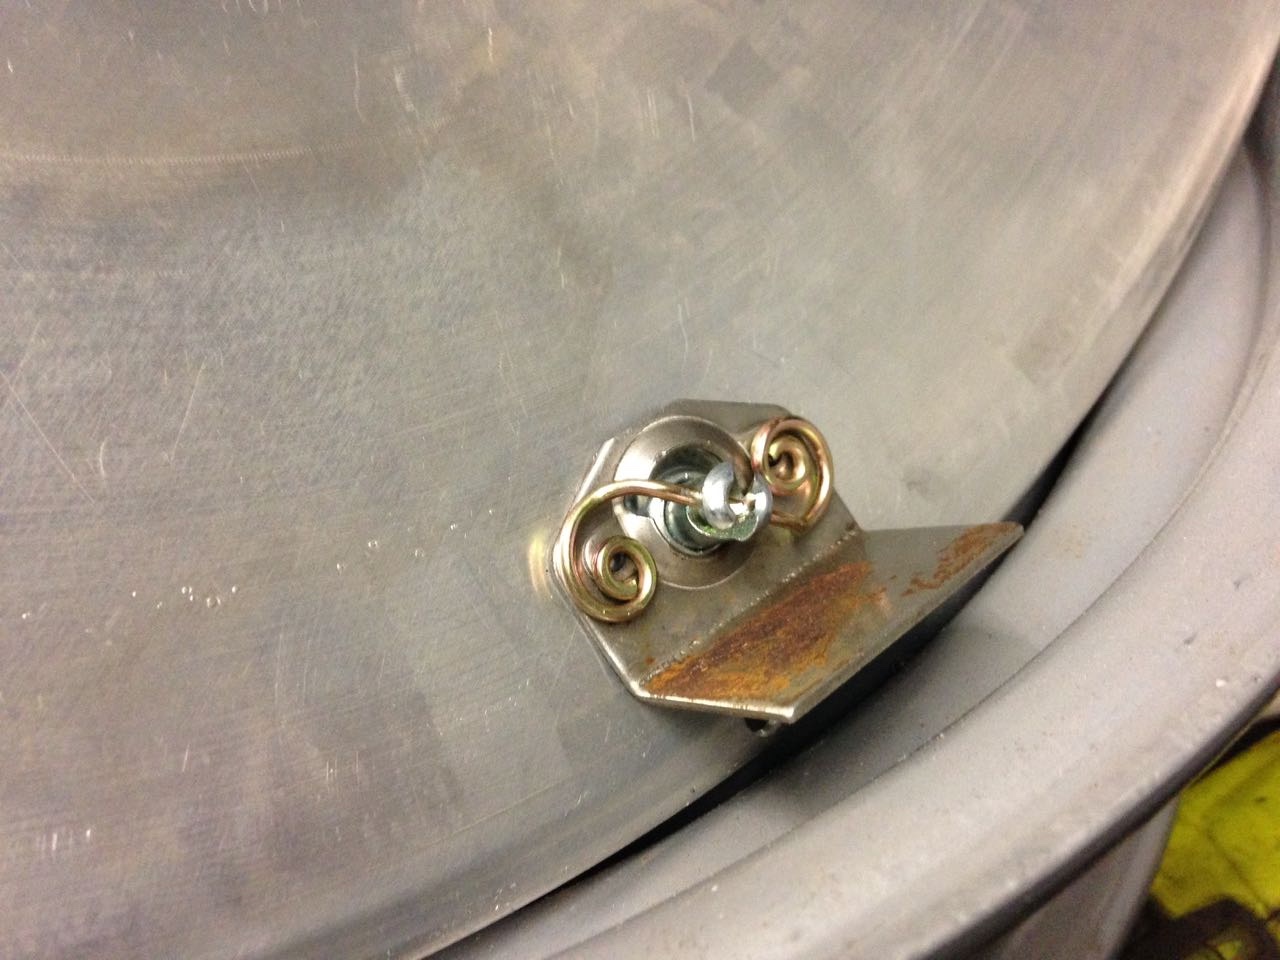
The bracket sits at the correct angle to be welded to the inside of the rim like this...
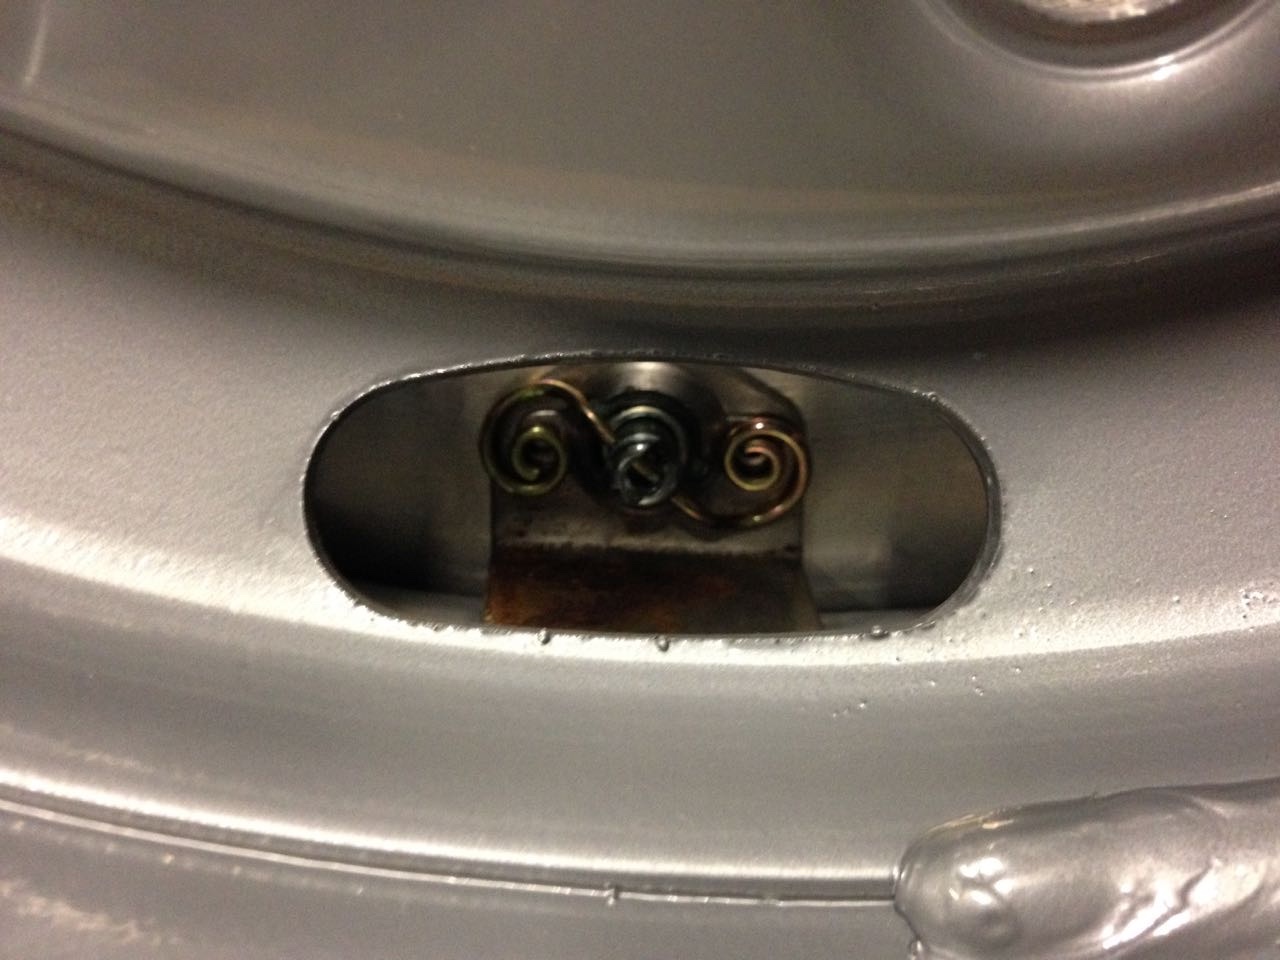
I can just about get my TIG torch in through the hole in the rim to tack them in position.
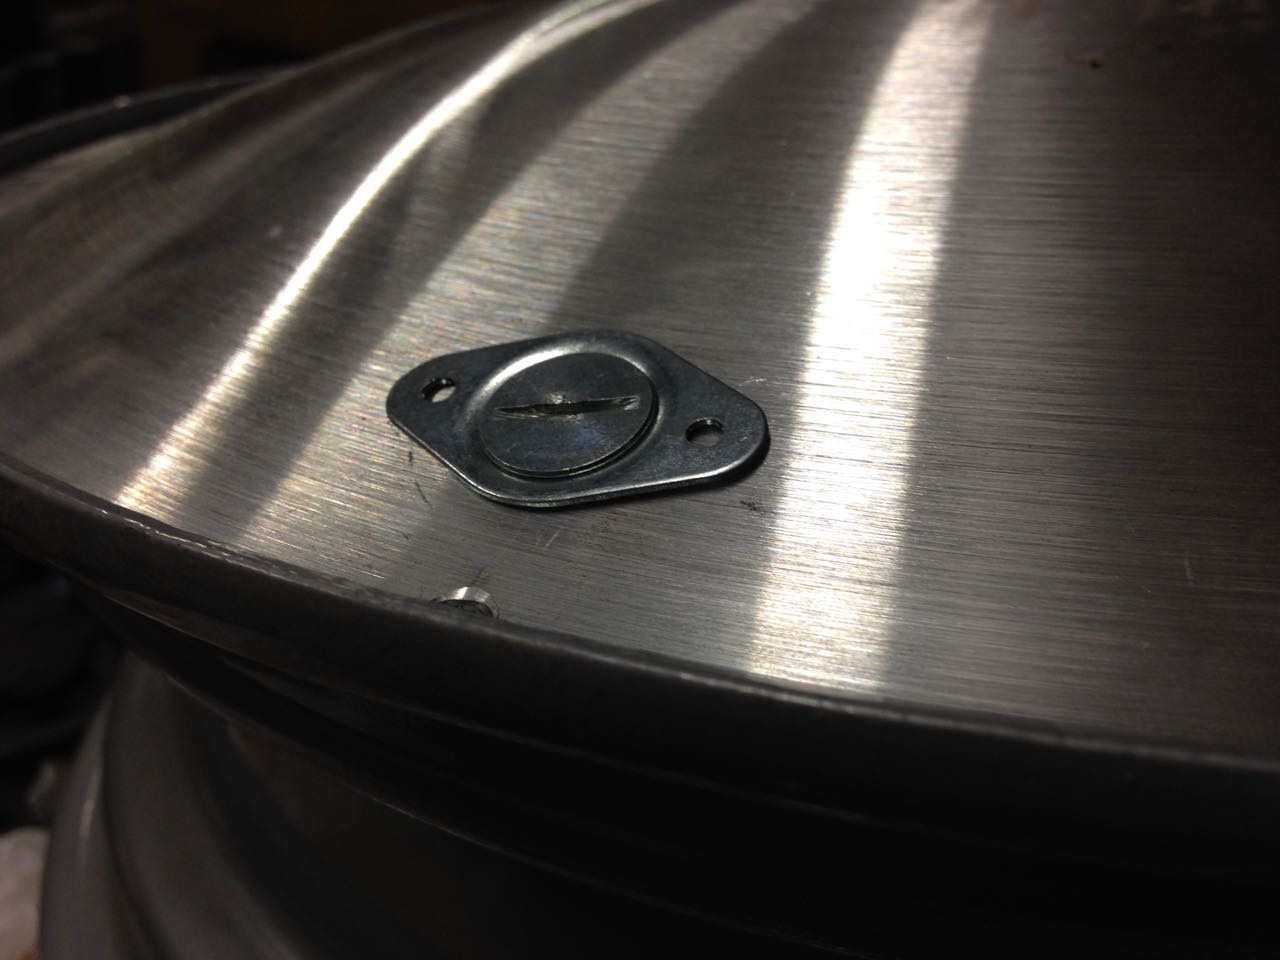
The finished article (apart from some rivets of course).
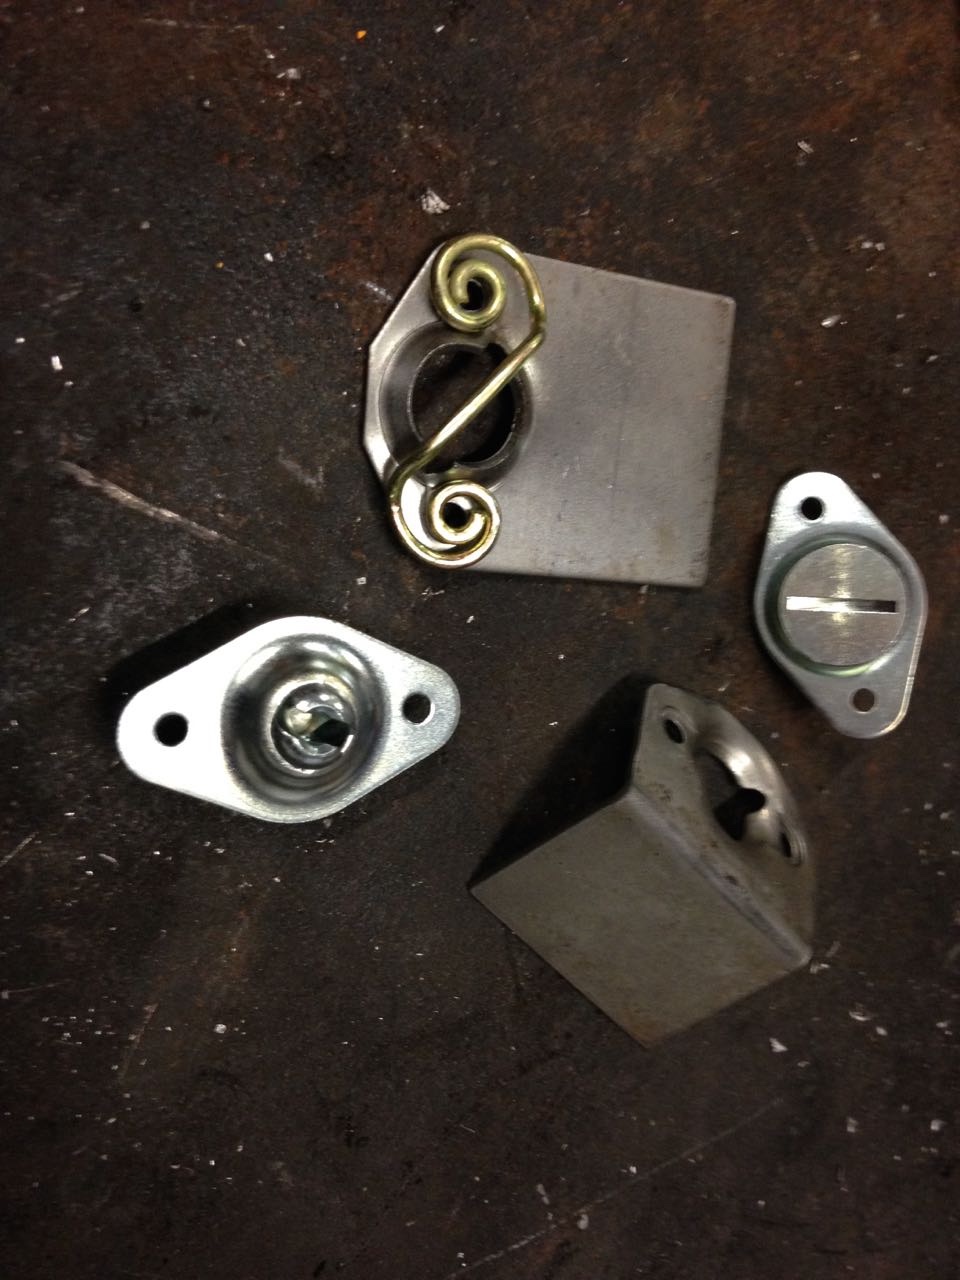
Whilst in this frame of mind I decided to tackle the bonnet and decklid fixings. The DLRA rules state that bonnets and boots have to be held closed by at least one safety pin. To acheive this I decided to simply remove the existing bonnet and decklid handles and fit in thier place these all-in-one safety catches.
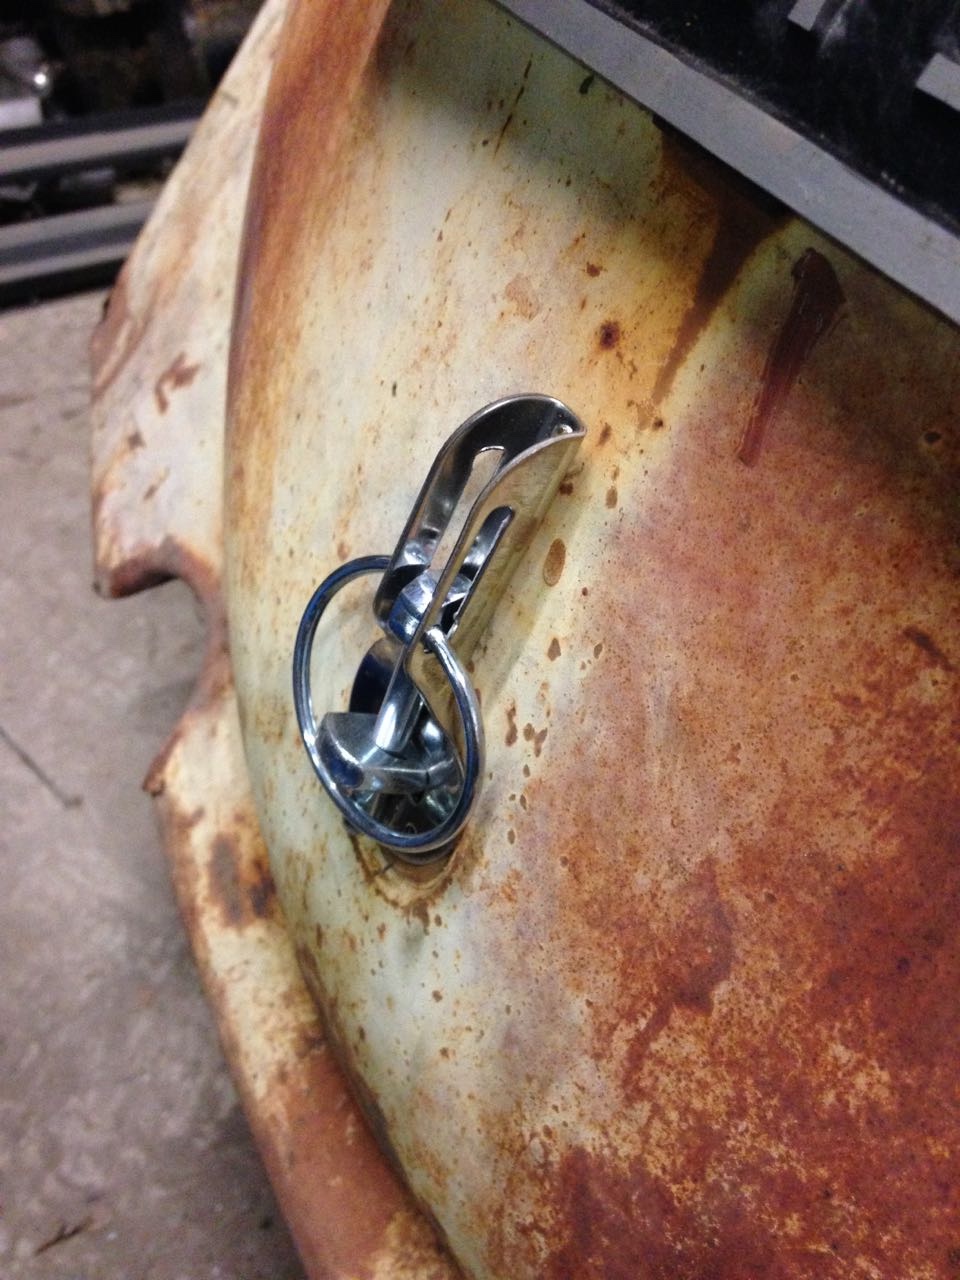
The pin simply bolts to the valence using two nuts. The bonnet is the same. These safety clips retain the clip should it come undone.
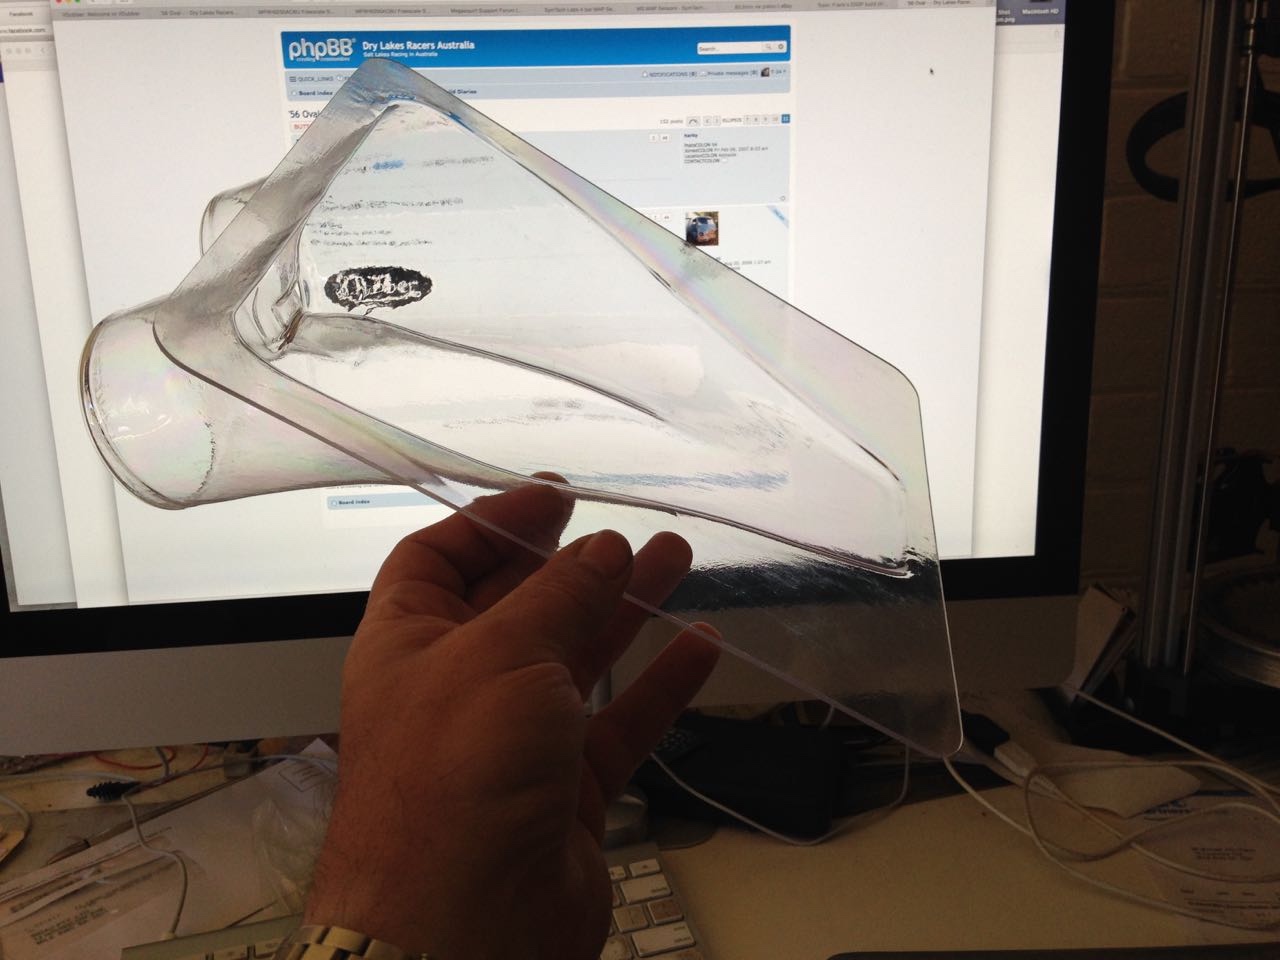
Other goodies to arrive include the 3" harness and the NACA cooling ducts. I also picked up the Lexan / Polycarbonate sheeting that I will be making up the windows from Menzels here in SA.

It really has been just like Christmas around here :D
One thing that I have been avid waiting for are my heads. The heads are based on a current reproduction of vintage Okrasa tuning twin port heads available in the '50s. I opted to have the heads modified by Brothers engineering in California. The work I've engaged them to do is fit larger stainless valves and bronze guides do a nice port and polish job and machine the heads for twin plugs. They are also opening them up for the larger barrels that I am fitting.
I decided on going with twin plugs after seeing an original pair of twin plug Okrasa heads that a friend had. These had originally been fitted to an aero engine where dual ignition systems are required. I also have another friend that runs a Stan Pobjoy 1915cc engine in his splitscreen single cab. Stan Pobjob engines are also twin spark and have a great reputation - interestingly Stan learned his trade building aero engines.
In a supercharged engine the extra spark plug helps promote an even burn and can help reduce the possibility of detonation by starting two flame fronts - a massive benefit in an old tech engine like this. Ultimately I would have loved to run supersquish pistons or even direct injection and controlled detonation that way but both of these solutions are currently out of the reach of my budget. However I've not ruled than out as an improvement down the track.
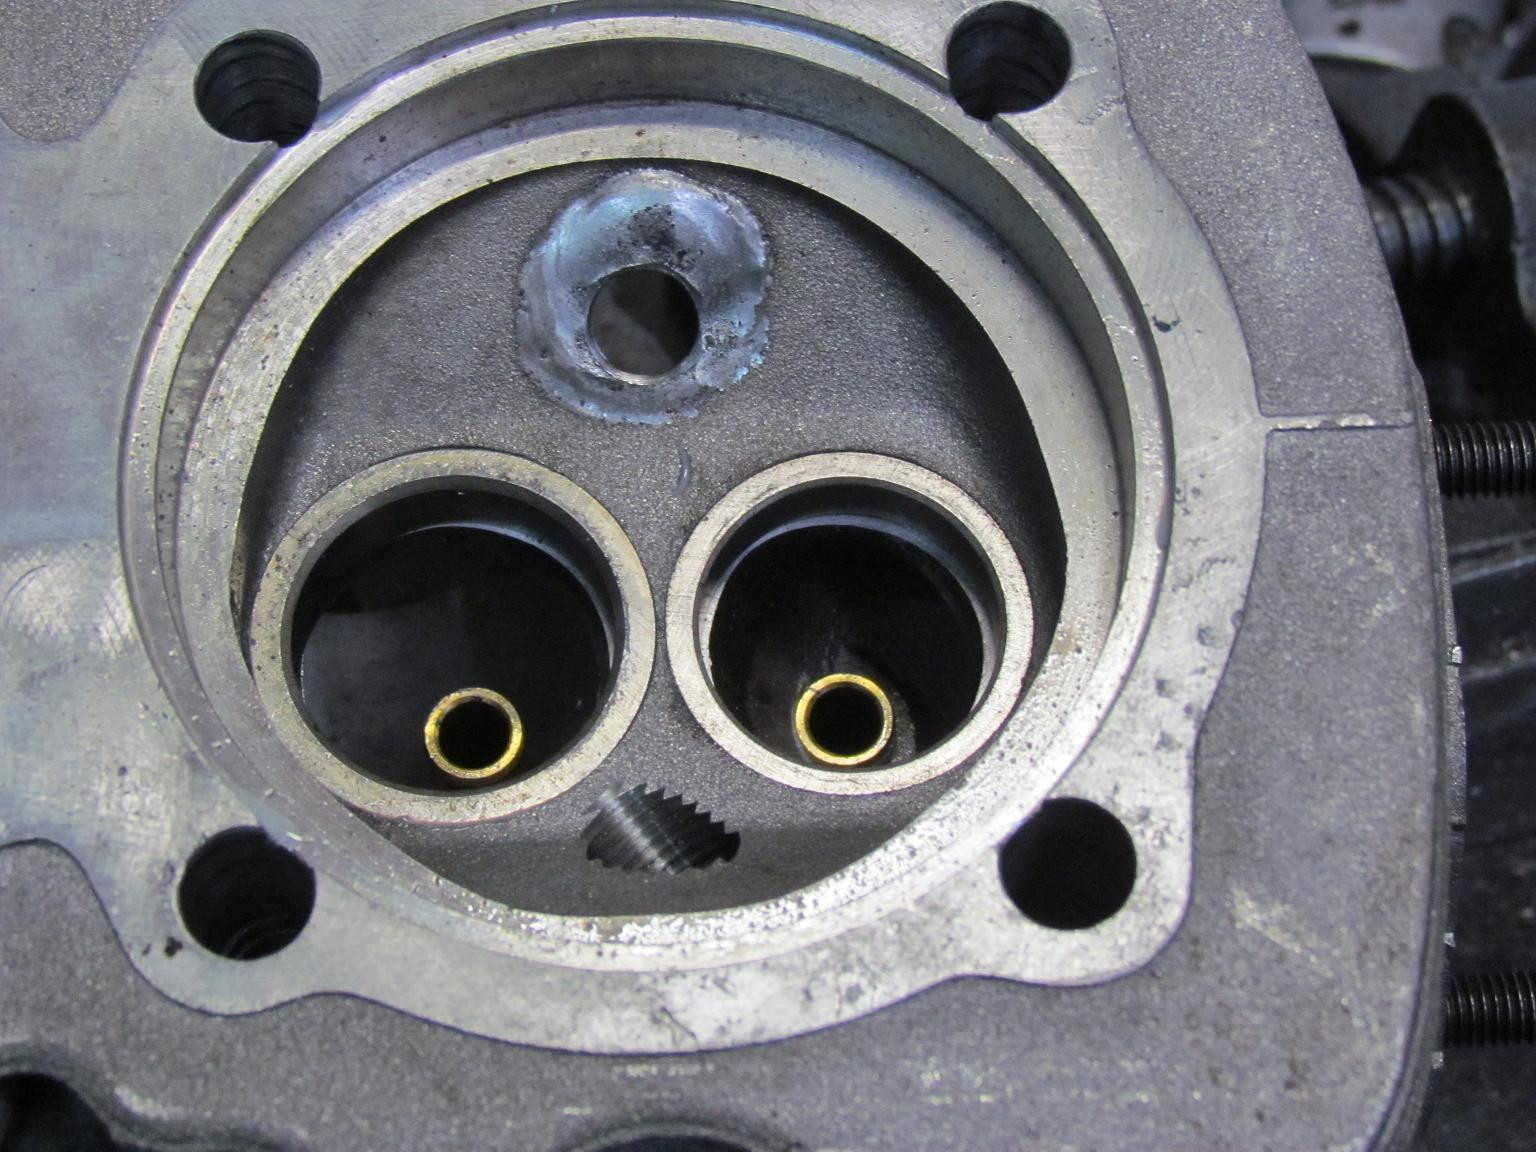
Combustion chamber showing relocated plug and second plug at bottom of chamber.
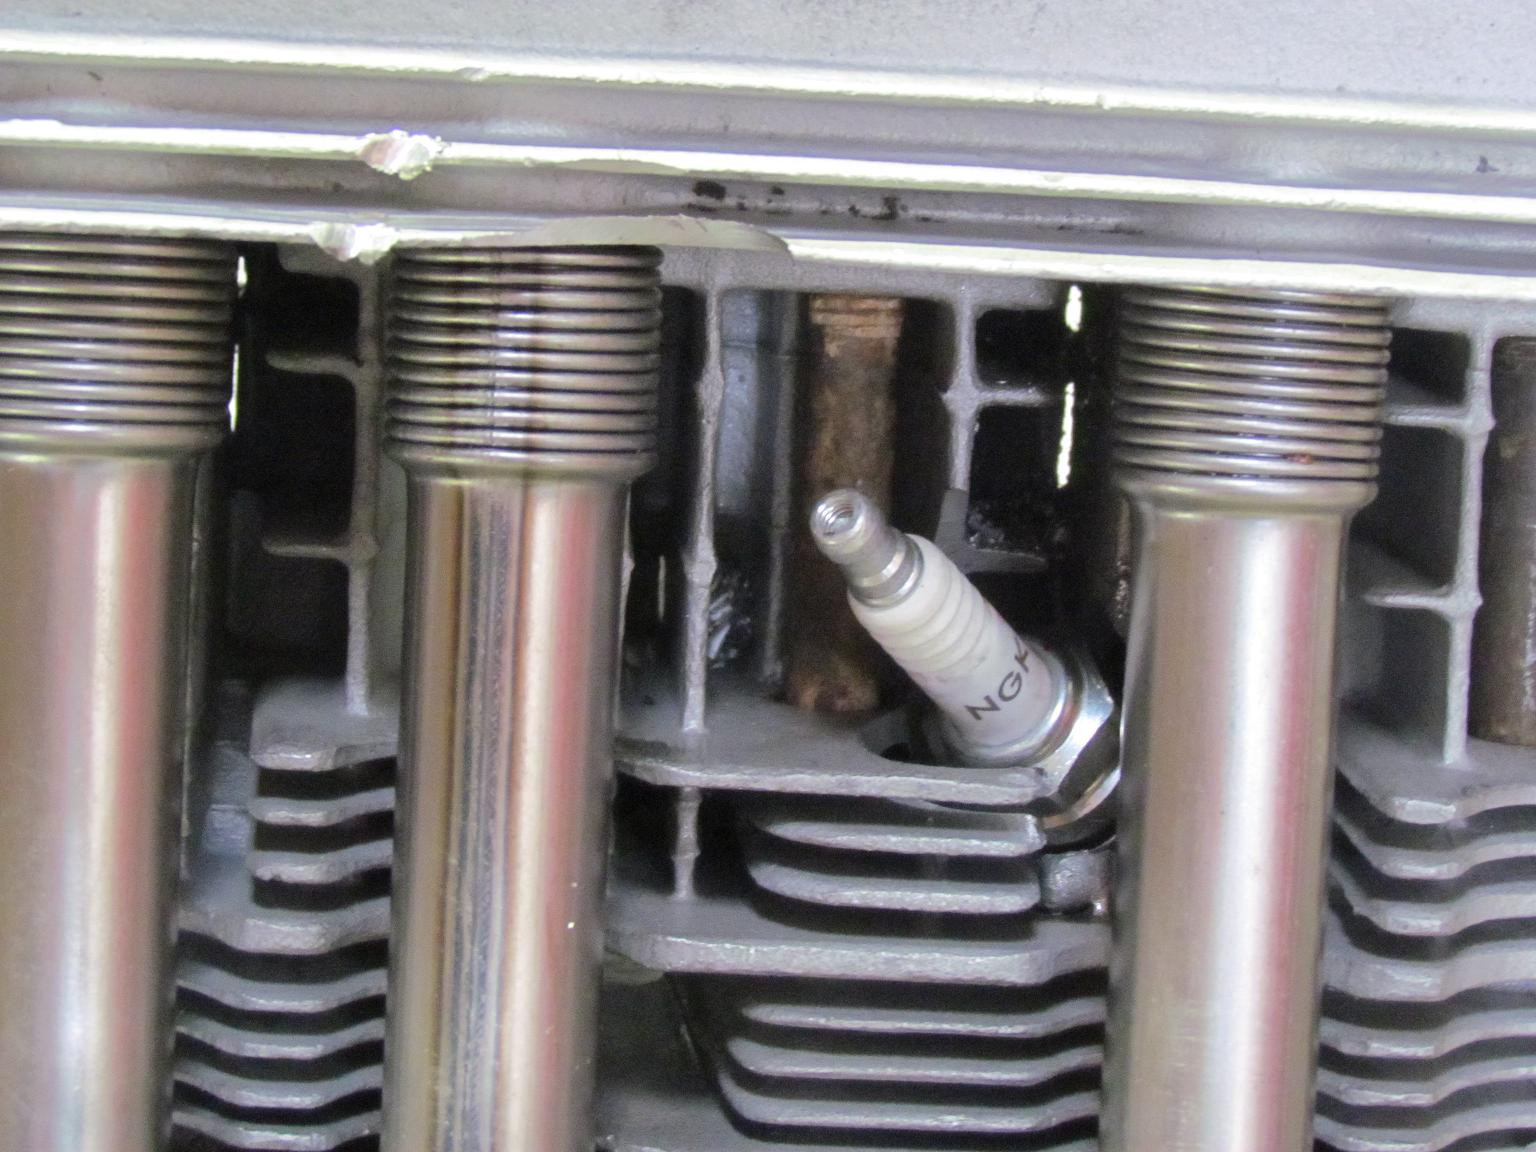
The second plugs are located to the bottom of the heads and are just accessible between the push rod tubes
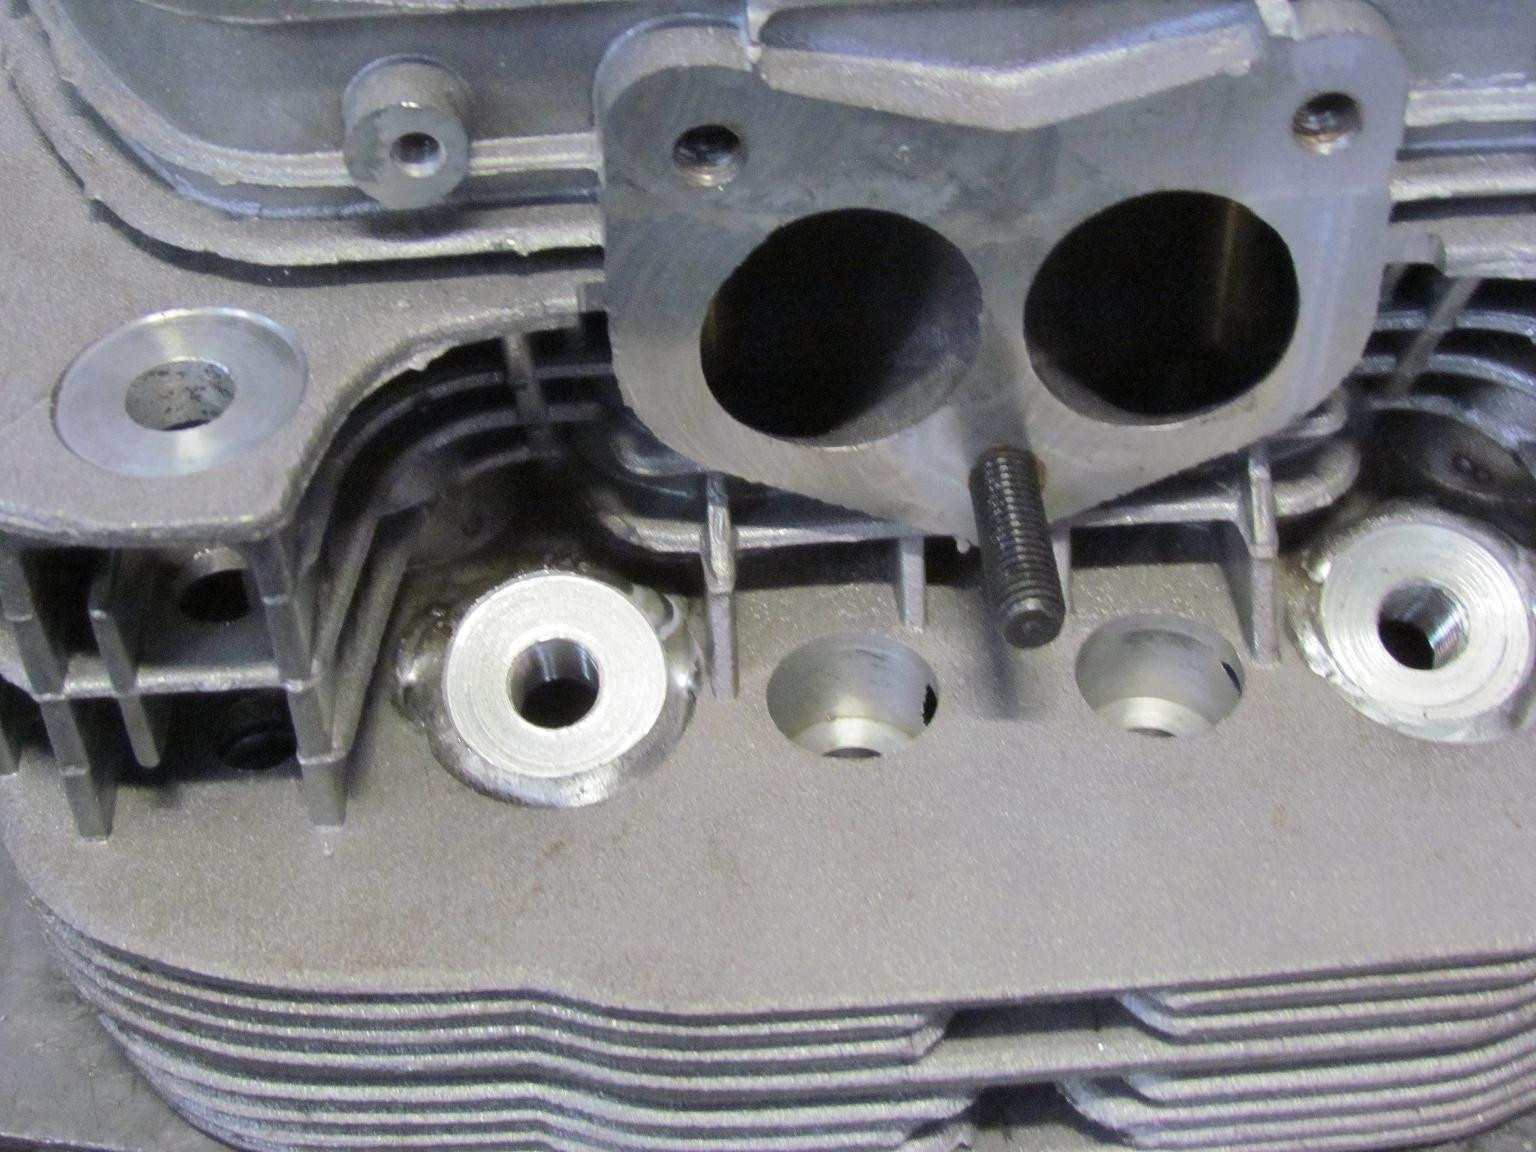
A shot of the top of the eads showing the improved spark plug location for the primary plugs

The machining required for the dual plugs - not a job for the faint hearted.
The heads still have a bit of work to do to finish them. I was really hoping to have them completed and here prior to Christmas so that I could assemble the engine over the Christmas break but it doesn't look like that is going to happen which is a bit of a shame. Hopefully they are not too far away.
Last night I started to take a look at the firewall where it clashes with the scattershield and decided that the best option is simply to remove the entire firewall. Ultimately this will allow for much better access to the engine and gearbox and seeing as I have to make up a cover for this area regardless of what steel remains the logical option. Tonight I will see if I can get the wheels finished and ready for rubber.
Comments