
Horn Push Badge

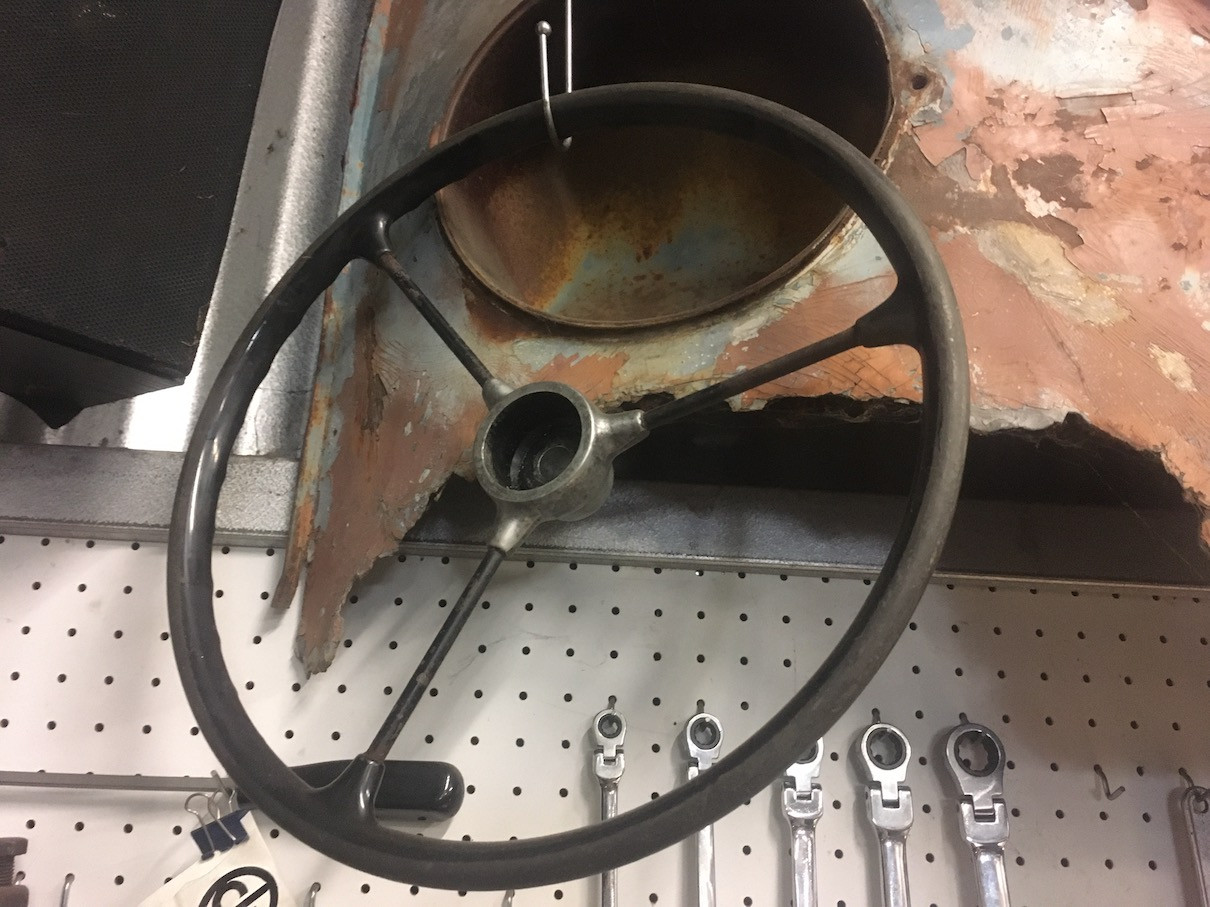
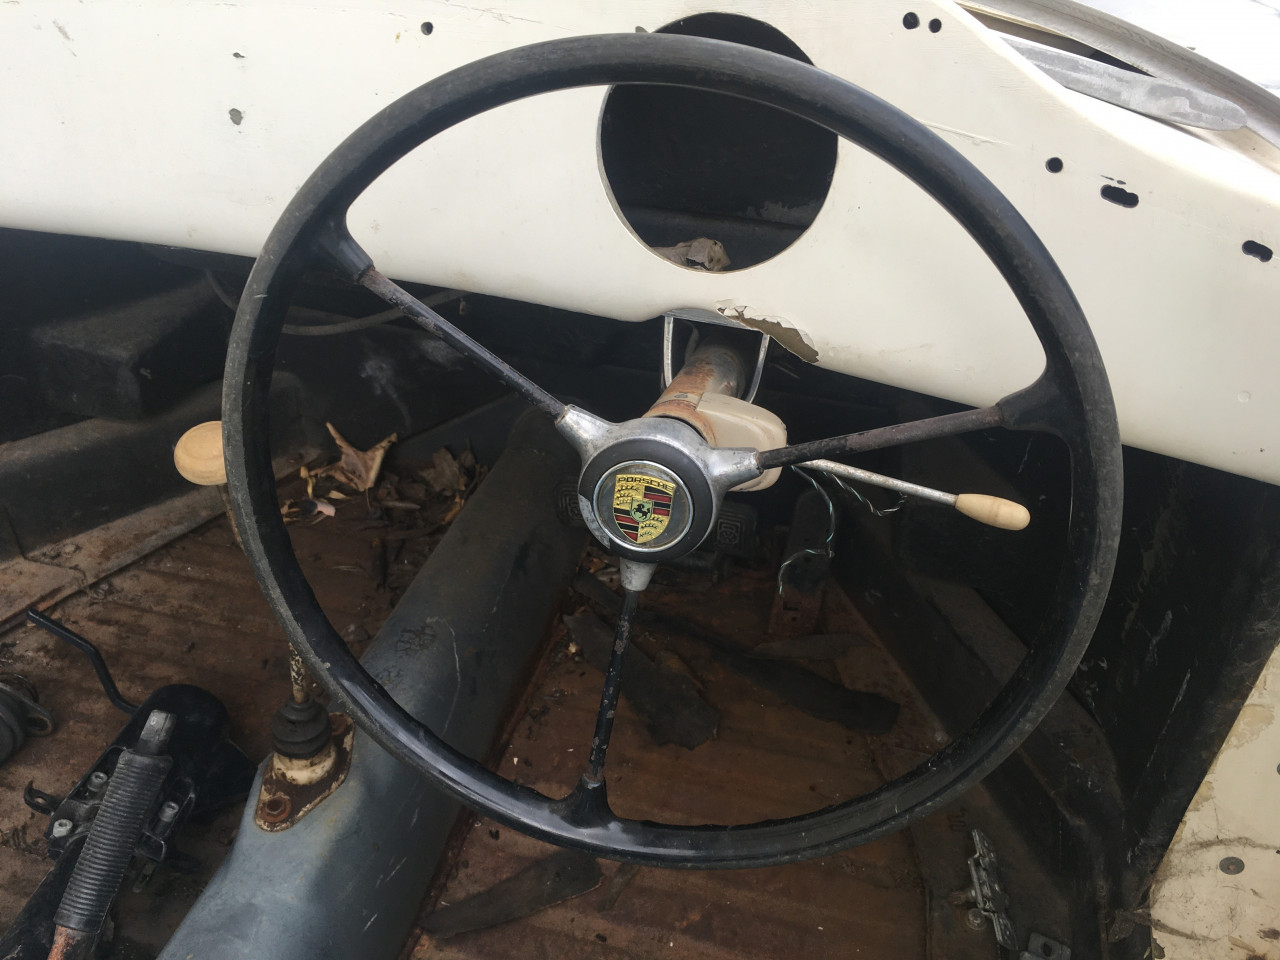
A while back I bought this awesome three spoked steering wheel from Ned Faux. It's much like a barndoor or early split bug wheel but not actually a VW item so unfortunately doesn't fit a VW steering column. But as I'd been looking for a barndoor or country buggy steering wheel for a while and figured that it was too good a price to turn down, so somehow I would make it fit. Plus it has an awesome patina to it, which will look just right in the speedster.
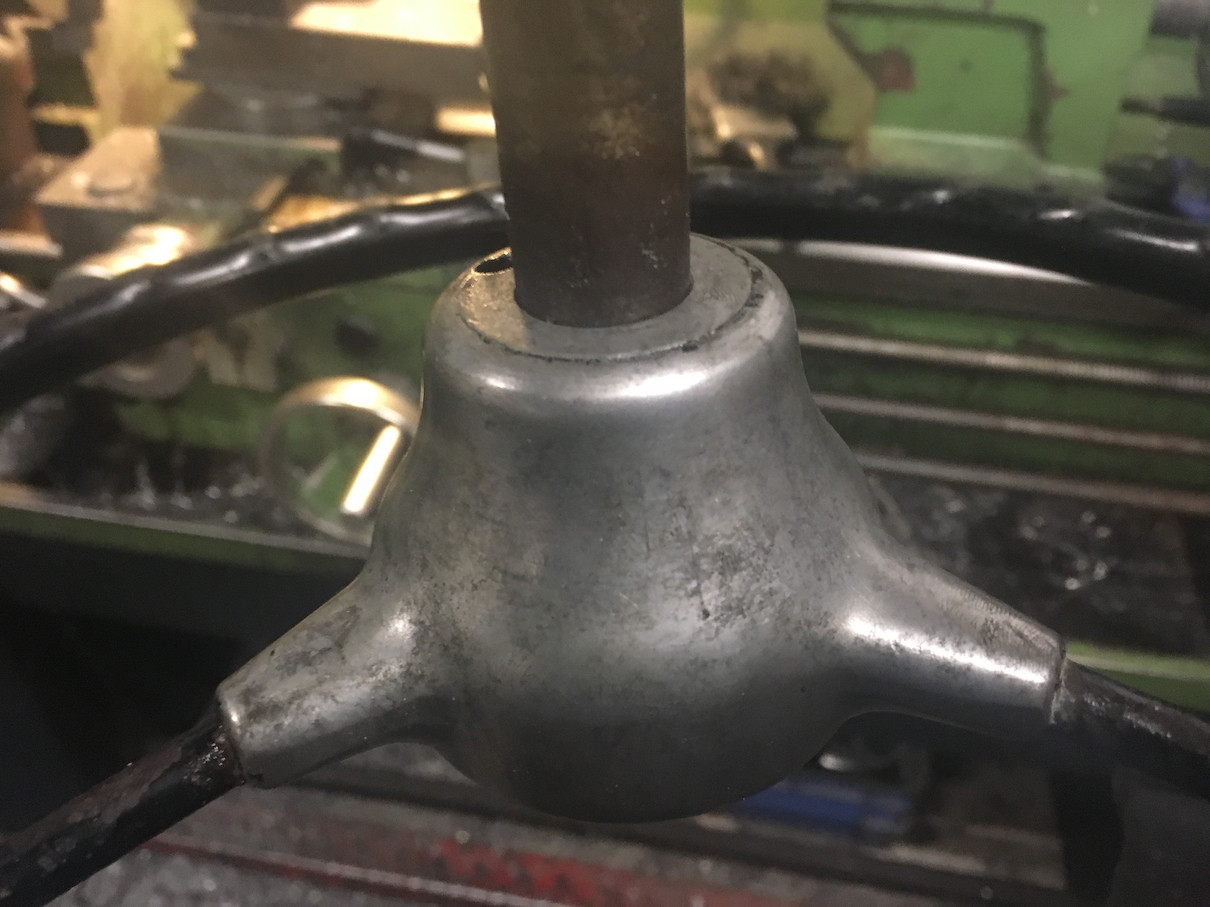
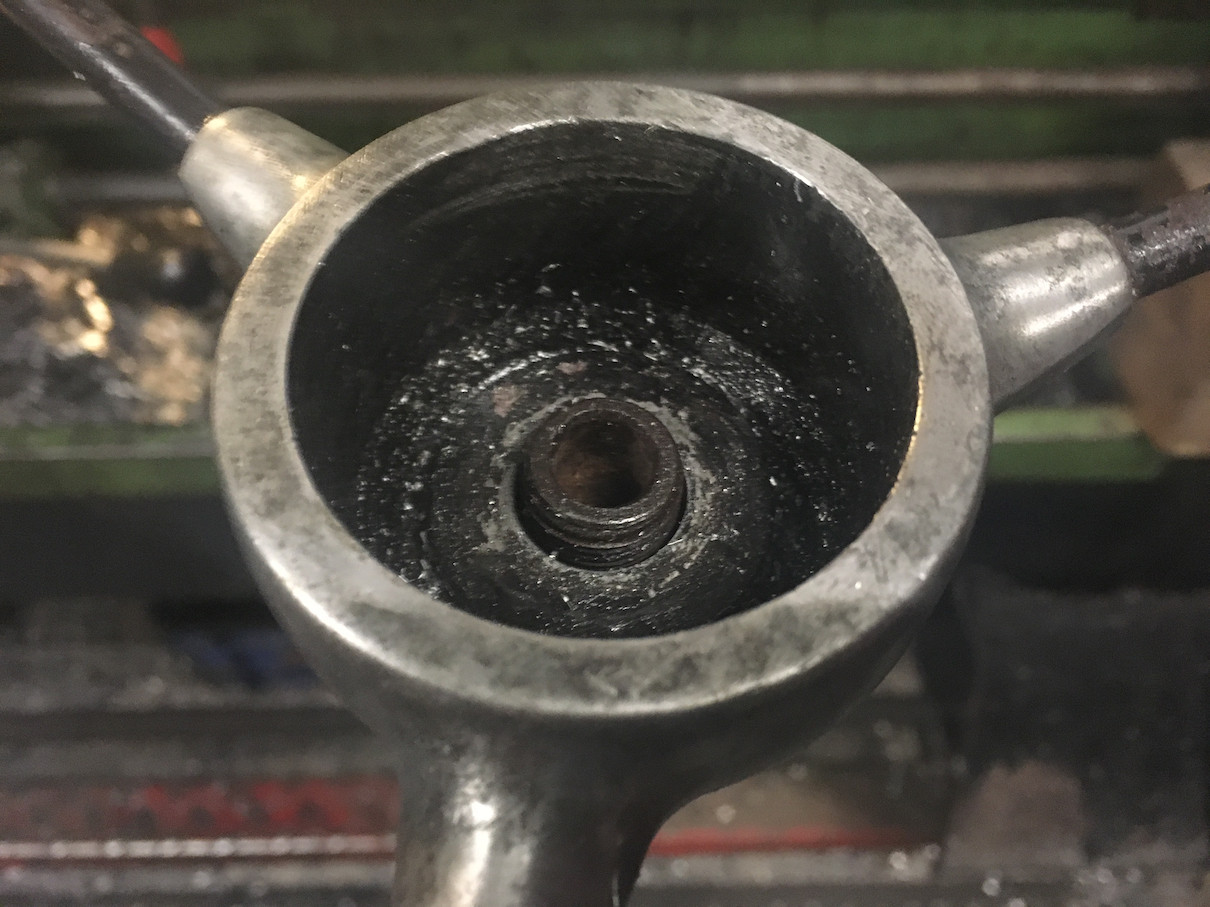
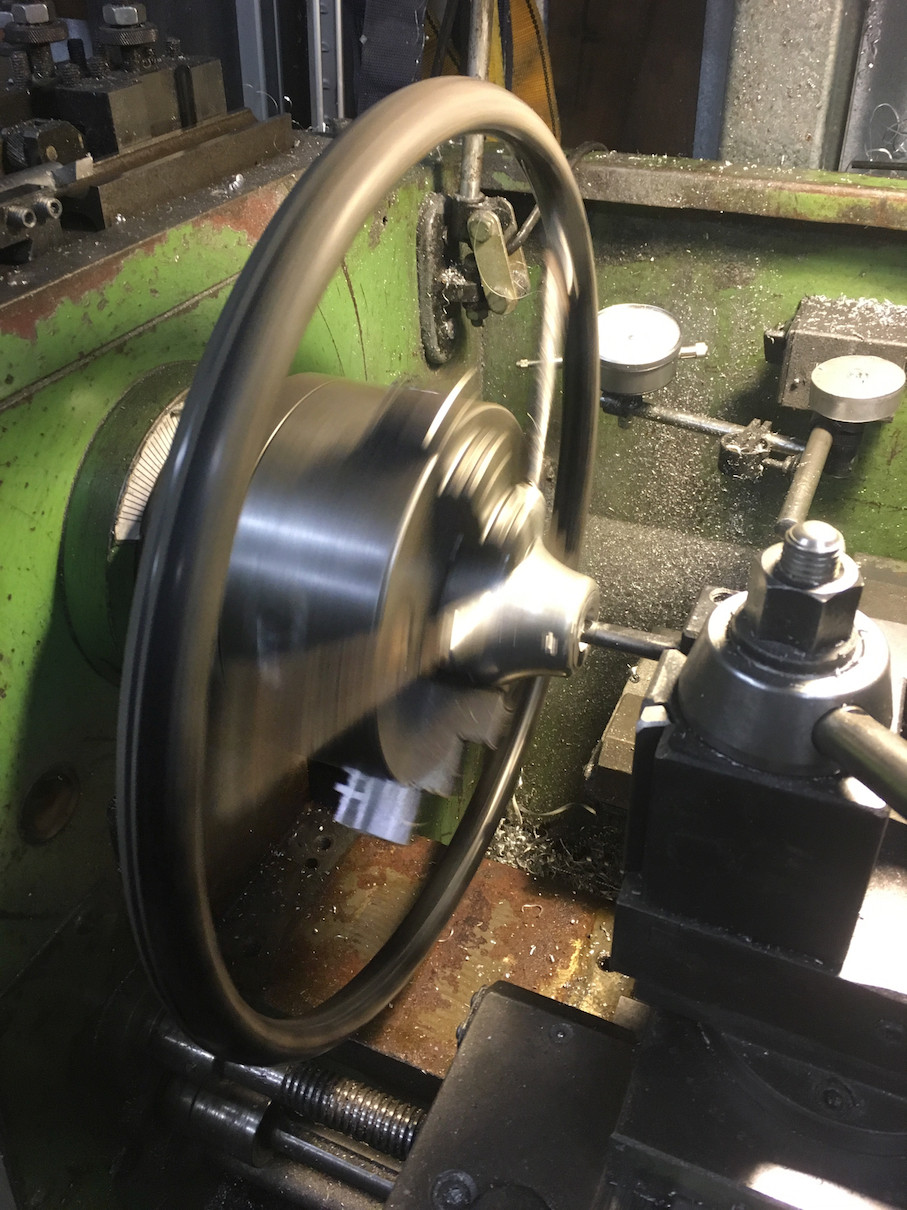
I ended up mounting the steering wheel to an early split bus steering shaft. Early bus steering shafts have a tapered end and woodruff key instead of splines. This allowed me to machine the steering wheel boss to a matching taper and broach a keyway in it (I still have to do the broaching, but that's fairly trivial). Mounting it this way meant that I did not have to deal with trying to machine splines or make inserts from other steering wheels. Being a bus steering shaft it does not have the regular splined end at the bottom to connect to the steering coupling, but instead has the worm drive from inside the steering box welded to the end. I have a later steering column with a crash can end that I will change over the end from, this will also allow me to lengthen the shaft a little as the stock bug shaft is about 25mm too short, but more on that in another post.
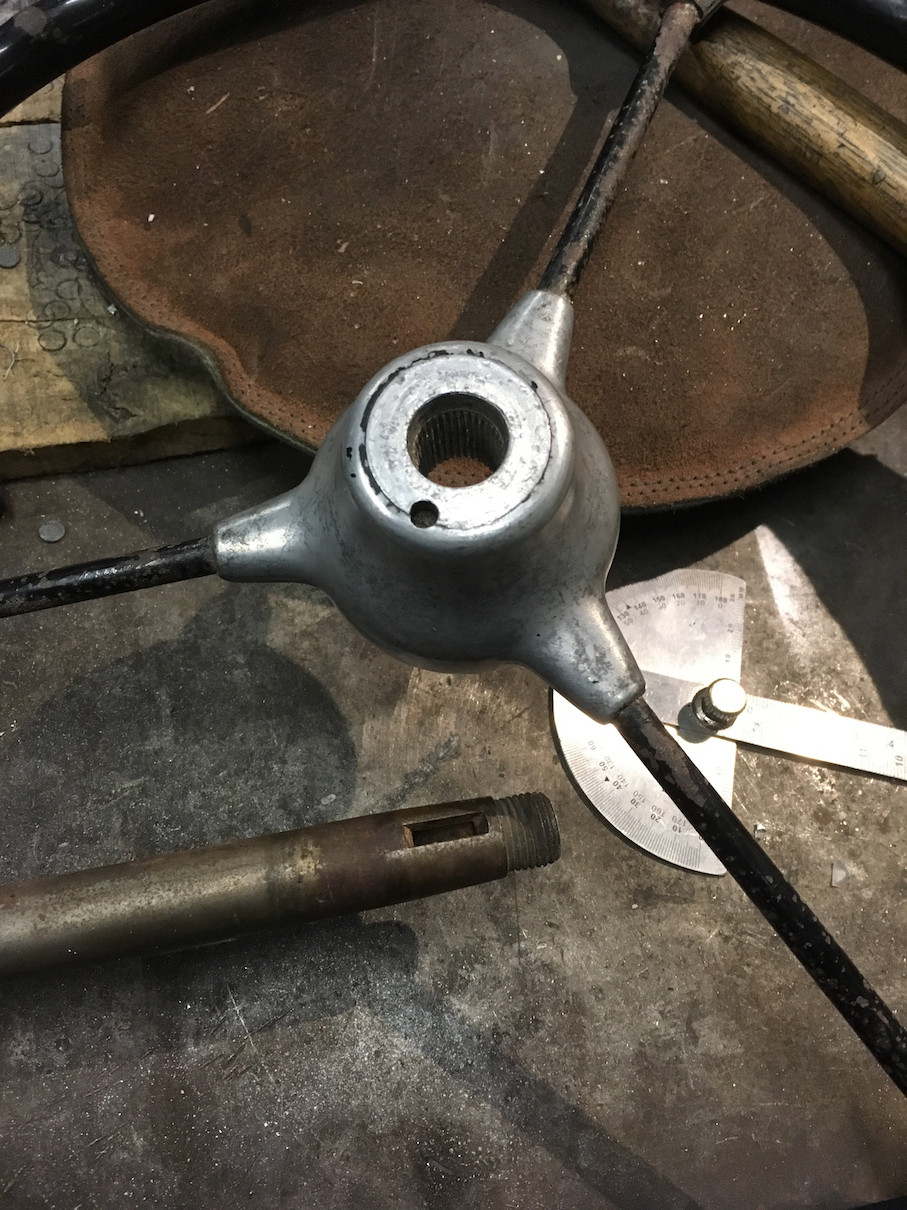

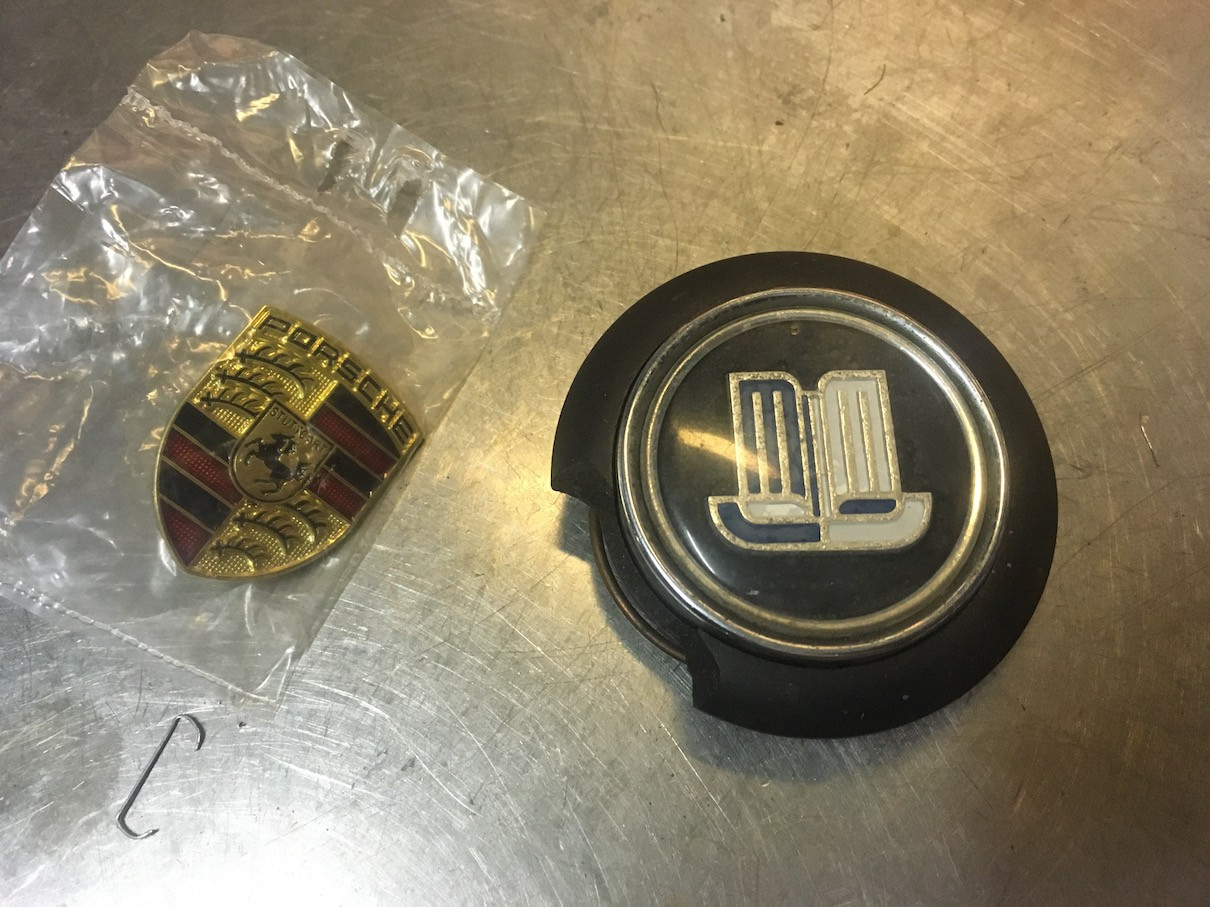
Unfortunately the steering wheel did not come with a horn push, and when trying a regular VW horn push, I soon found that the horn push was too large. Eventually after some measuring and a little research I found that the horn push from a Triumph was the correct size and did not look too out of place. I even managed to find a cheap one locally, but was disappointed when the seller omitted to tell me it was broken. The only issue with Triumph horn pushes is that they all have either Triumph shield or the word Triumph in them so I needed to do something to change that.
Inspired by the success that Kristian Ekstrand (Hebster) had some with making his own horn push button for his Pre-A coupe project, I decided to have a go myself. Essentially The idea is to cast an enamelled badge in clear resin in the shape of the horn button. This can then be swapped over with the Triumph logo'd button for a more authentic look.
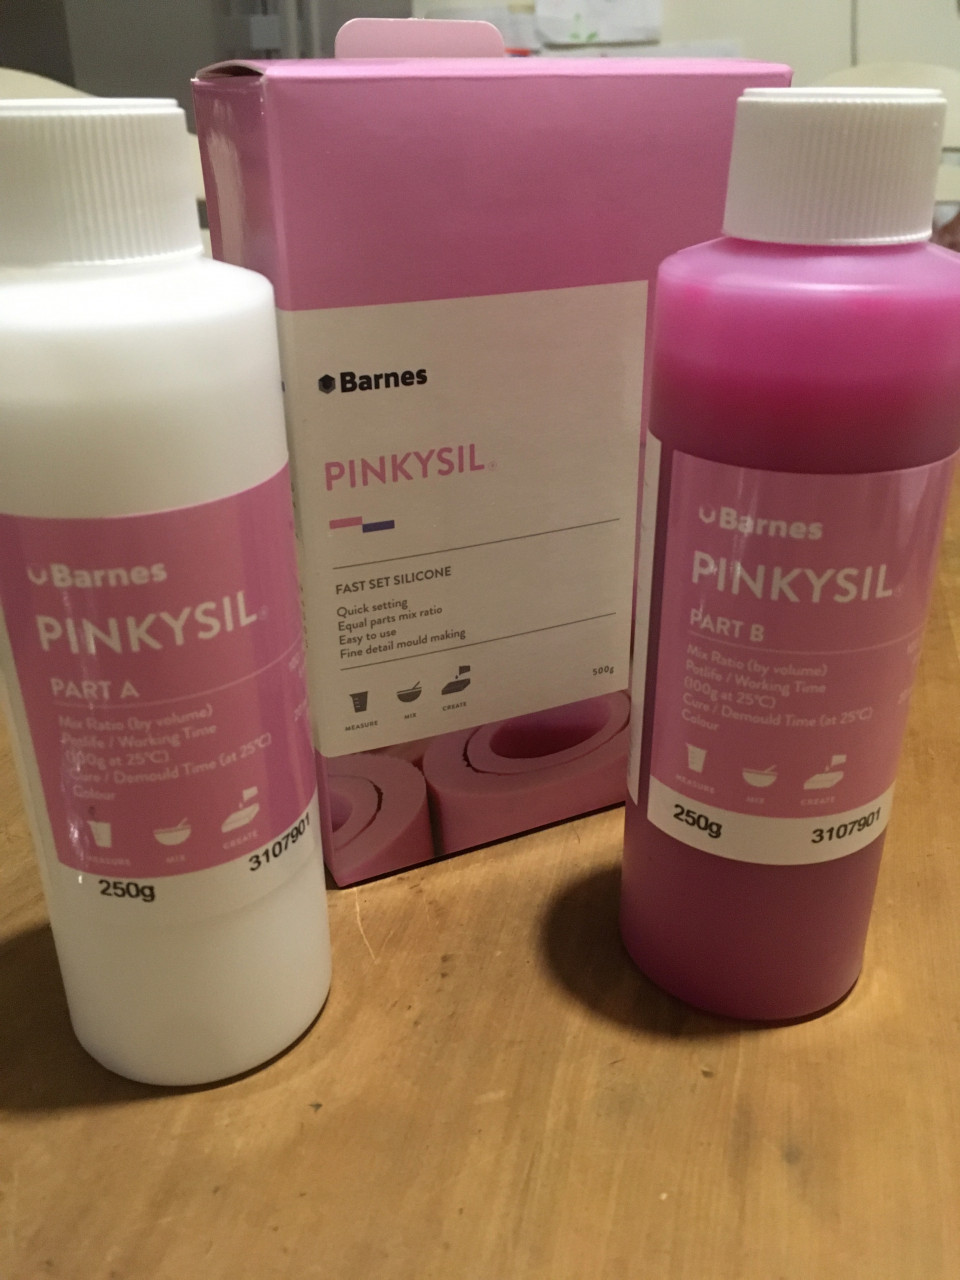
I'm quite fortunate that there is a local casting supplies shop nearby (Adelaide Casting Supplies), which has very helpful staff. They were able to advise me on the correct products and methods I needed. The first stage is a silicone based casting mix that is used to make a mold from the old horn push. This mold is then used to cast a clear epoxy resin in the shape of a new horn push. Before the resin cures you can embed any object you like into the wet resin solution. It's the same method used to make those awesome insect gear knobs and paperweights.
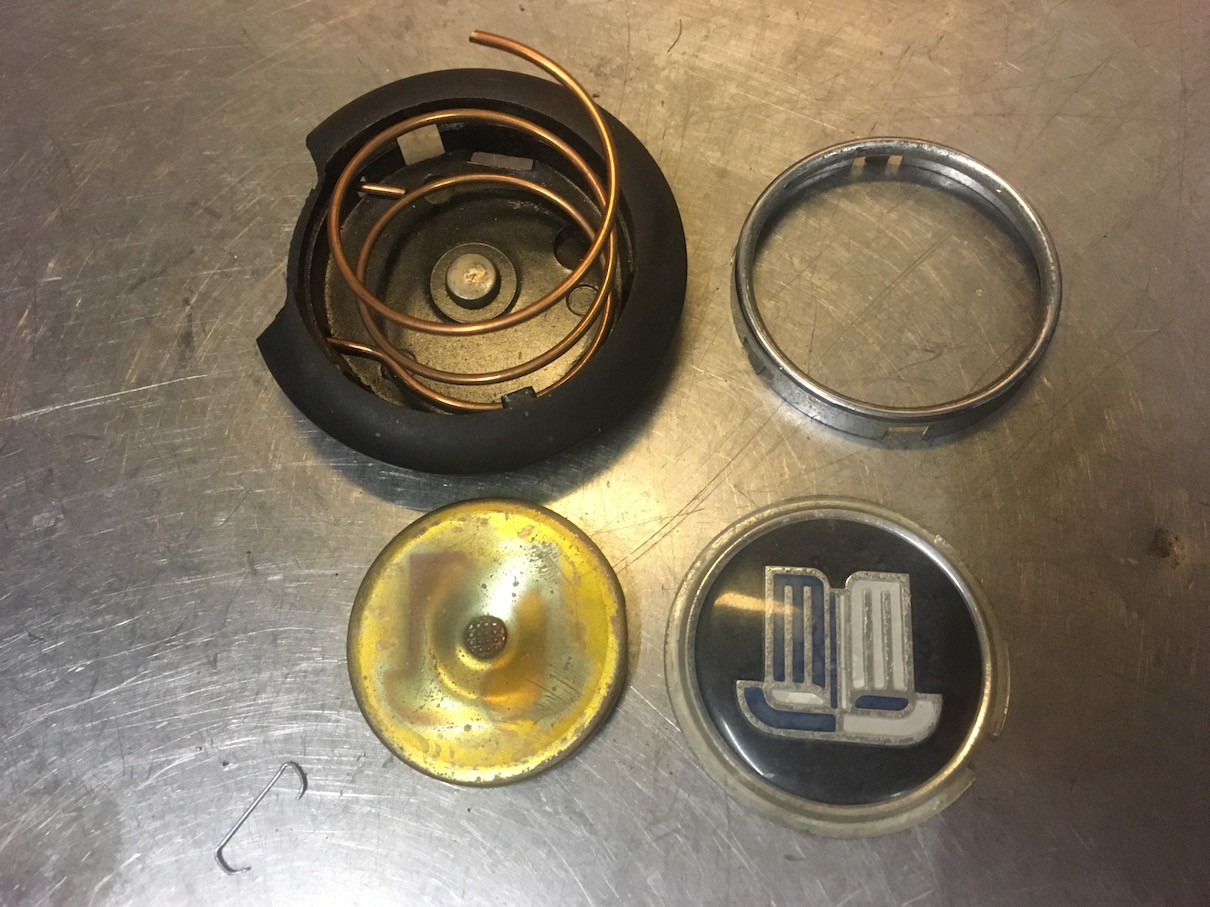
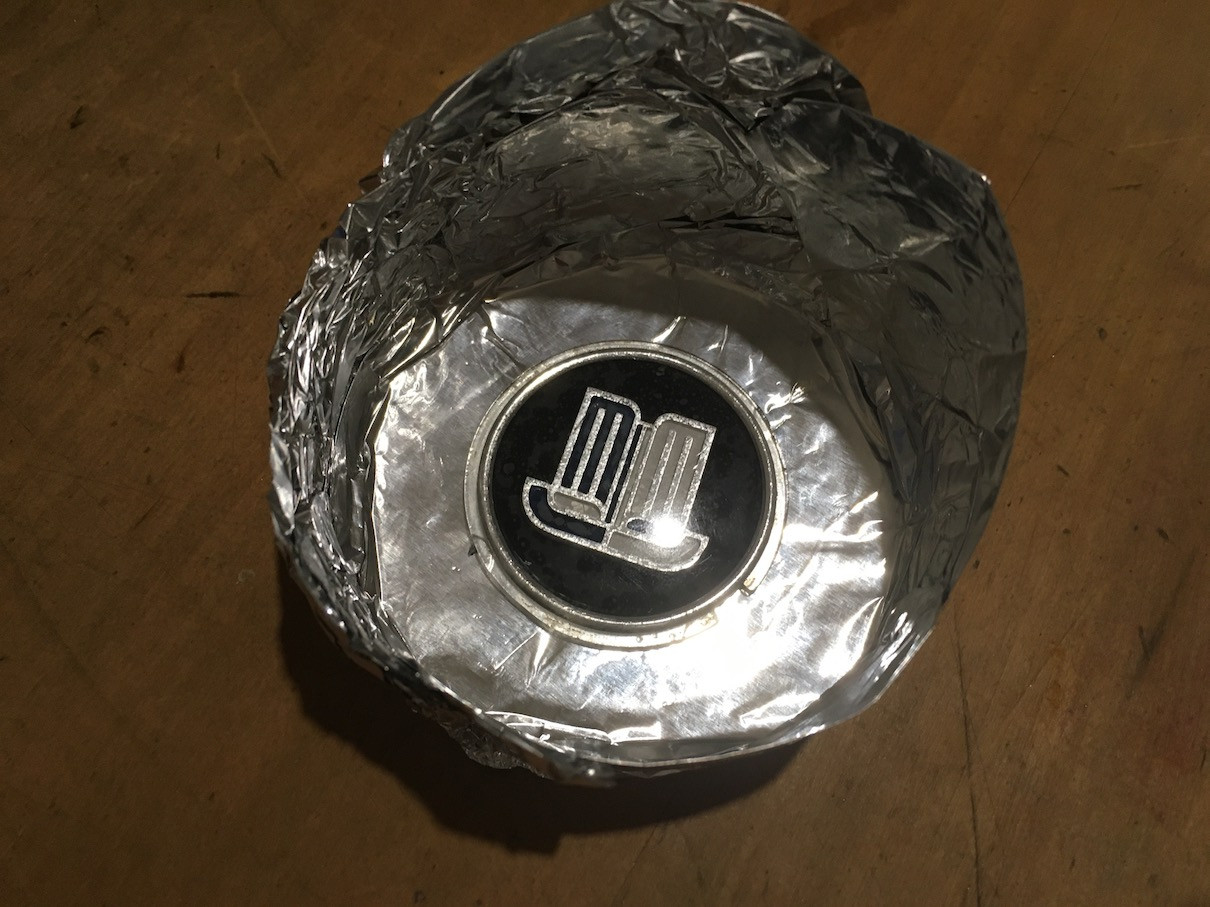
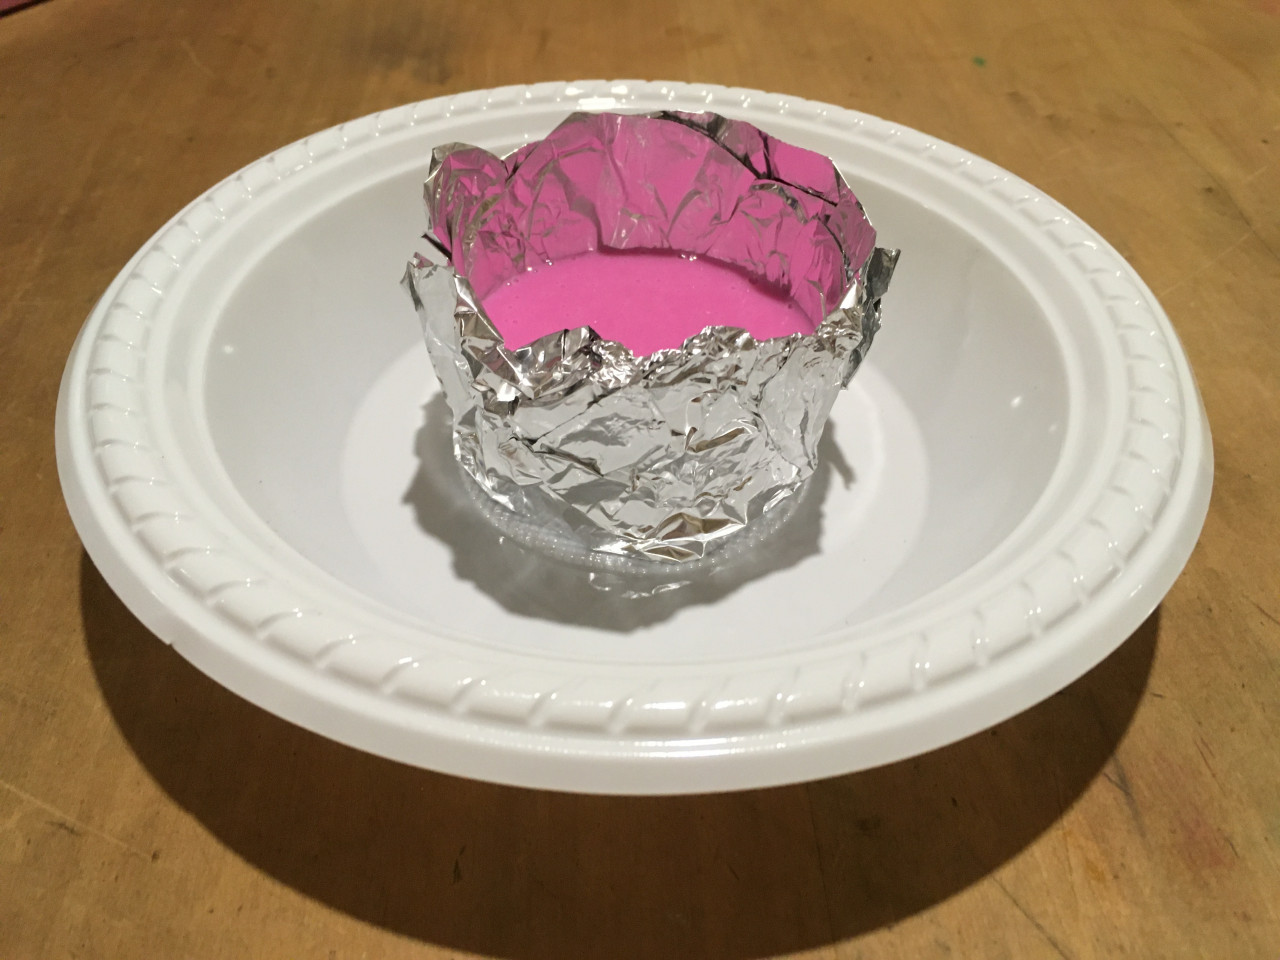
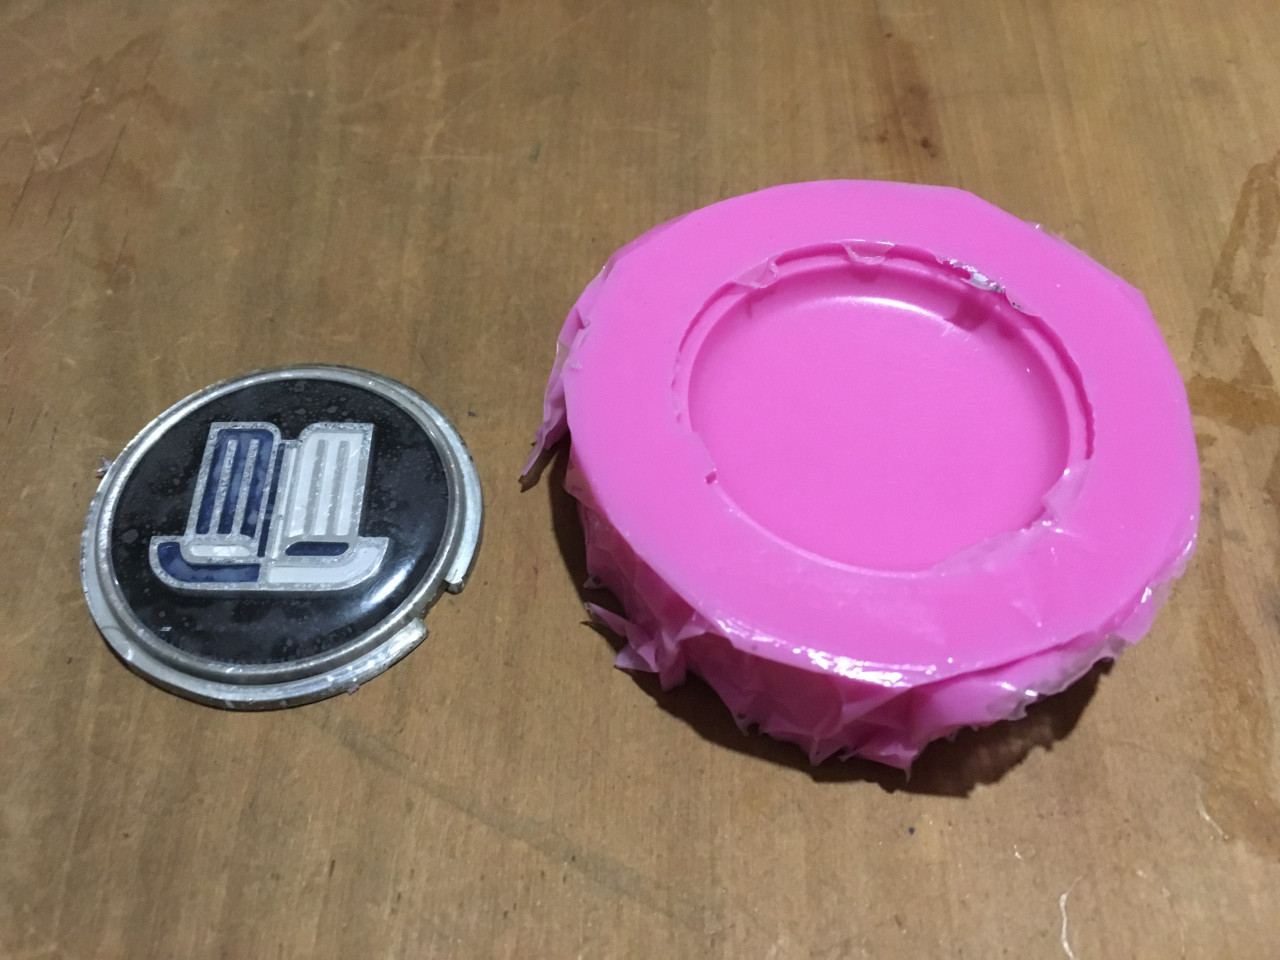
The first step is to disassemble the horn push to get the button out. This is then placed into a container and held to the bottom with blu tack. The silicone casting resin is then poured on top of it and left to cure. When the resin is cured the horn push can be removed from the silicone to leave a perfect mold. I made my container from tin foil as I could then make it small enough so as not to waste too much resin. It also made it fairly easy to remove the mold from.
The next step is to accurately mix the clear epoxy resin. I actually ended up having to redo the entire process as the first time I did it the resin would not set and I wasted a badge. There must have been some inaccuracy in my measuring, so the second time I used a syringe to measure out exactly the right amount of resin and hardener. It's very important to get the ratio correct, especially when dealing with very small amounts of resin like this.
So with the resin mixed you can pour it into the mold and then suspend the badge into the resin until it cures. This takes about 24 hours, although the resin will not fully cure until after 7 days. I used a bulldog clamp as I had it handy, but it did require some extra work to the rear of the button after I removed it from the mold to cut off the extra where the resin had wicked around the clip.
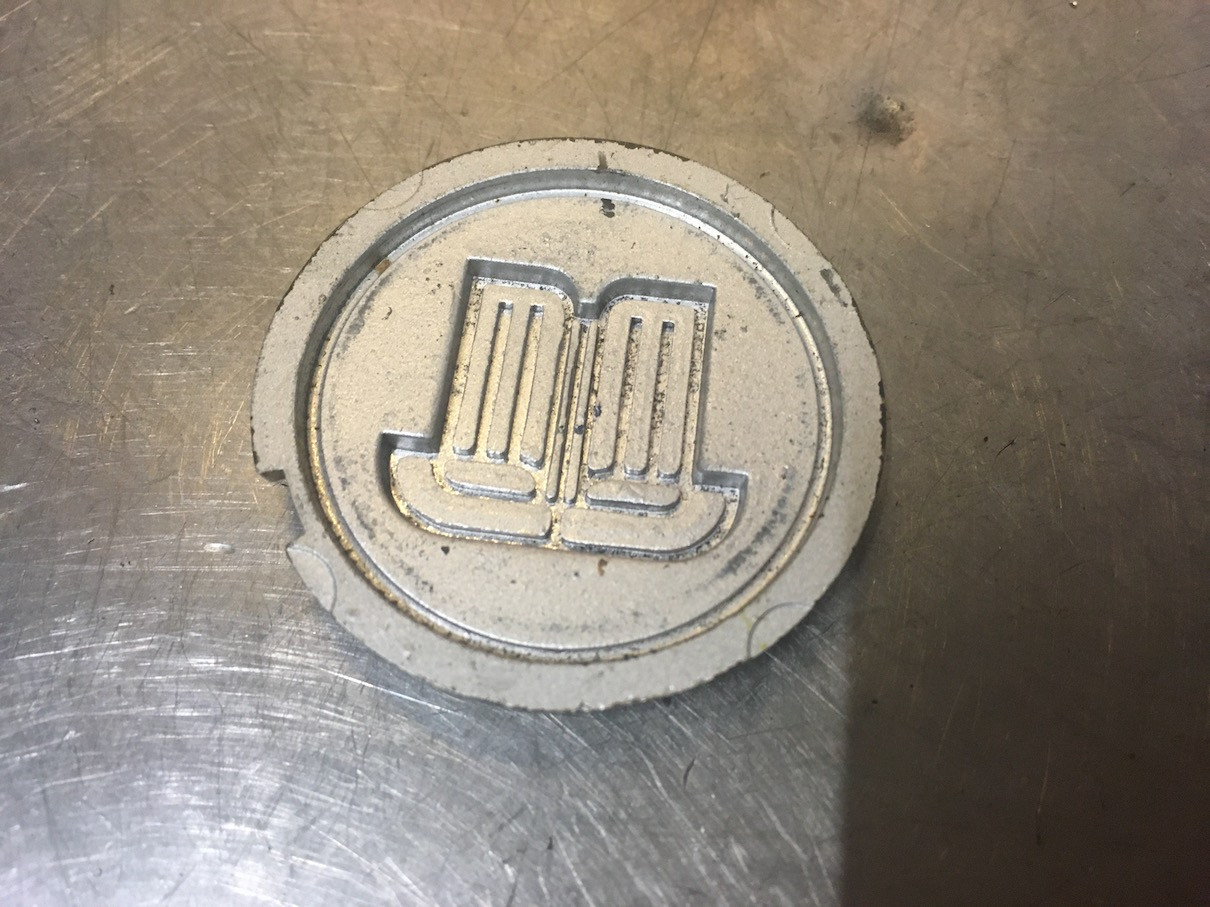
Once the resin is fully cured, the rear of the button can be sanded flat and painted with black satin paint to help the badge stand out, much like the original Triumph badge. I've still got to do this on mine as It's only been cured for a couple of days, I placed a bit of grey card behind mine for the photo but it will look a lot darker when painted. I also have another horn push on its way so that I can replace the broken part on mine.
I'm very pleased with how it has turned out
Flick through the photos below to see the process step-by-step

Comments