
Making my steering column fit.

The great thing about non-standard parts is that somehow you need to make them fit.
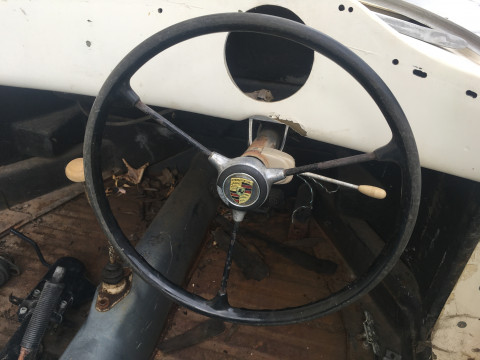
You will recall in previous posts that I've been chipping away at making the steering wheel fit. First making it fit the column, then making the column support, then making a nice fancy horn push and now the ultimate culmination of the steering wheel saga making the steering column fit the car.
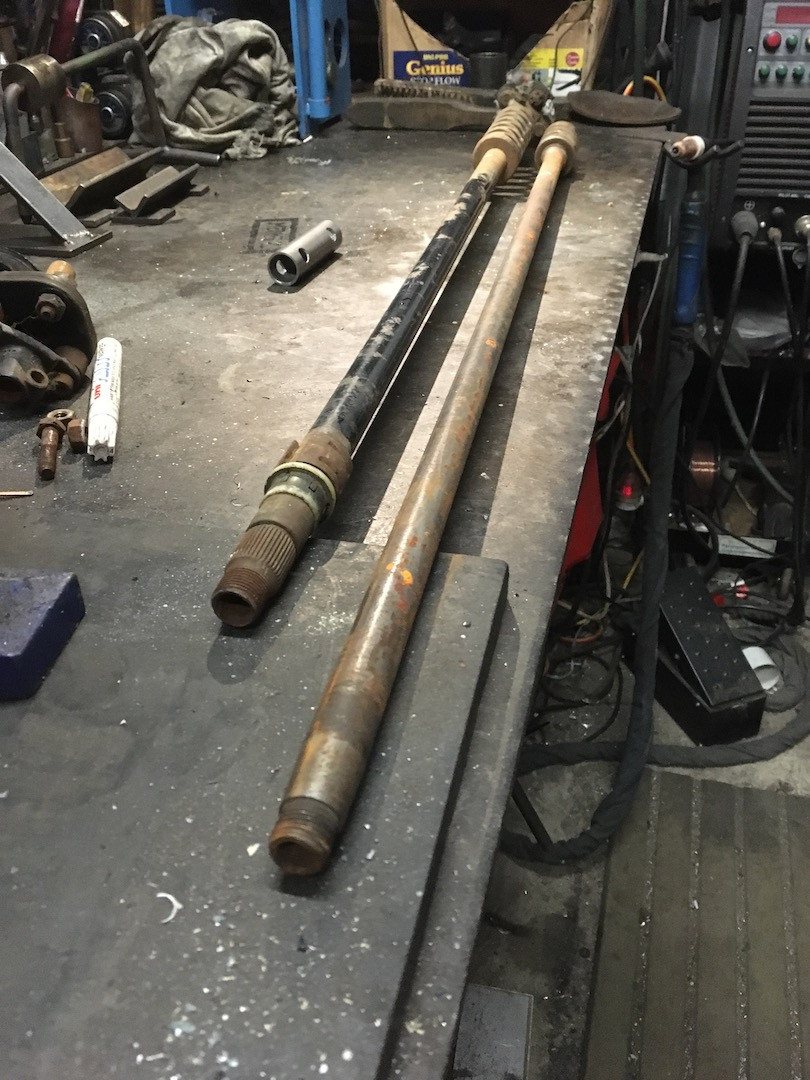
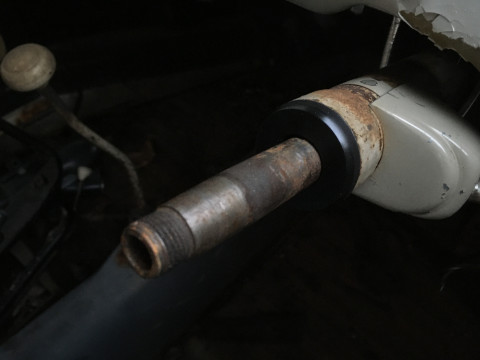
The steering column is actually from an early split screen bus. I needed to use this type of column as it has a tapered and keyed fitment for the steering wheel, which was easier for me to replicate than a splined fitment. The only issue with this is that a split screen bus column does not have the lower splined end needed to hook it up to the bug steering box. In fact it is welded to the worm drive, as on a split screen the shaft is integral to the steering box.
But this is not really too much of a problem as for safety reasons I wanted to fit a late style crash-can column. so I figured that I would use the top part from the bus column and the lower part from a late bug. Easy. eh?
So joining two lengths of tube is not a big or complicated job, you can just weld them together right? Well, yes and no. Sure you can just butt them up and weld them, and that'll probably be okay, but how sure are you that your weld penetrated all the way through the thickness of the material with 100% fusion 100% of the way around the tube, on both fronts of the weld? Even if you're a coded welder using full and proper weld prep, you could probably only say you're 99% sure, but is that enough?
I spent many years working as the maintenance manager for a company that supplied OEM parts to Holden. One of these parts were the steering shafts, which had the yokes of the universal joints welded on to the ends. Each weld had 100% NDT (non-destructive-testing) for weld quality that was recorded and logged against the VIN number of the car. This data was measured and recorded in real-time at the rotary welding machine as the weld was laid down. In addition to this, periodic weld macro testing was carried out by the quality lab. This is where the part is cut, dissecting the weld, so that the weld can be inspected for penetration and fusion. There is basically no margin for error or potential for failure allowed, as every part that leaves the factory must be 100% fit for purpose and remain so for the duration of its life. Each weld not only needs to be perfect, but measurably so. This level of testing is required for all safety critical parts like steering and braking components. So unless you get your weld x-ray or ultrasound tested to verify it, then there is no way you can be sure that it is sound.
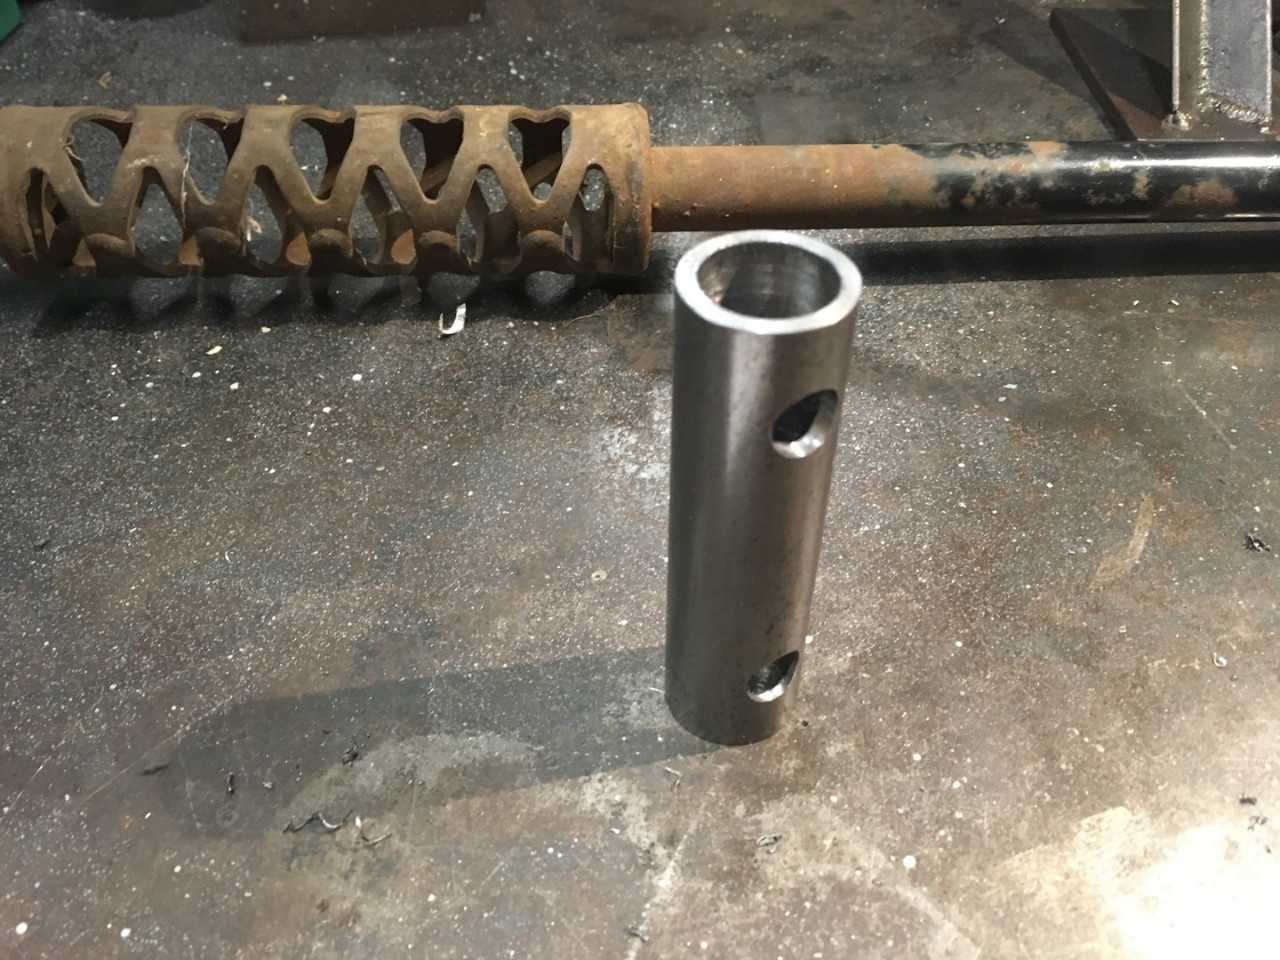
With this in mind I decided that in addition to butt welding the join, I would sleeve the weld as well. Sleeve joins are pretty common practice in these kind of applications (torsional forces) as the sleeve bridges across the weld zone meaning that the weld zone is not bearing 100% of the load. Differences in the hardness and composition of the parent metal and the weld zone means that even if the weld is perfect, there are still stress risers that form due to the difference in properties across the join. These may eventually lead to weakening of the join and possibly cracking. Sleeving across the join not only relieves these stress risers but also adds additional strength to the join from the increased cross-sectional area of the combined shaft and sleeve.
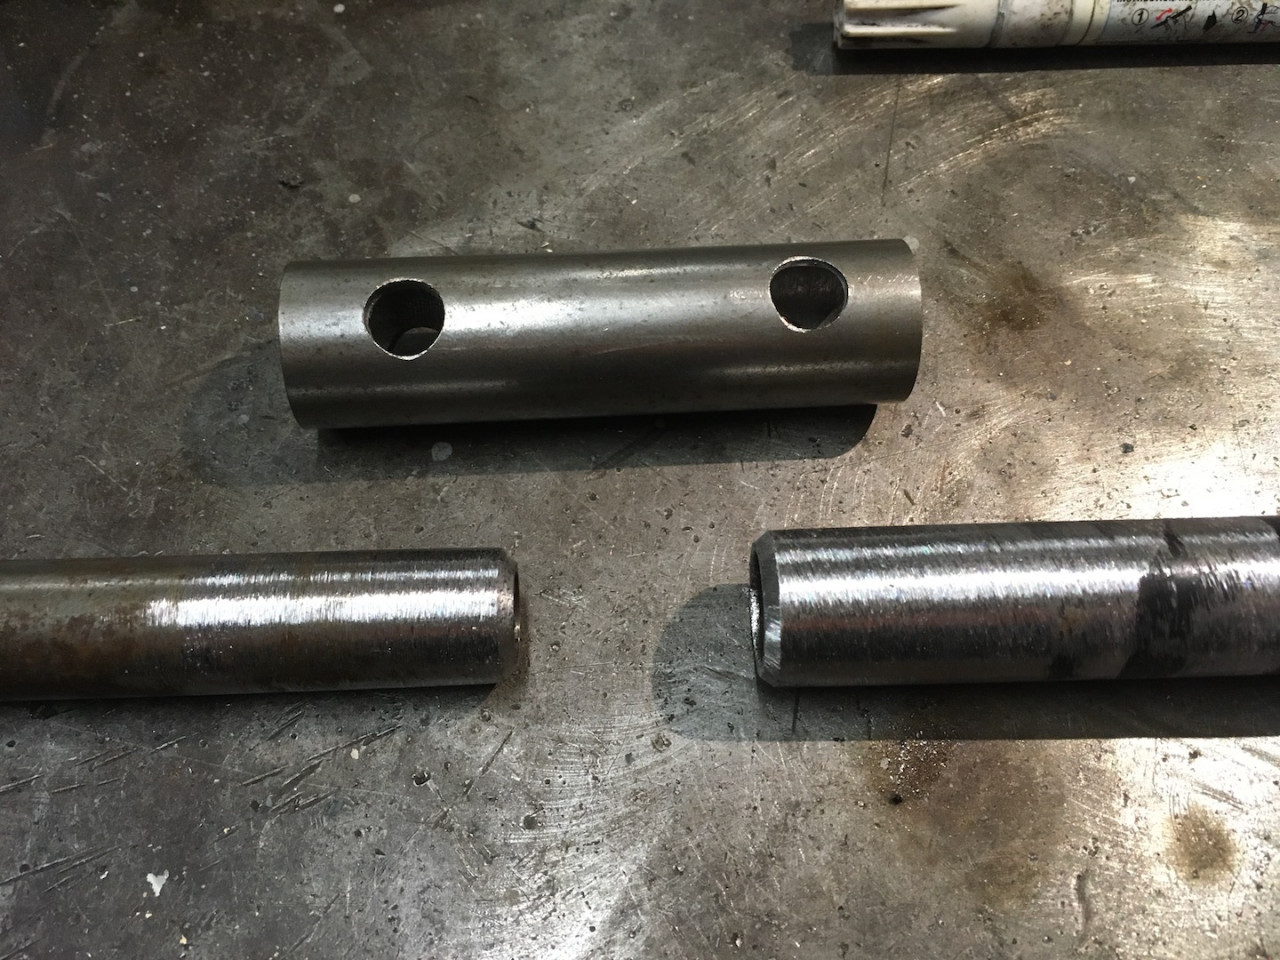
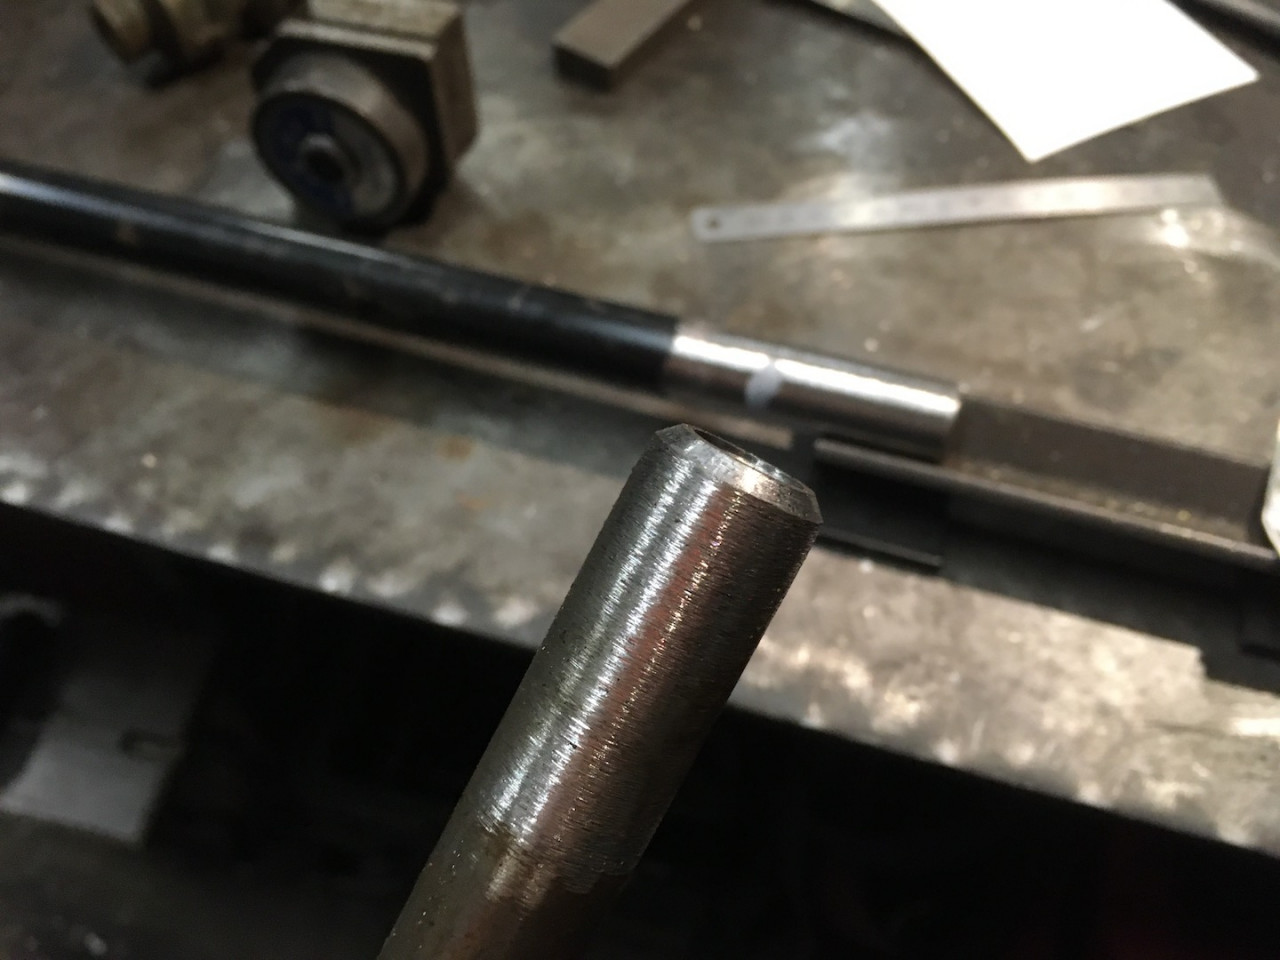
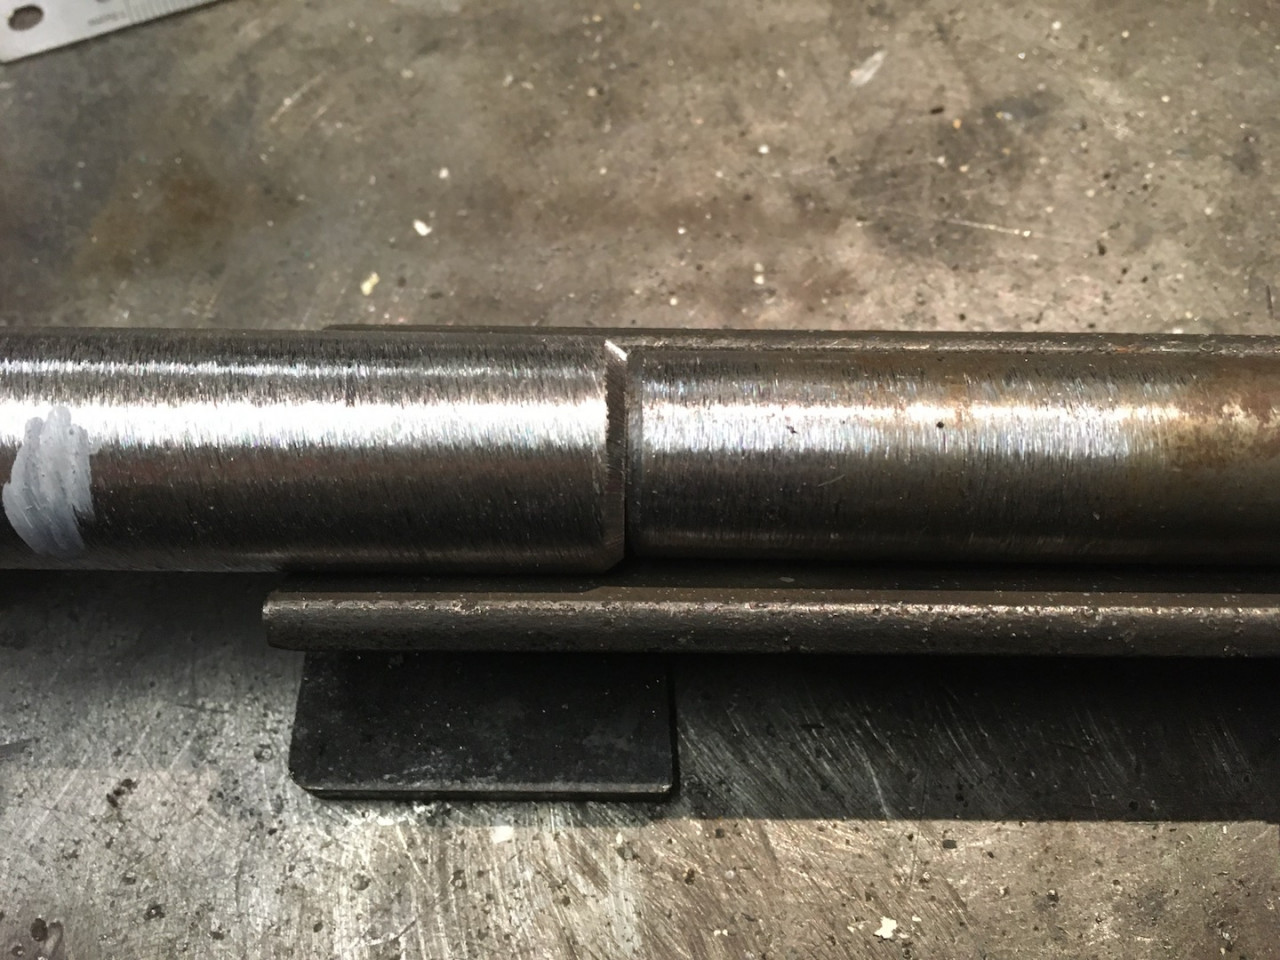
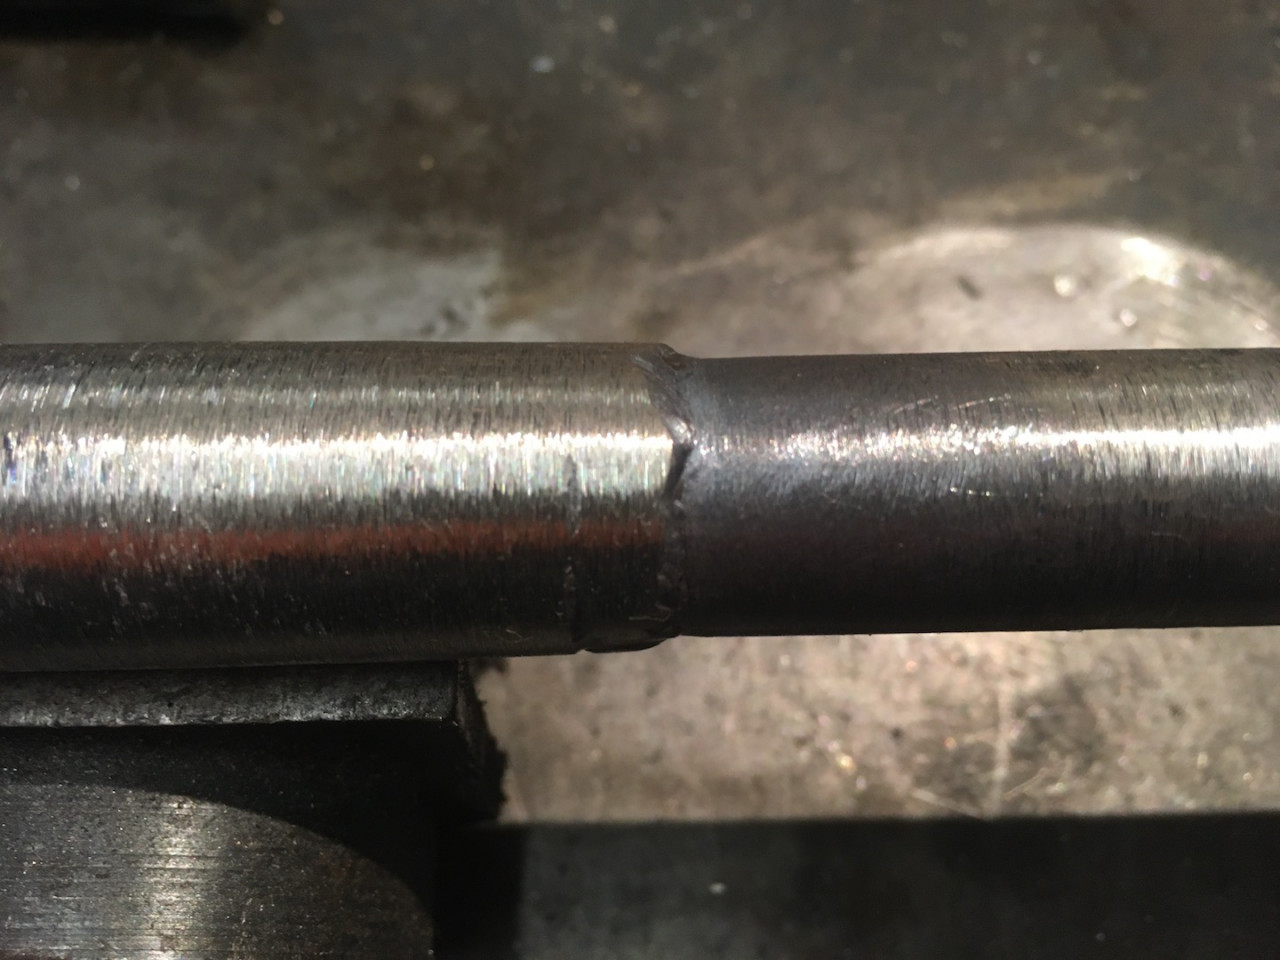
Making the sleeve also allowed me to address a difference in diameter between the steering shafts. The early bus column is 19mm, whereas the late bug column is 22mm. I turned down a stepped sleeve on the lathe and cross drilled some holes which would allow me to plug weld the sleeve as well.


Getting everything cut to length required some trial fitting of the steering wheel and a bit of trawling through my stash of 356 photos to work out what the correct length should be. Generally the bug steering column is too short to fit a speedster shell. Spacers are needed at the steering coupling to push the steering wheel further in to the passenger compartment. This is to prevent the indicator stalk from fouling the dashboard and the steering wheel being too close to the dashboard peak trim. This issue is made worse when using a flat style aluminium wheel like many Porsches had fitted.
Flicking through my photos of original cars, I noted that the steering wheel is usually a fair bit further out from the dash than on most replicas. I assume that this is as a result of the shorter Bug steering column. Even the 25mm spacers that most people fit are nowhere near enough. Something else I noted is that many replicas have the indicator stalk oriented towards the center of the car, this helps with the clearance, as the dashboard curves nearer to the driver at the outside edges, making it too close to the indicator stalk. So armed with this information but devoid of any actual physical measurements to work to, I set the column in a visually similar location as that in the photos I found.
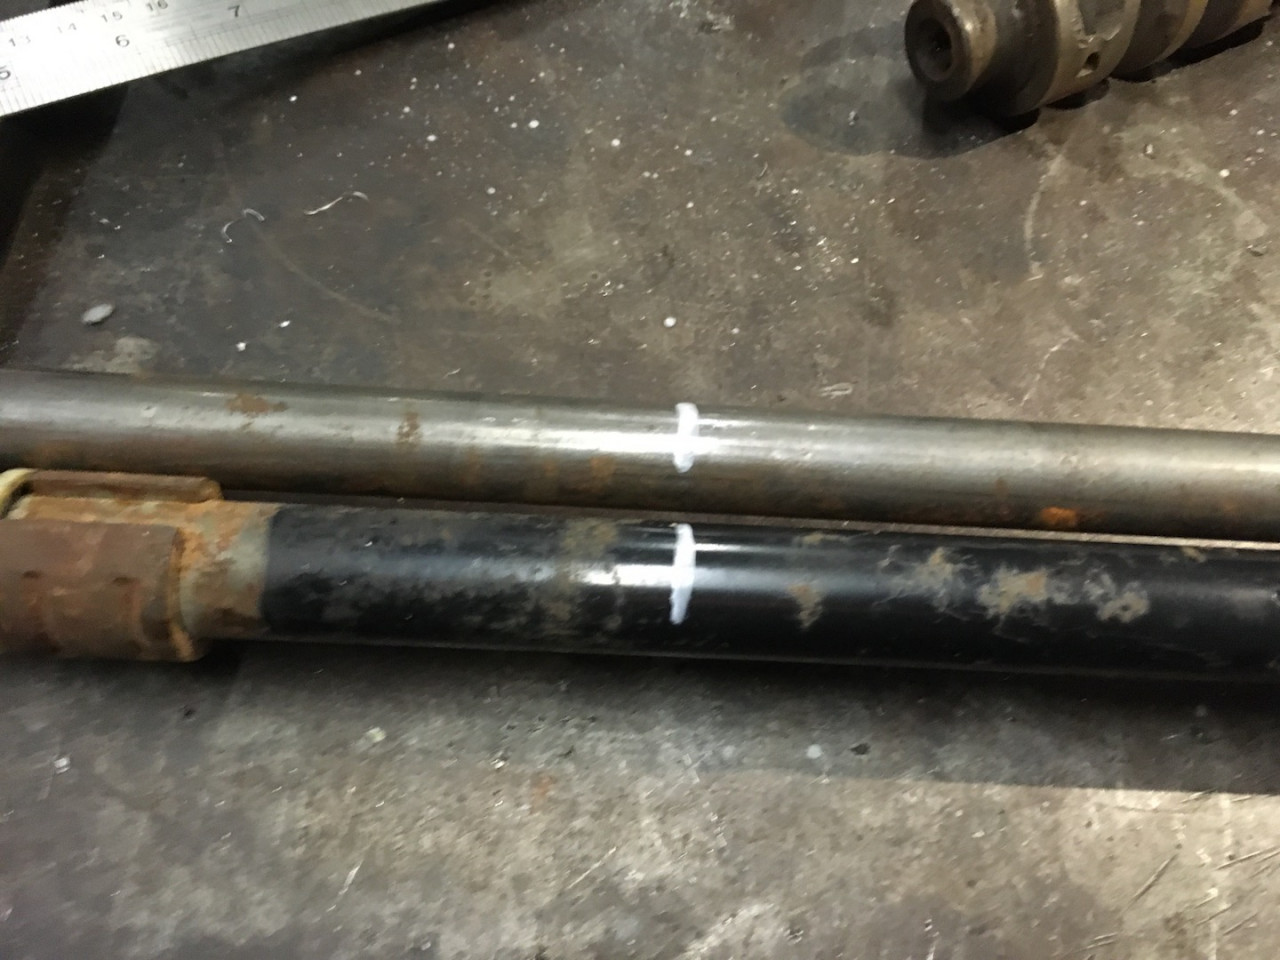
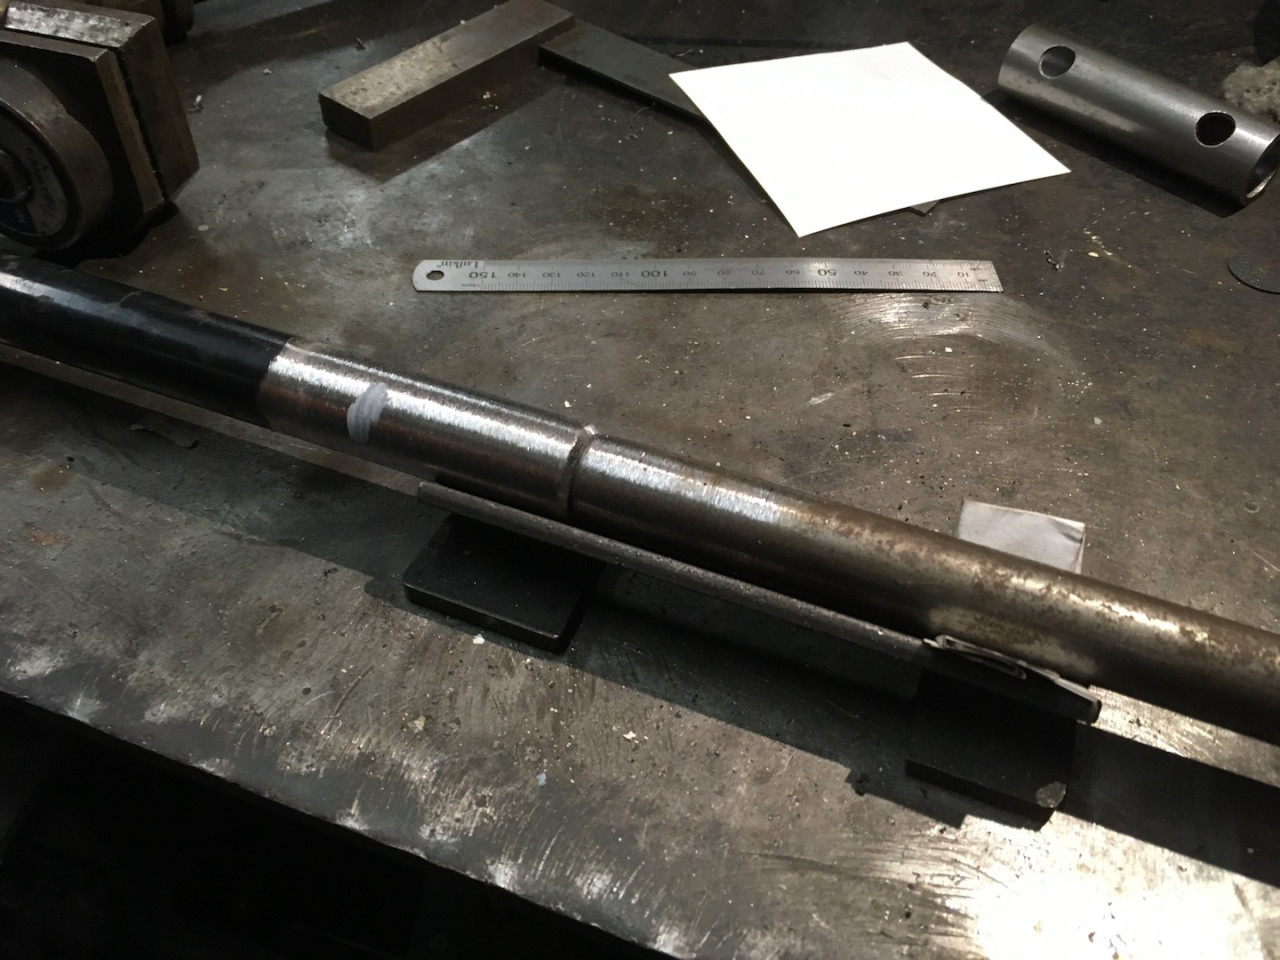
With everything lined up and in position I marked the column level with the bottom of the outer steering column tube. I then did the same with the late column, marking it at the same position. Cutting both columns at this location and joining them together would result in the length being correct, however, I wanted to make the join so that it was hidden within the outer tube, so I simply moved the join up on both columns by the same amount.
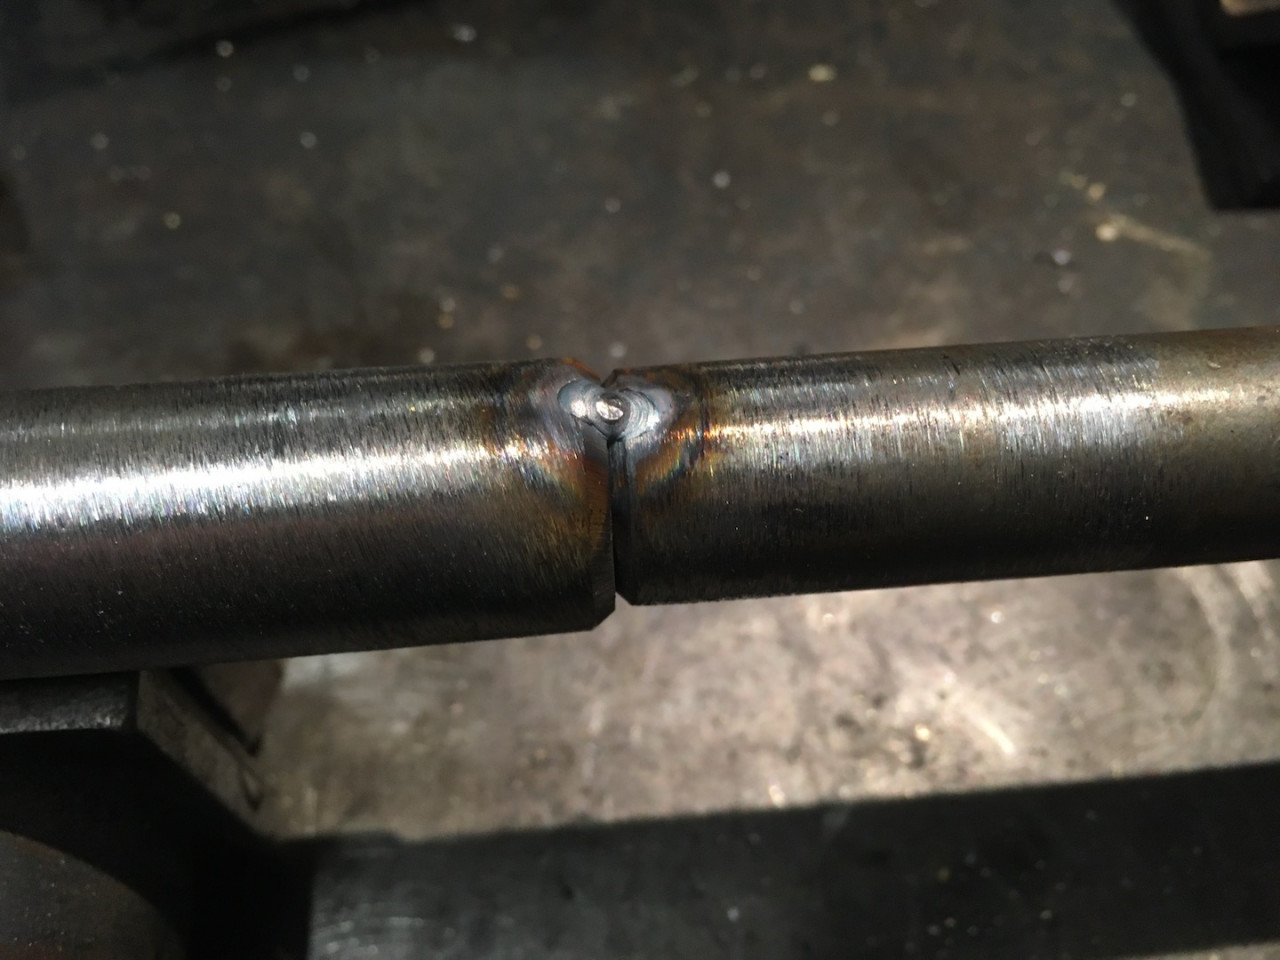
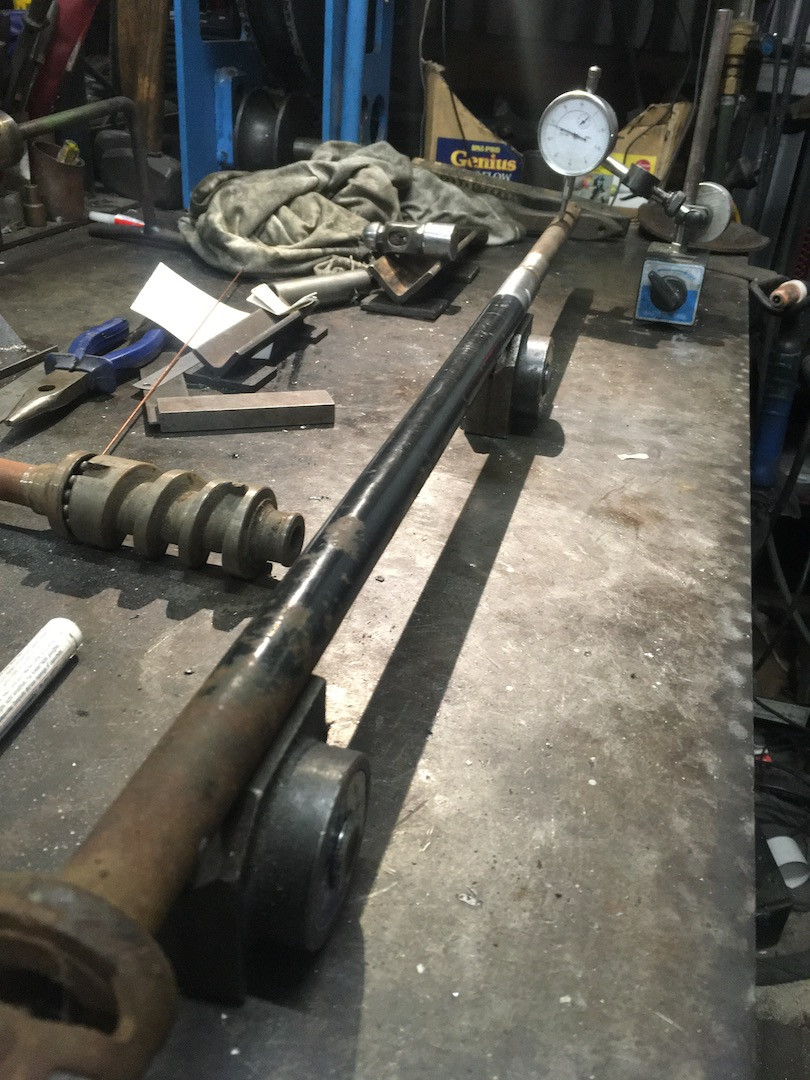
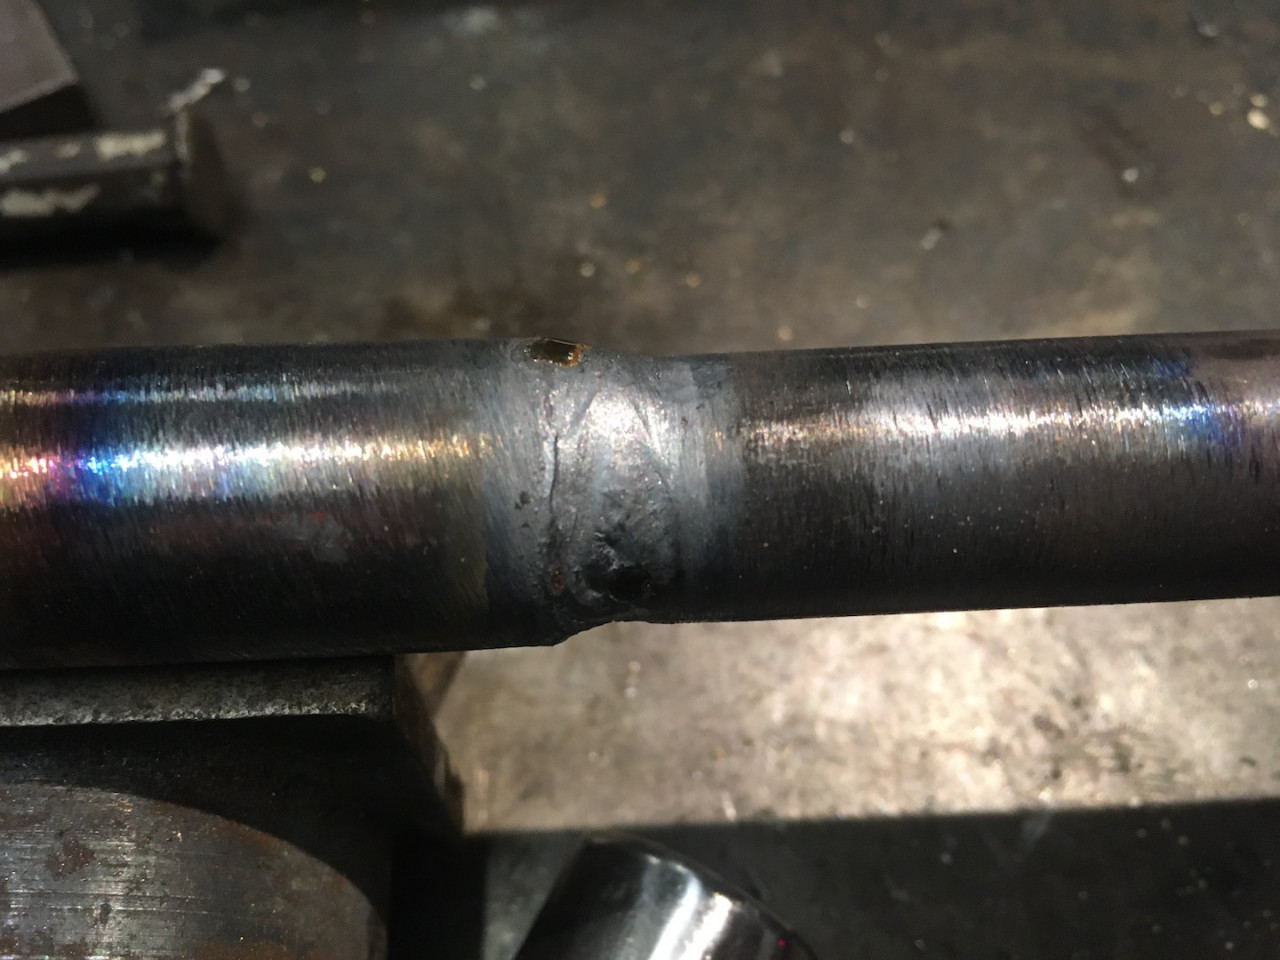
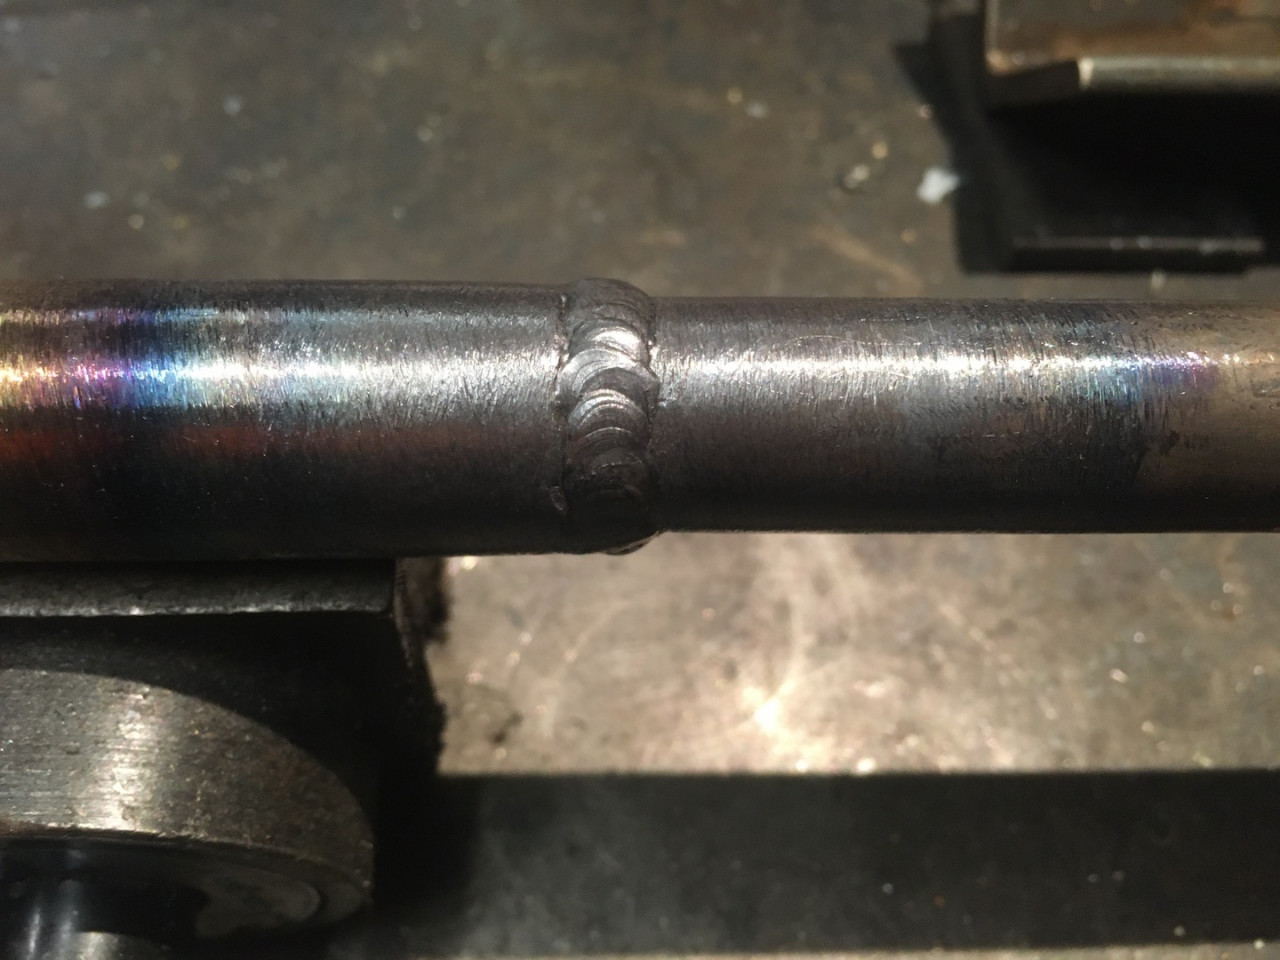
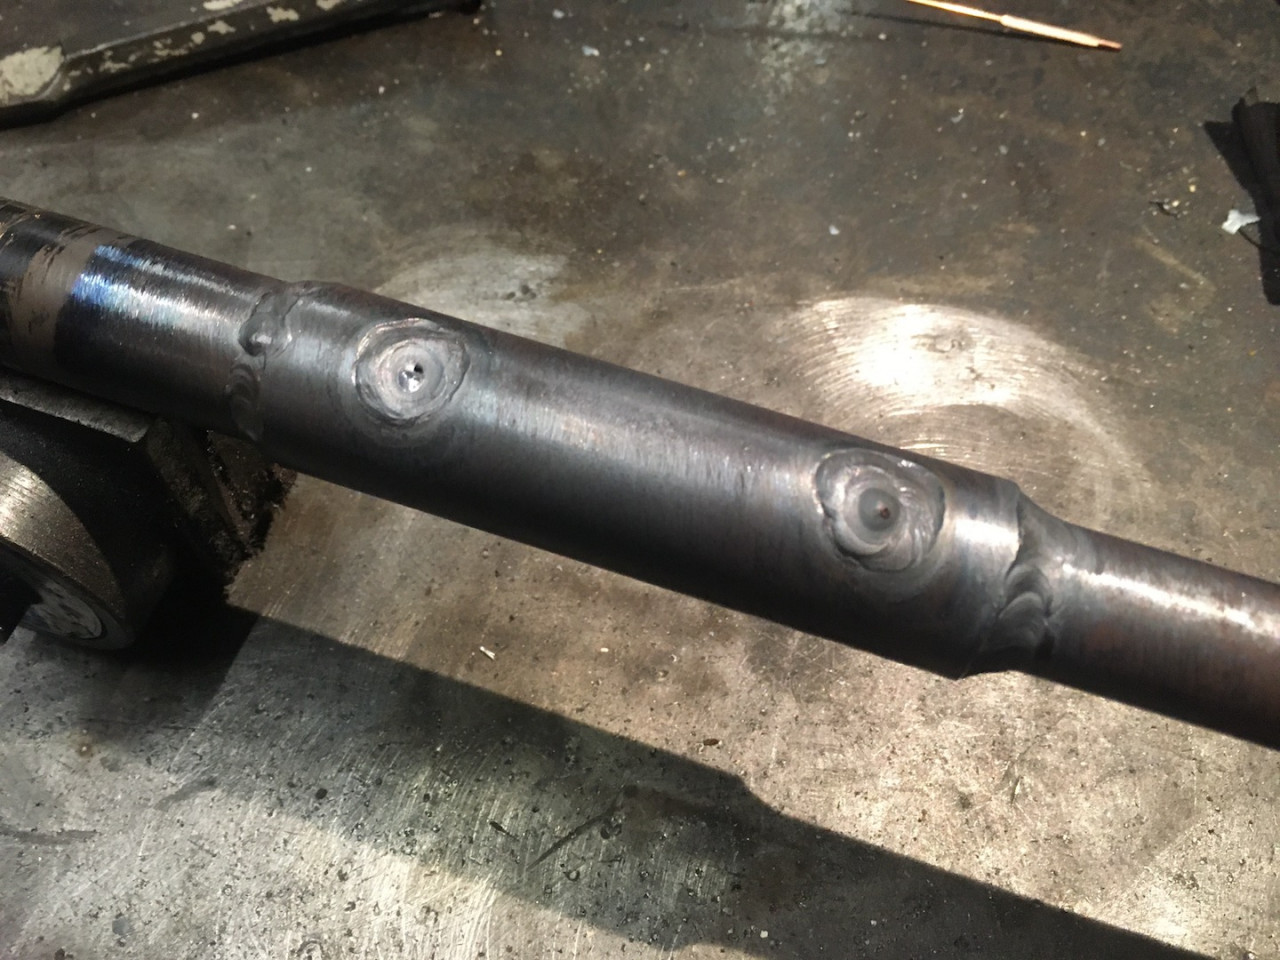
After cutting the tubes I prepared the ends by bevelling them. I then levelled them up in the vee blocks on my welding bench and tacked them together. As always, when weld cools it contracts which pulls the workpiece out of alignment, this is easily addressed by planishing the weld to stress-relieve it, which realigns the workpiece. To make sure that the shaft was back in alignment I set up a dial indicator to check the concentricity. A few tweaks to get it aligned and then I tacked and welded the rest of the join. I made two passes, one weld in the root of the prepared groove and one to cap it off. I then ground the weld back smooth so that the sleeve could be slid over the top of it. Finally I lined up the sleeve into the correct position (I marked it out before I tacked the tube up) and then welded it - first the plugs, and then finally around the circumference of the sleeve.
With the weld finished I checked the concentricity again and found that the job had pulled by a few thou, so I will tweak this in the press after it has cooled.
Now I just need to fit it up.
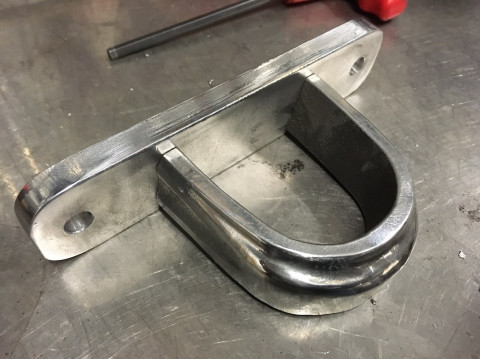
DIY Speedster Steering Column Clamp
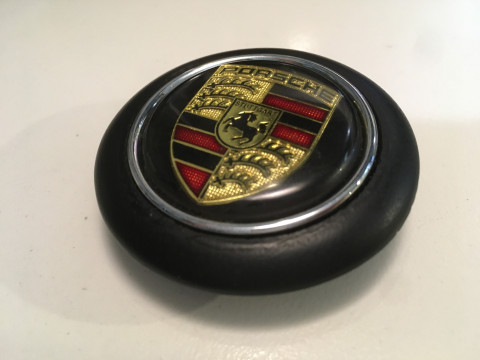
Horn Push Finished
Steering column bush
Comments