
By
Speedster
Windscreen
Fitting, fettling and then fitting and fettling some more. The windscreen is not exactly the easiest thing to fit. Especially when all of the parts are made by different suppliers, in different decades for different versions of the car.
17 April 2019
From album Windscreen
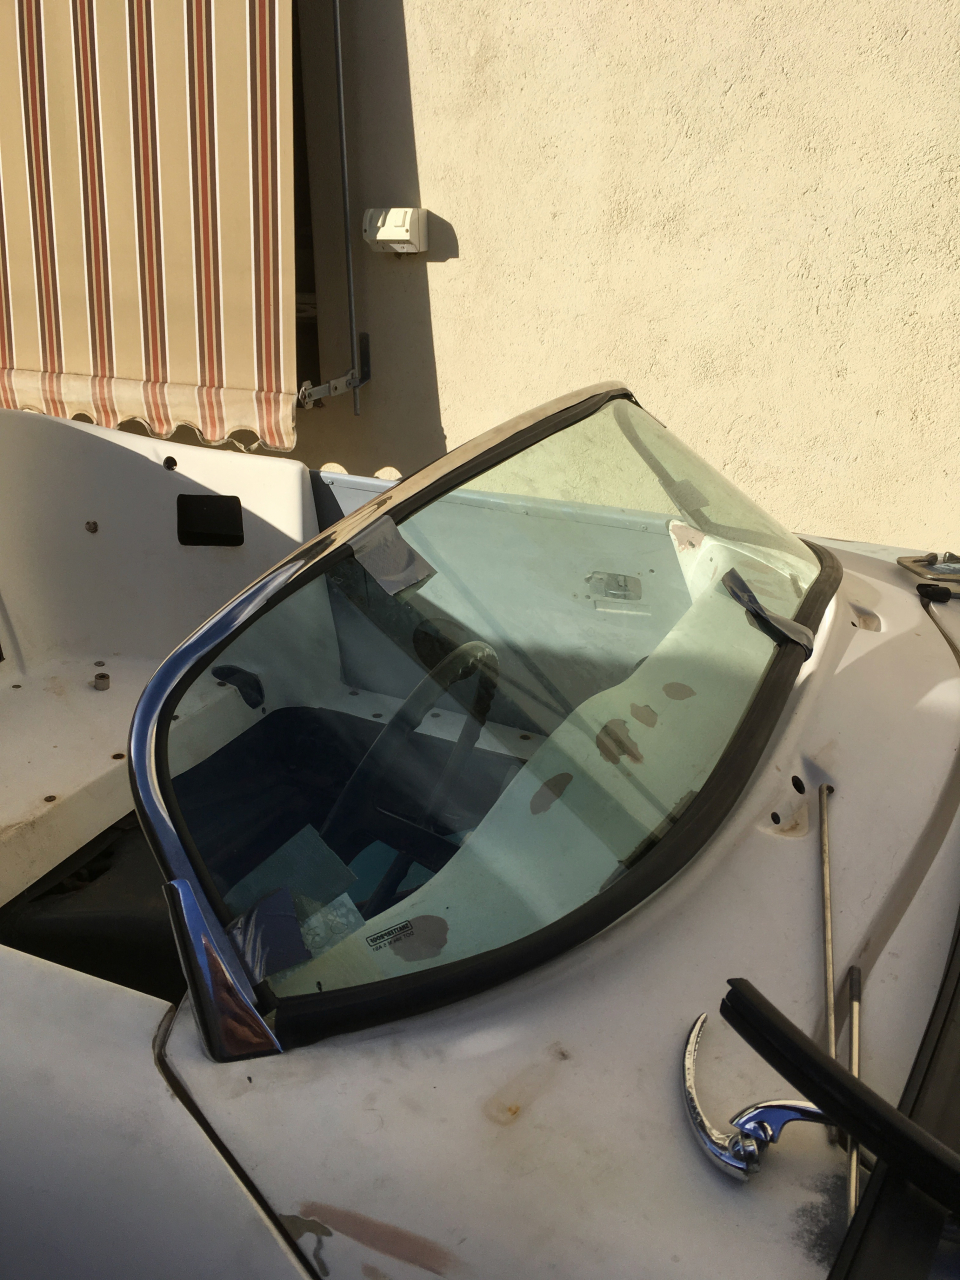
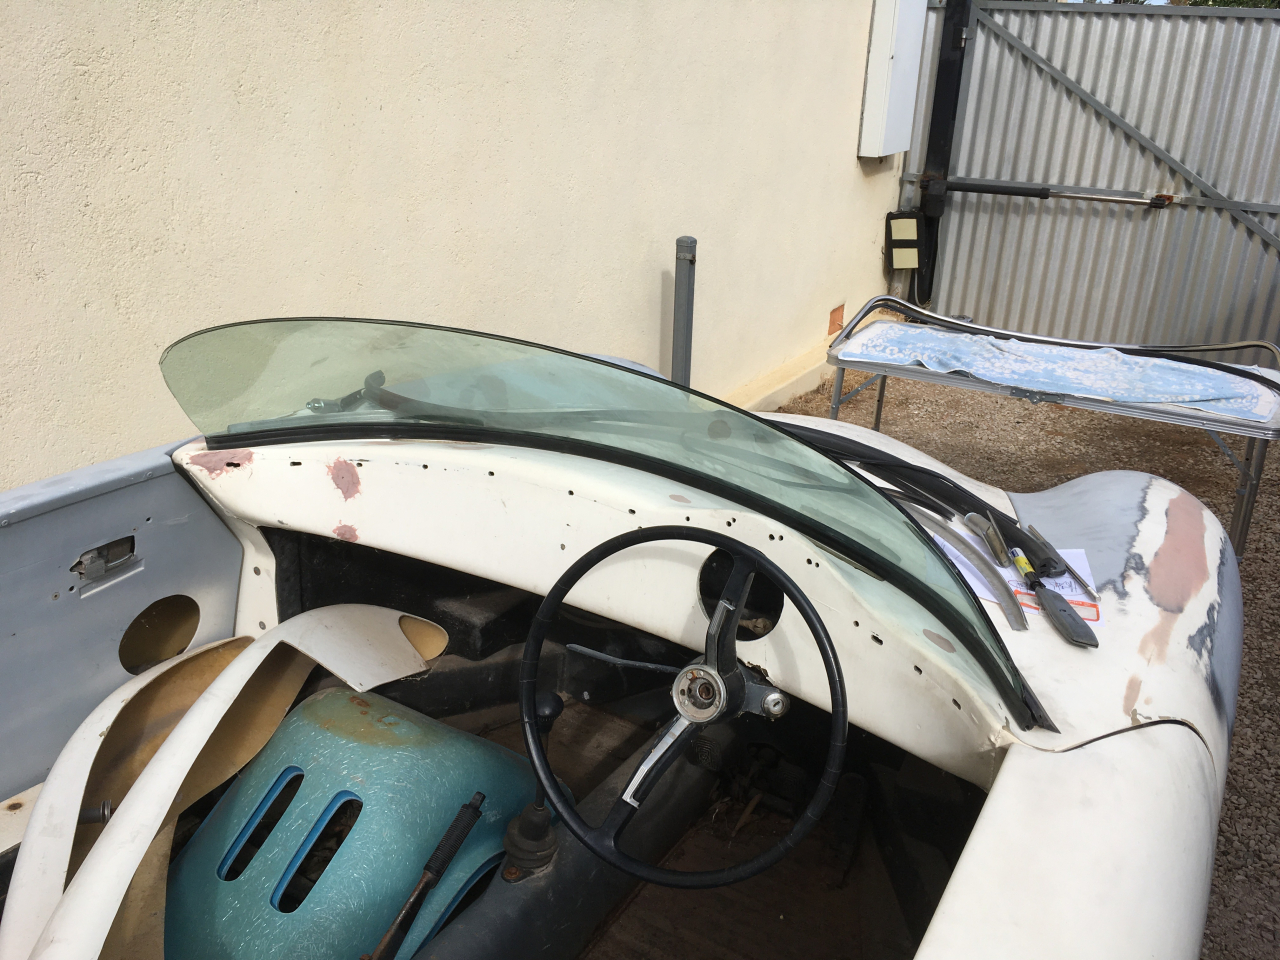
The posts I bought from VIntage speedster parts seem to be at too acute an angle for the screen to fit properly, as there is a gap in the centre at the bottom. This could be due to a number of factors, including the screen size itself. It's not...
The posts I bought from VIntage speedster parts seem to be at too acute an angle for the screen to fit properly, as there is a gap in the centre at the bottom. This could be due to a number of factors, including the screen size itself. It's not an impossible thing to fix, but does require some careful thought and planning.
More
From album Windscreen
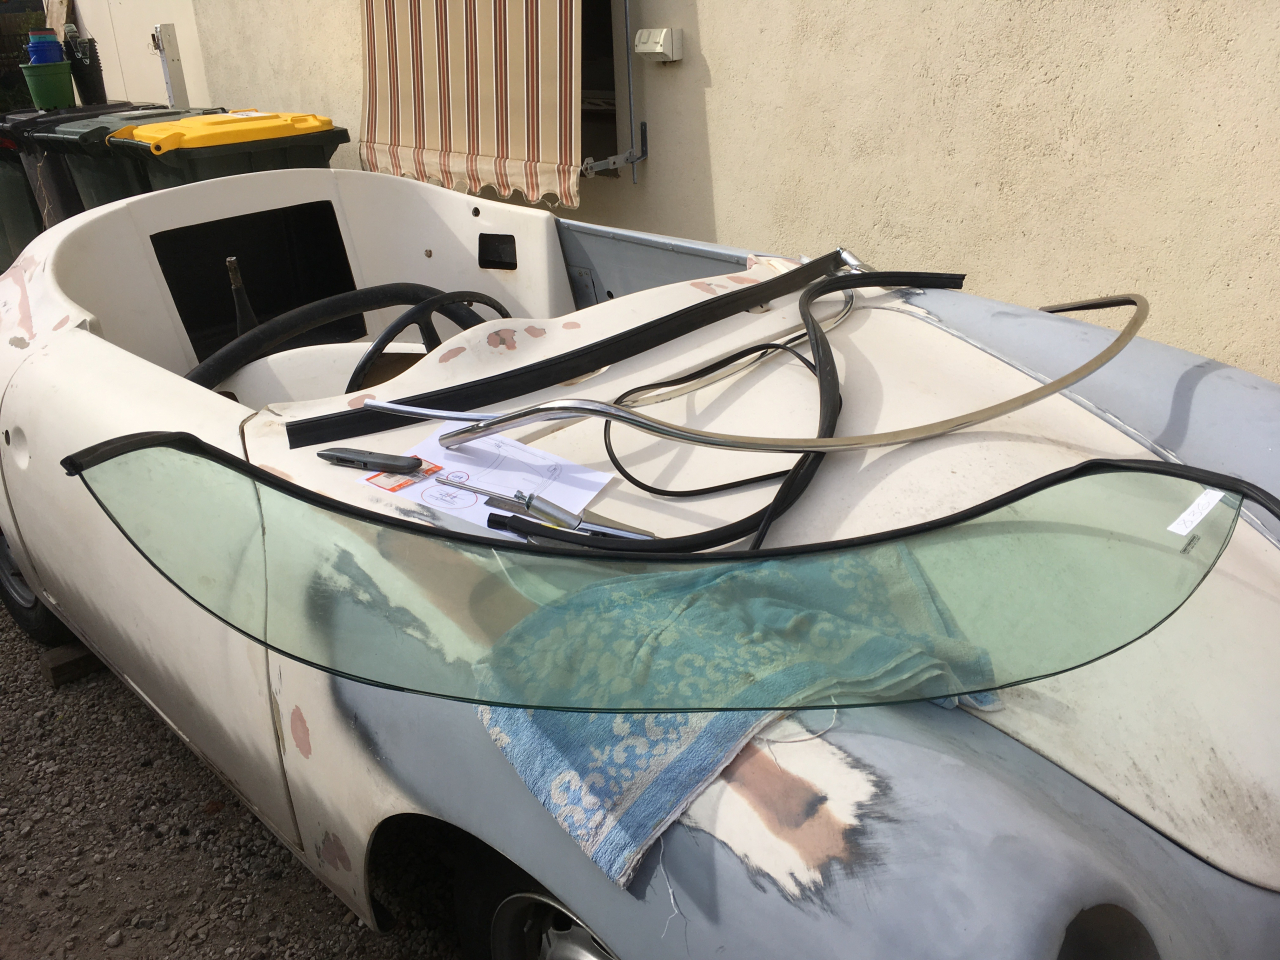
This is the first attempt at fitting the glass and frame into position with the seals. There's a bit more fettling to do before everything fits properly, but it's starting to look promising
10 May 2019
·
4 years ago
From album Windscreen
The holes should be located 48mm forwards of the door aperture and 41mm from the edge of the door aperture
17 April 2019
·
5 years ago
From album Windscreen
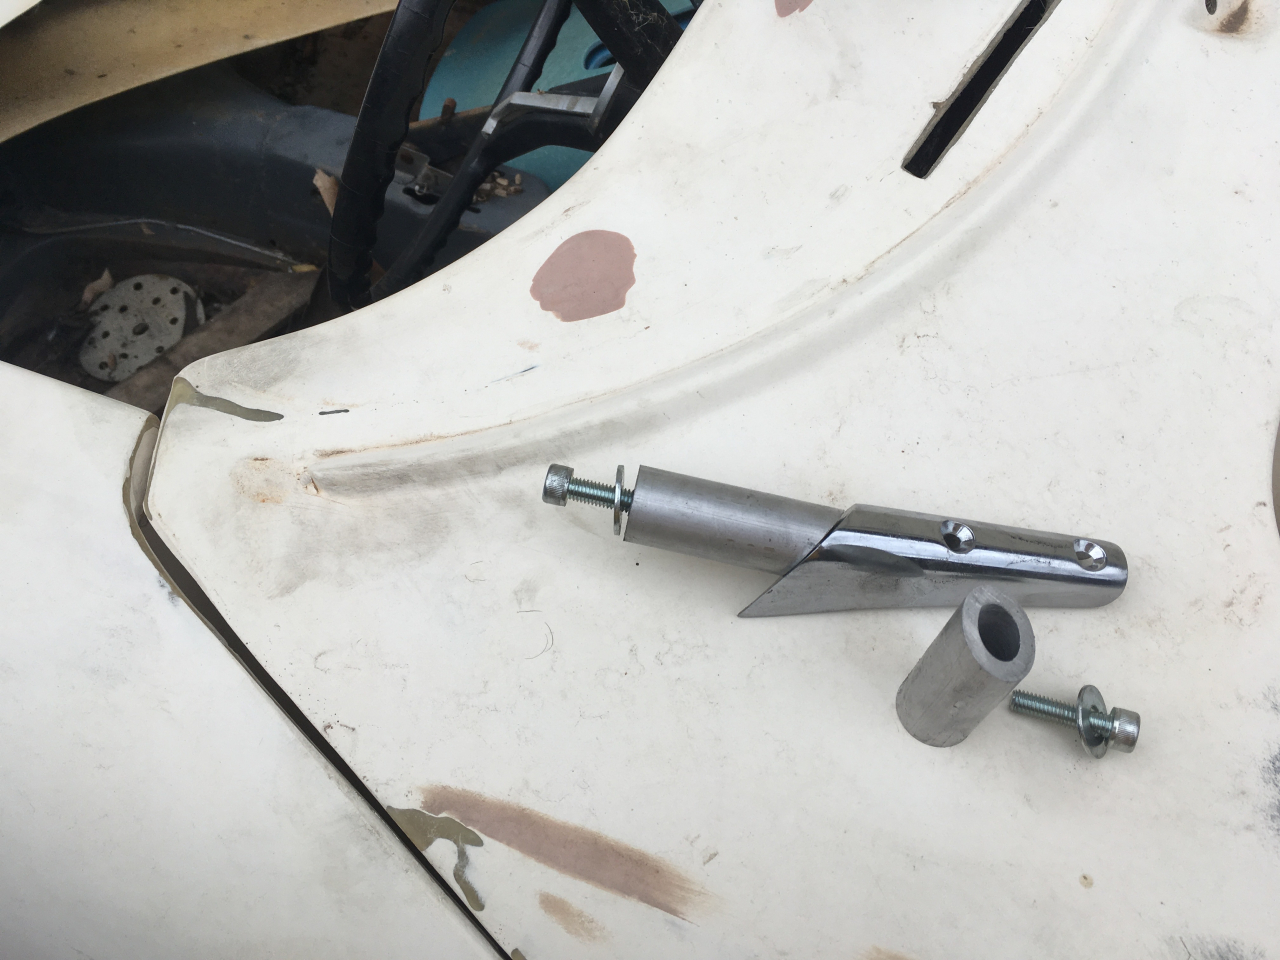
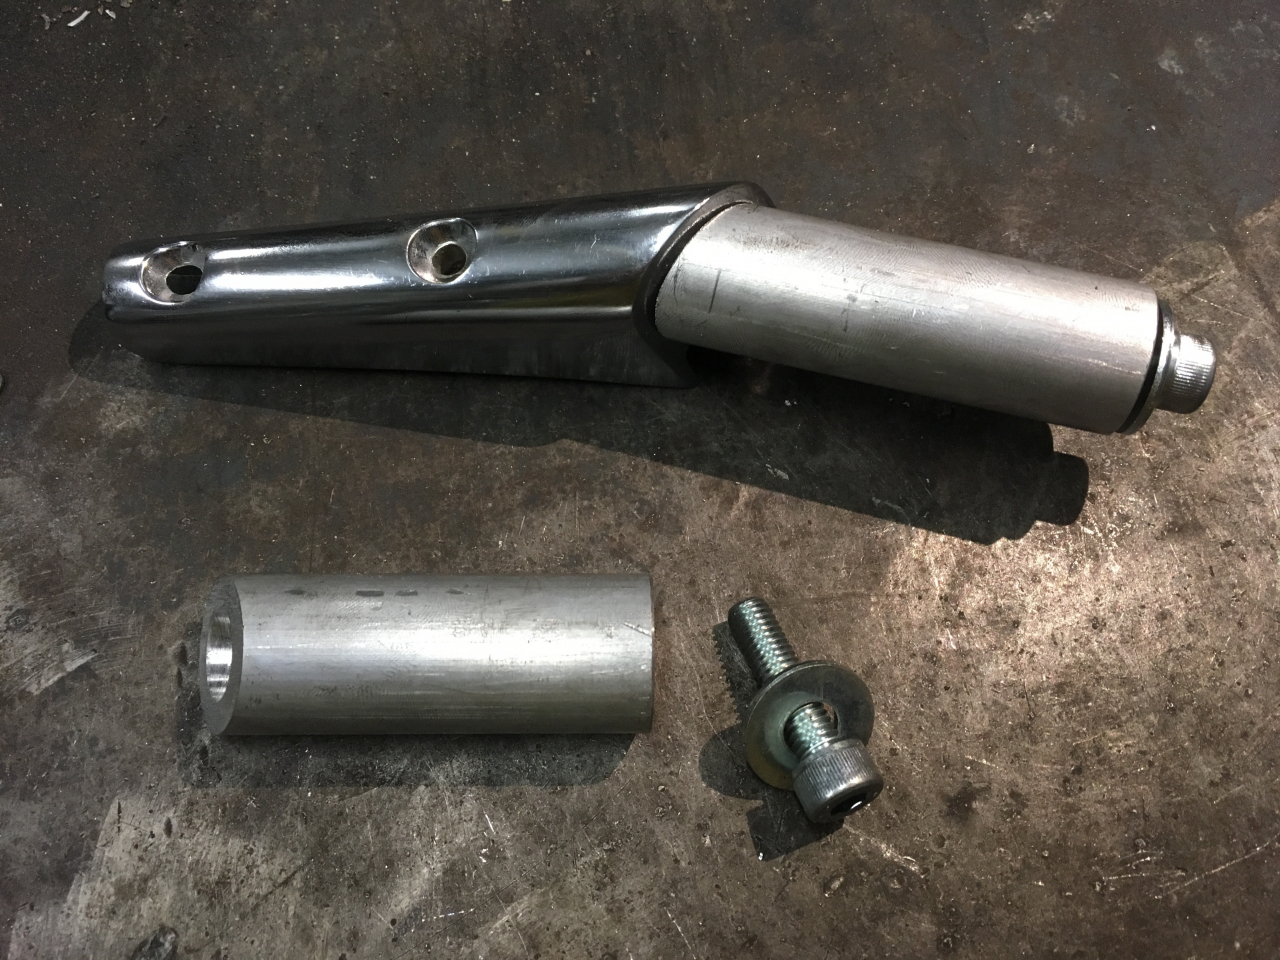
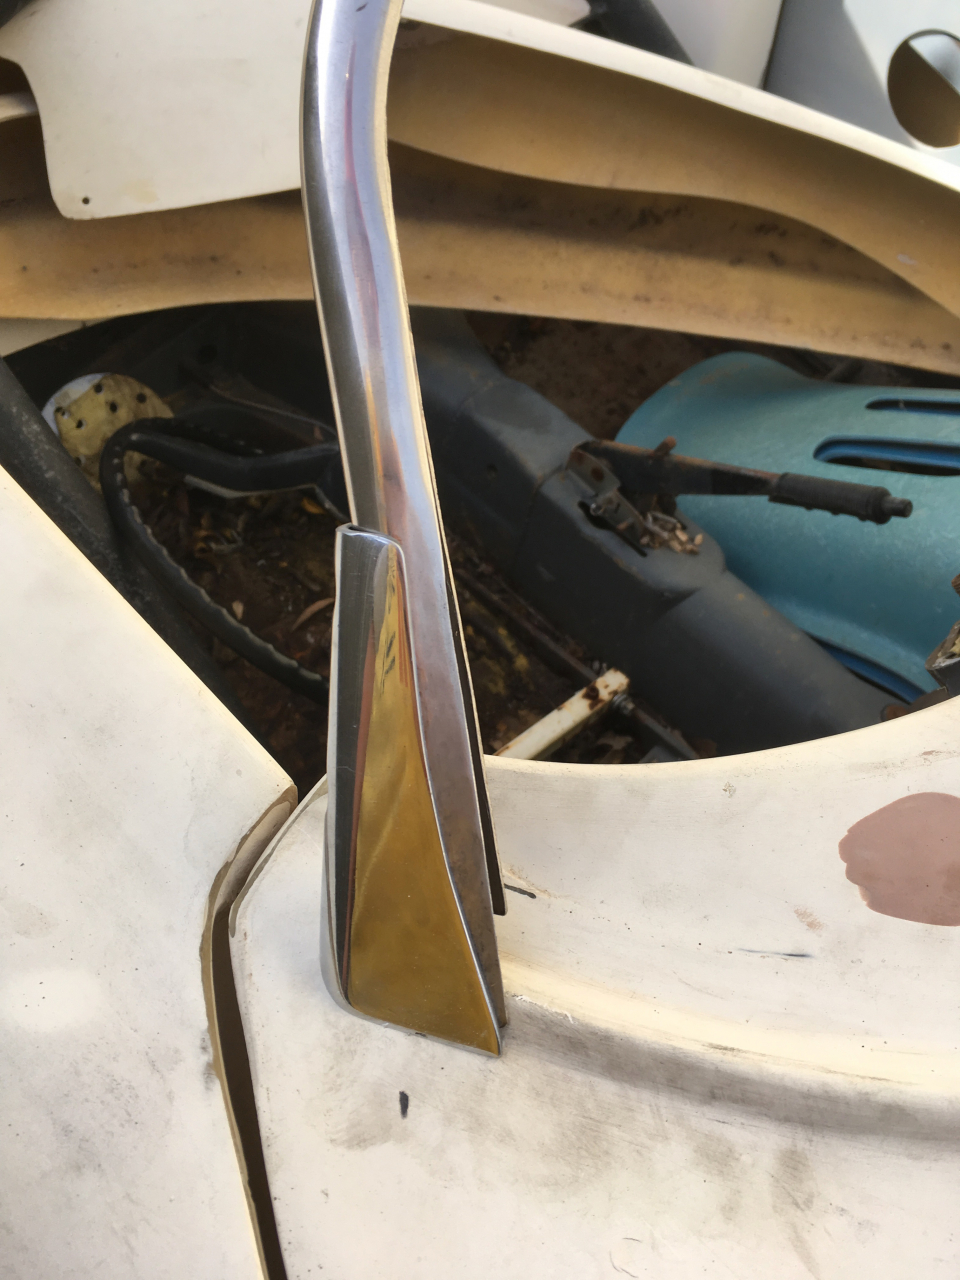
I made some clamping pieces based on photos of the original style - they are simply spacers made form aluminium.
17 April 2019
·
5 years ago
From album Windscreen
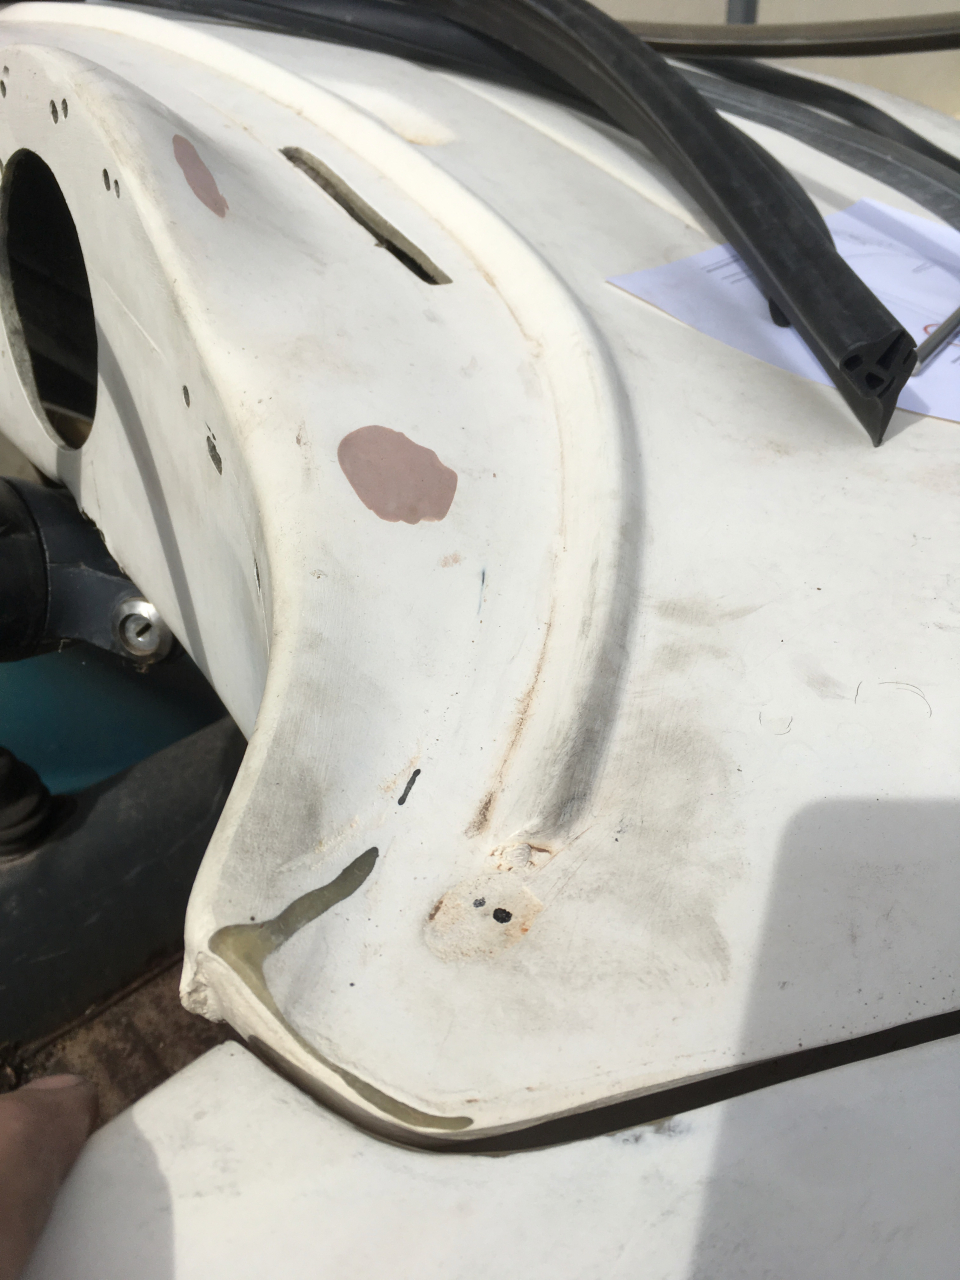
My kit has a ridge on the cowl to locate the bottom of the windscreen. This is the same as Speedsterclinic and Chesil kits
17 April 2019
·
5 years ago
From album Windscreen

From album Windscreen
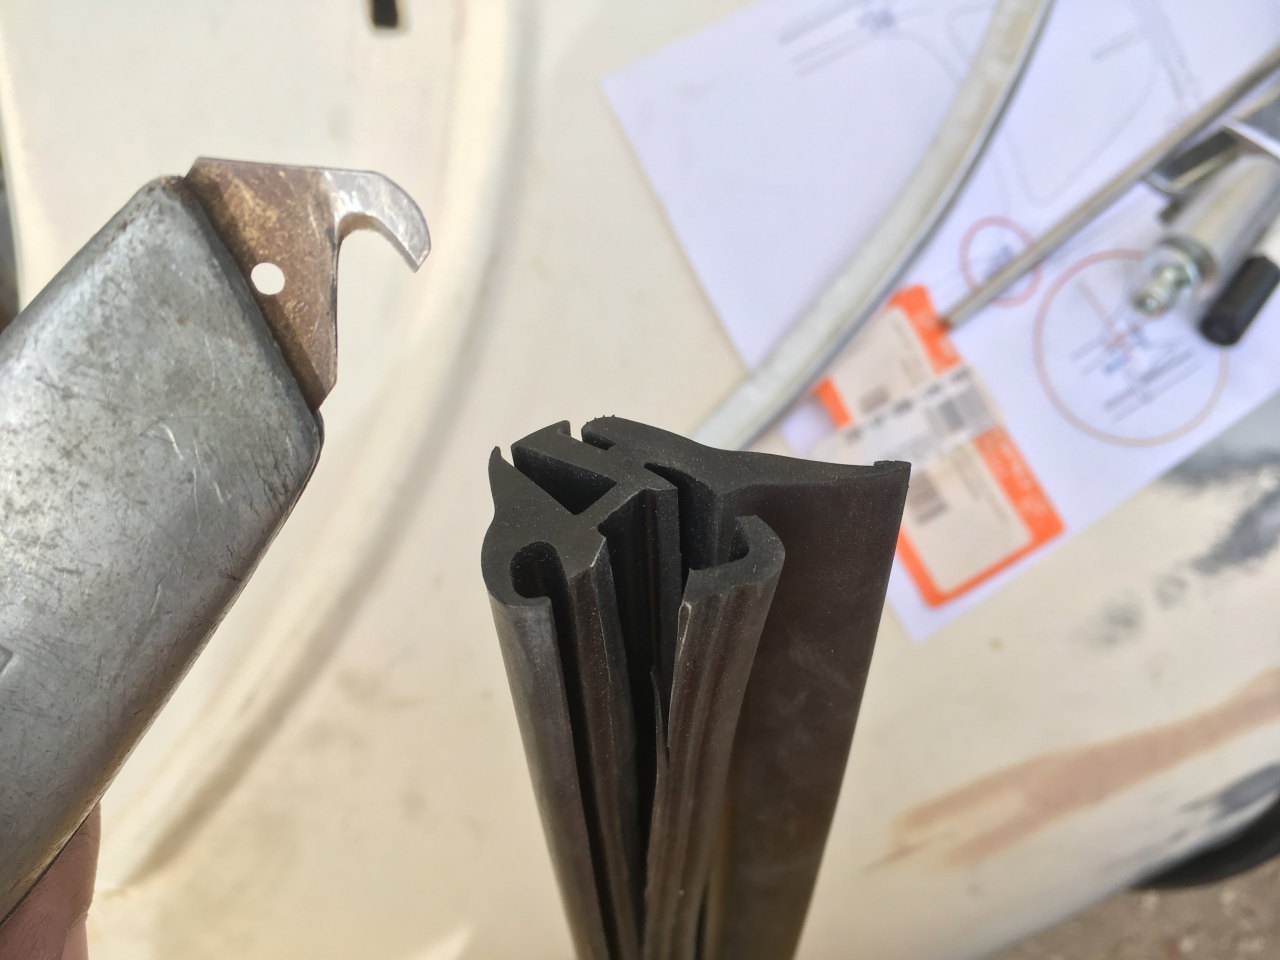
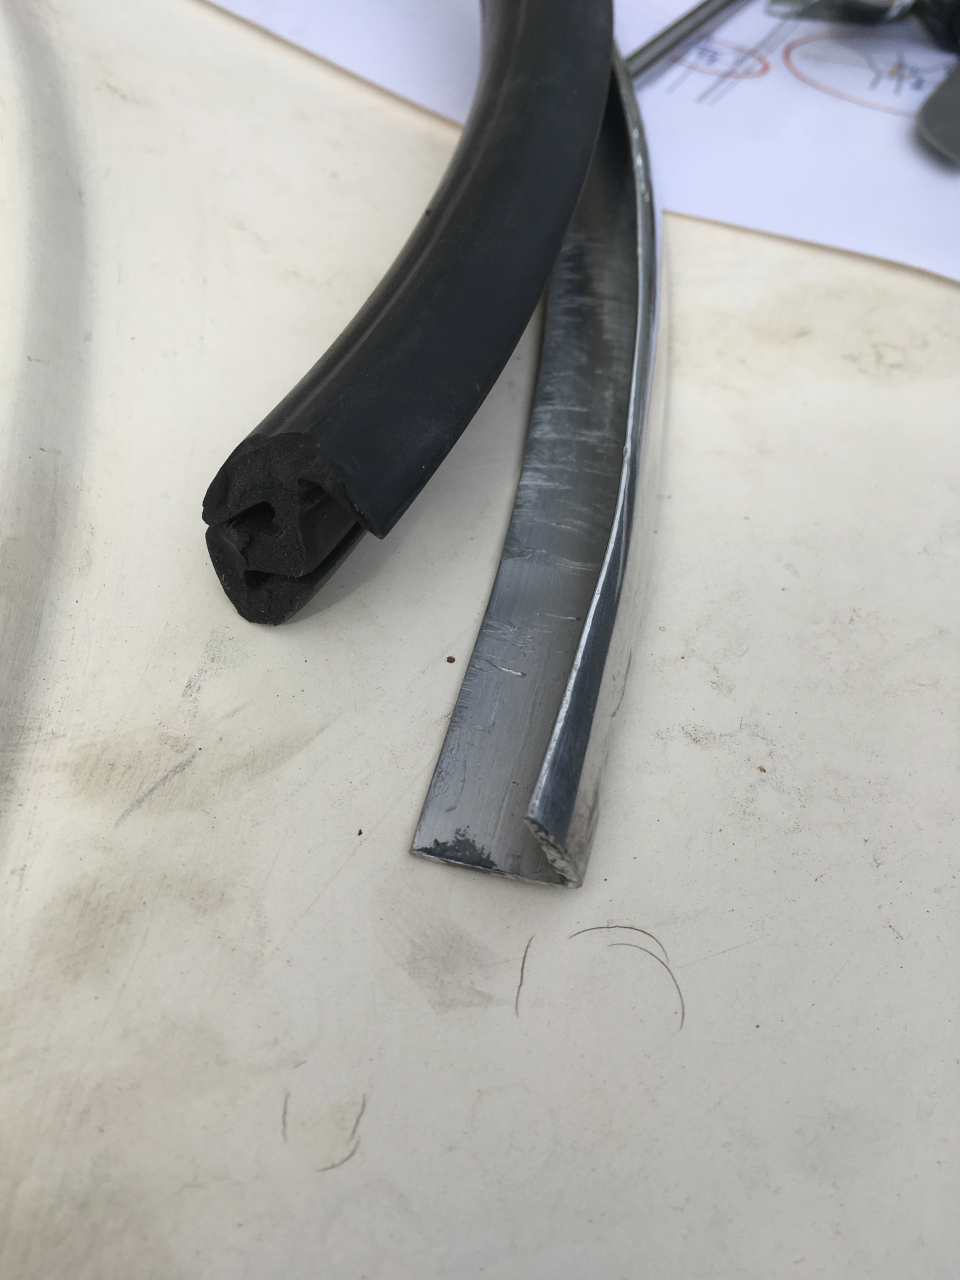
This is an original speedster seal, it is normally used with the aluminium trim to locate it
17 April 2019
·
5 years ago
From album Windscreen
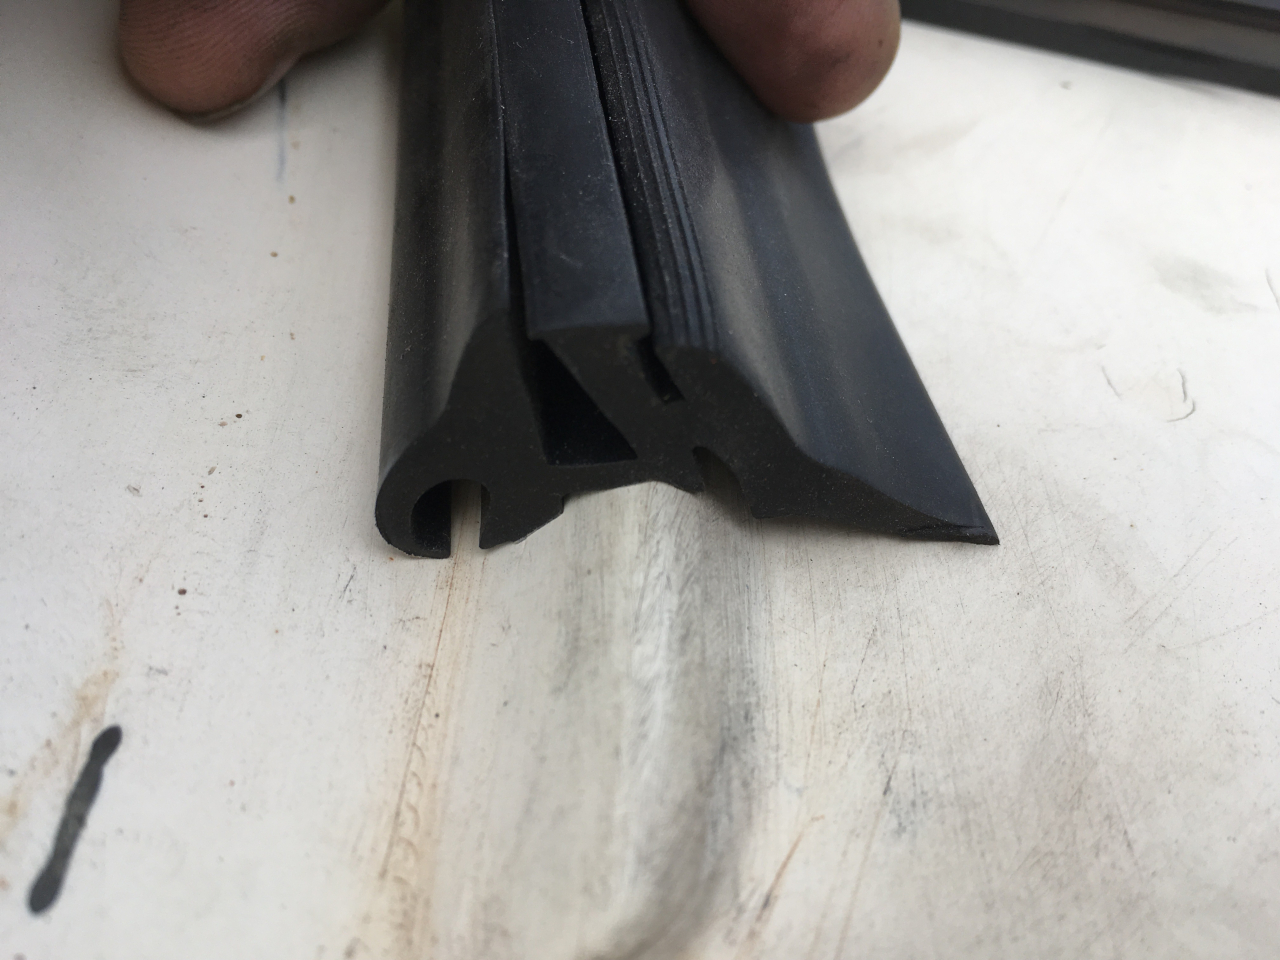
This seal is commonly used on replicas and is normally used with the aluminum trim
17 April 2019
·
5 years ago
From album Windscreen
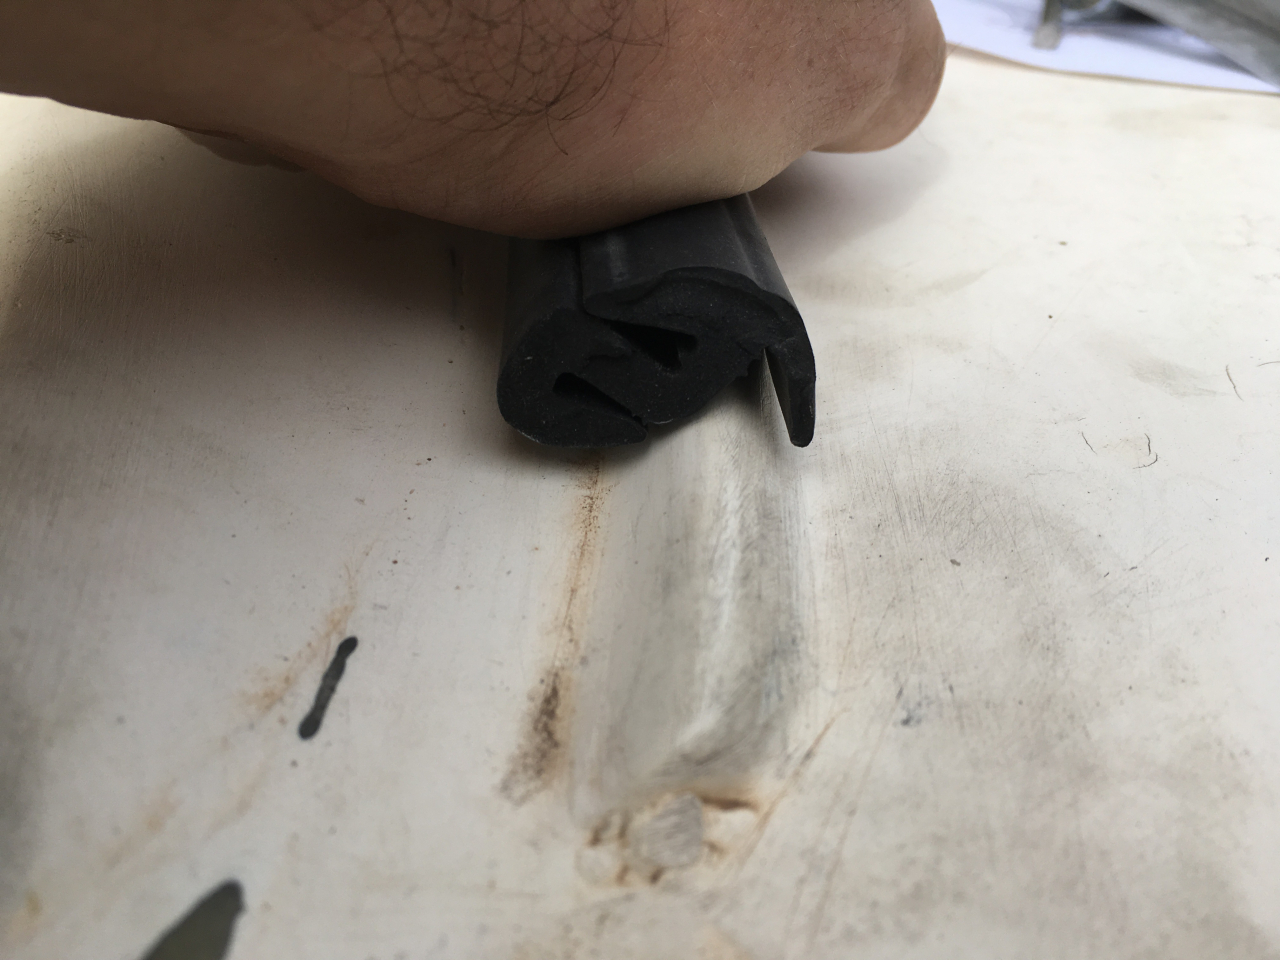
Remove the lower part to allow the seal to sit over the ridge on the cowl
17 April 2019
·
5 years ago
From album Windscreen
With the lower part removed the trim sits perfectly over the ridge
17 April 2019
·
5 years ago
From album Windscreen
The aluminium trim is not needed if your car has a ridge on the cowl.
17 April 2019
·
5 years ago
From album Windscreen
To get the original speedster seal to work on this style of body (with a ridge on the cowl - same as a Chesil or Speedsterclinic) you need to remove the lower part of the seal so that it sits over the ridge. Normally this kind of seal uses the...
To get the original speedster seal to work on this style of body (with a ridge on the cowl - same as a Chesil or Speedsterclinic) you need to remove the lower part of the seal so that it sits over the ridge. Normally this kind of seal uses the aluminium trim piece to locate onto
More
From album Windscreen
Looks to be custom made which was probably the only option back in the 80's when the kit was made.
17 April 2019
·
5 years ago
From album Windscreen
I have two different profile lower seals and an aluminium trim piece, none seemed to really fit correctly
17 April 2019
·
5 years ago
From album Windscreen
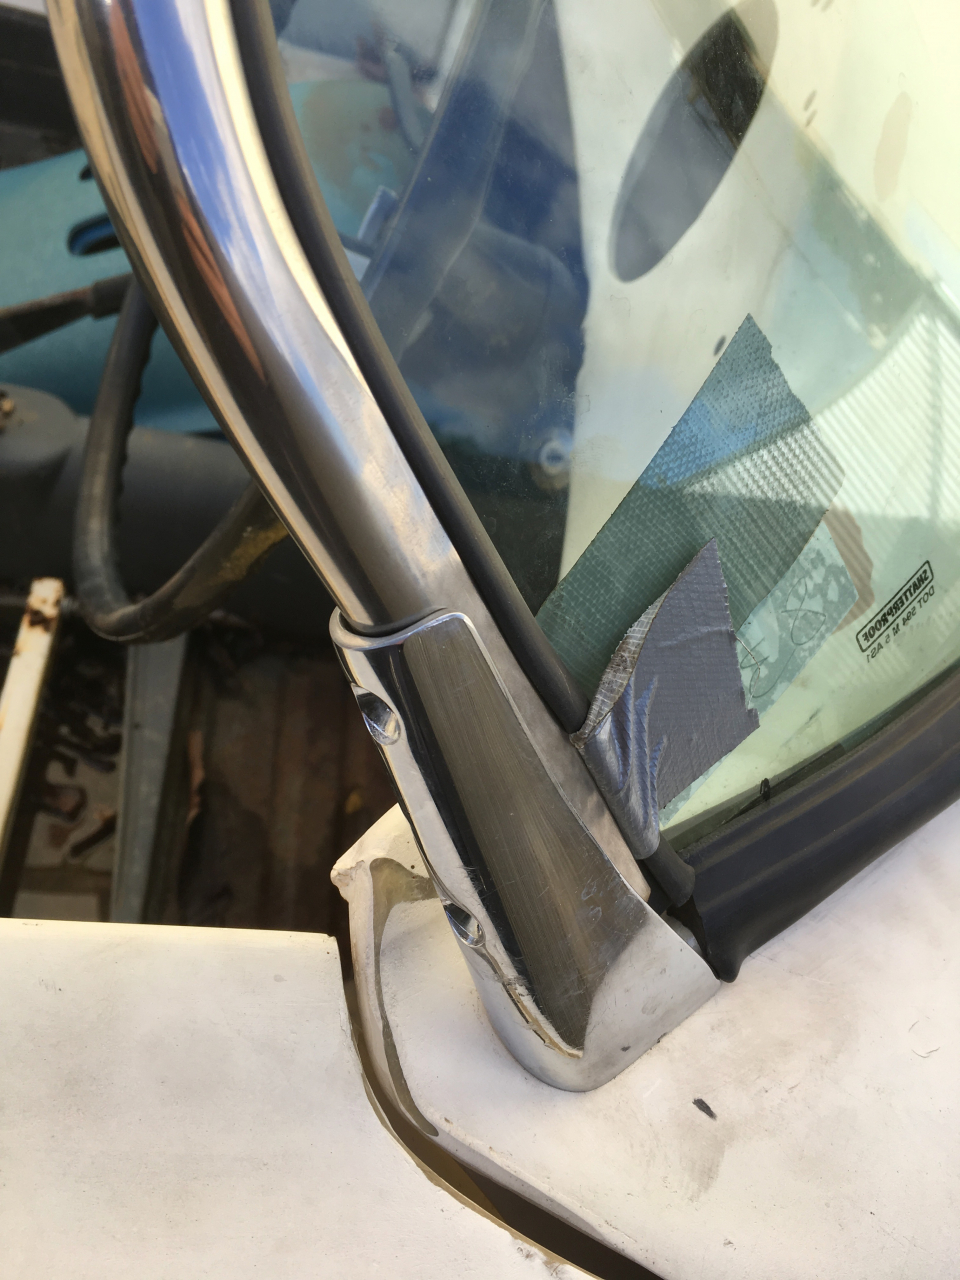
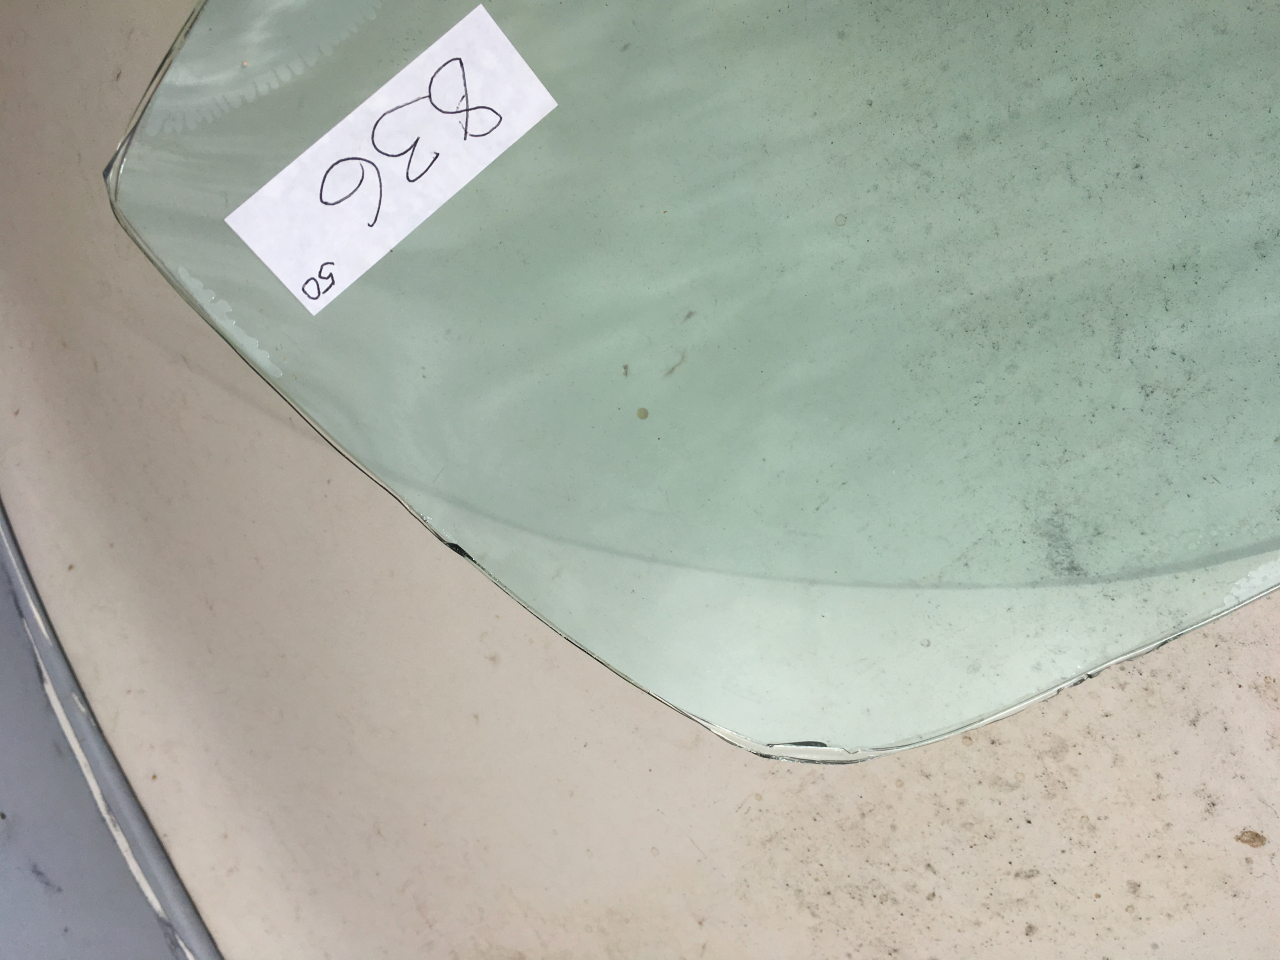
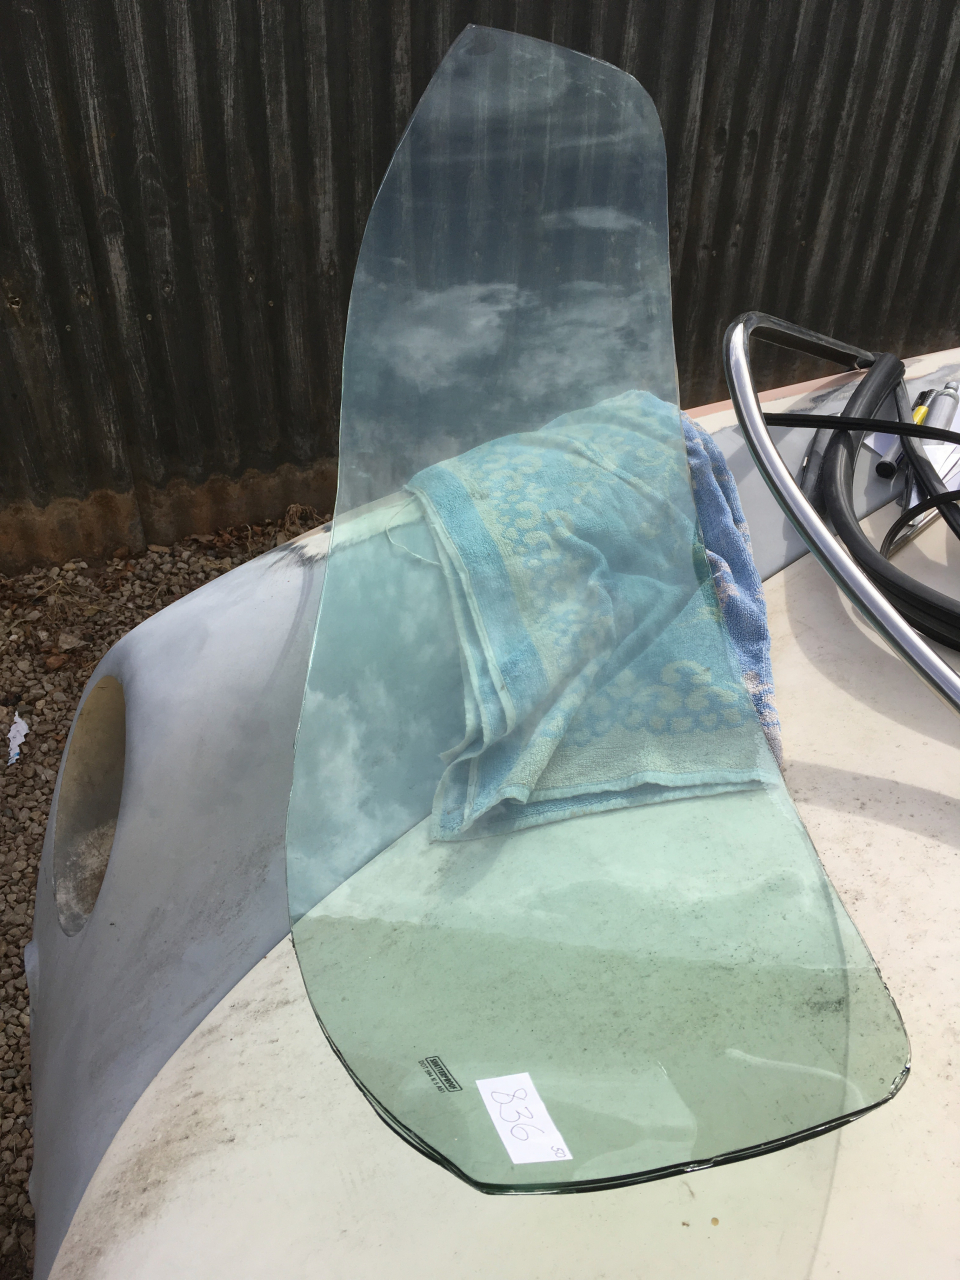
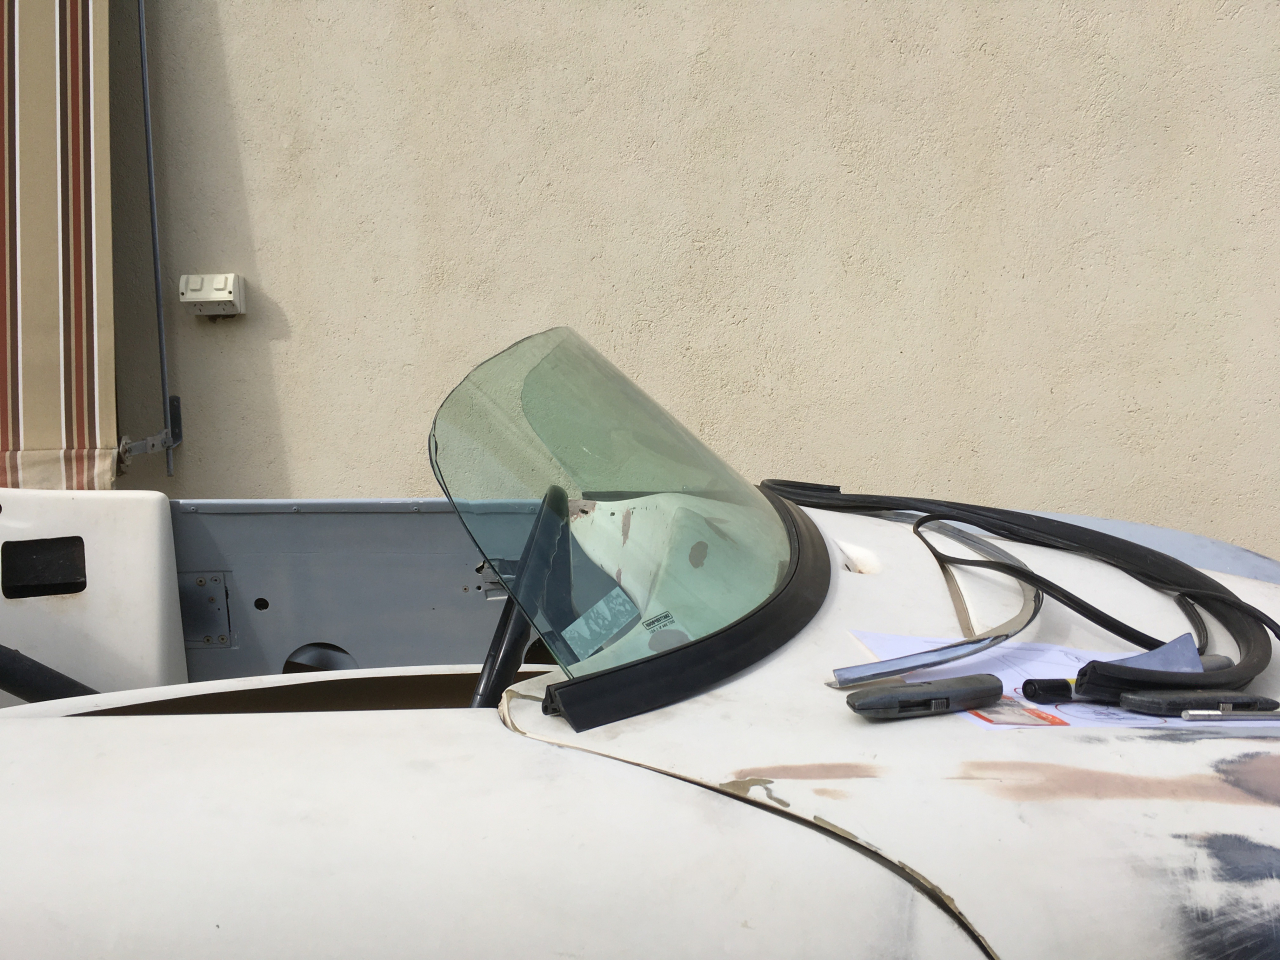
The screen came with the car. It looks like it's been custom made. Whilst it doesn't look like a top quality job, it does bare the correct dot marking which is a necessity with getting the car engineered.
17 April 2019
·
5 years ago
From album Windscreen
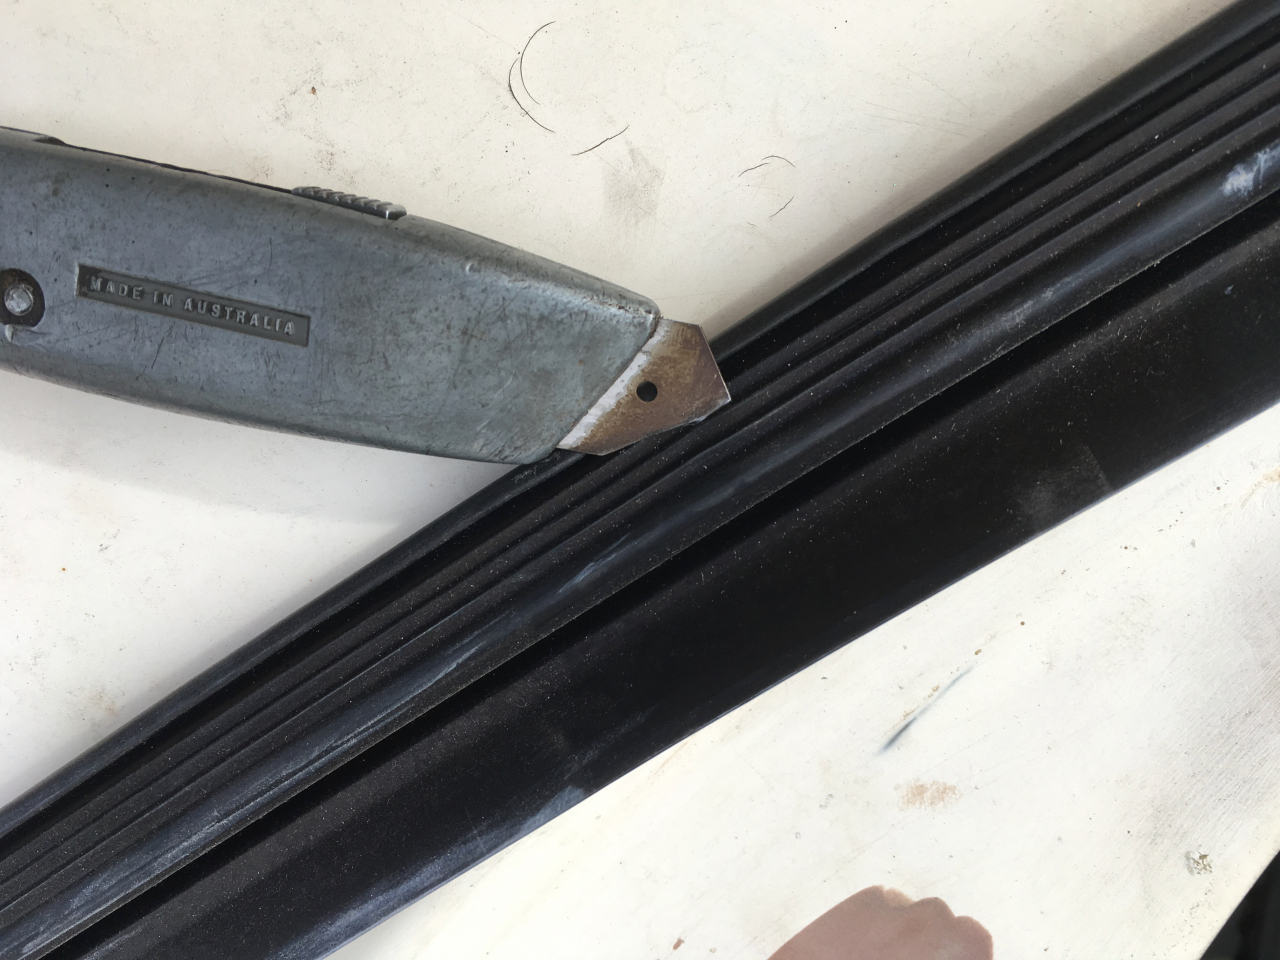
The screen surround was a lot longer than it needed to be, which meant that I had to cut it down. Measuring the correct length is not very easy. I erred on the side of caution and cut it too long the first time.
17 April 2019
·
5 years ago
From album Windscreen
From album Windscreen
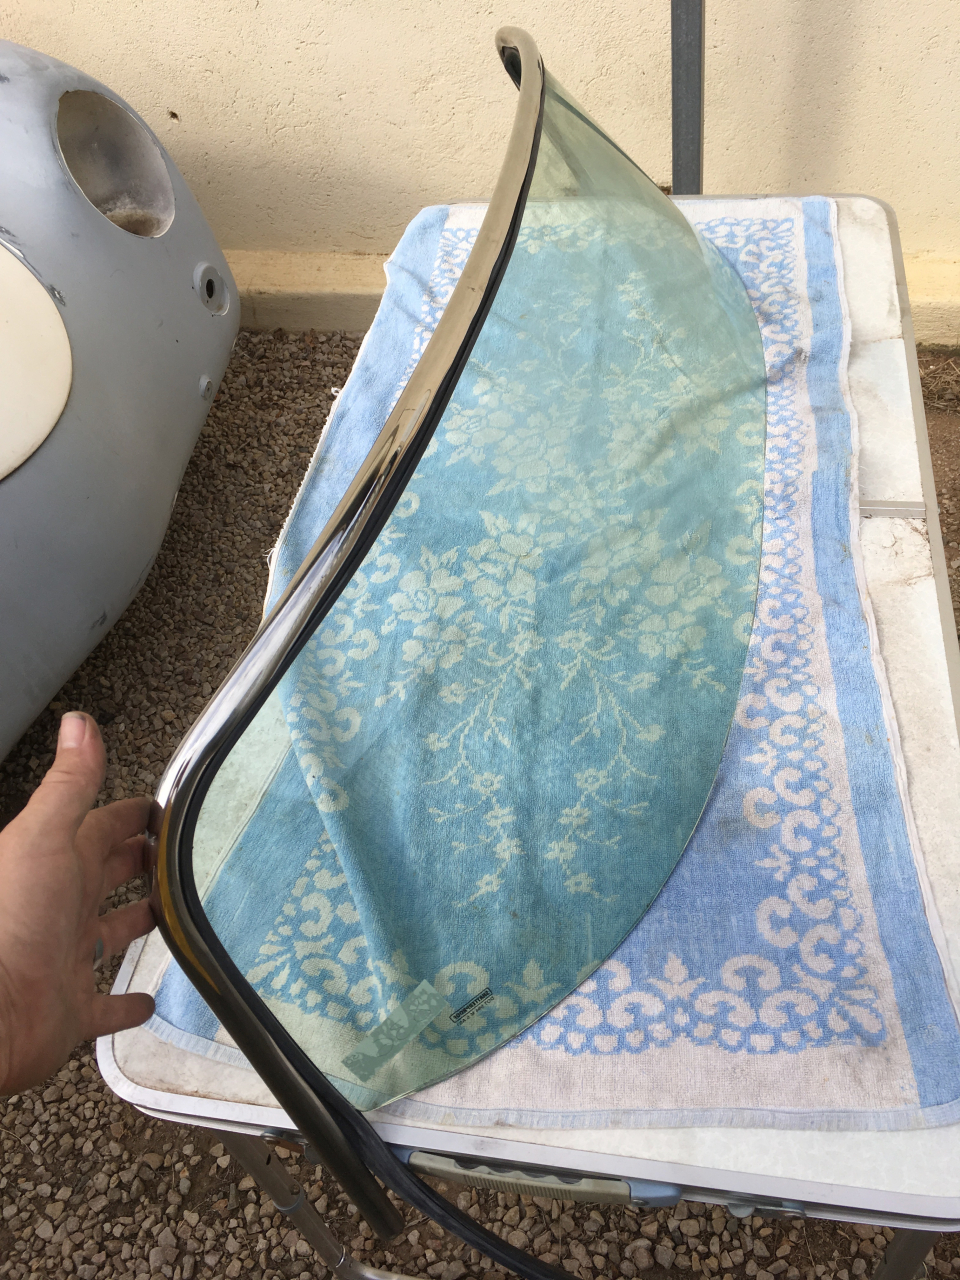
I test fitted the surround to make sure that it lined up with the supports correctly. I found it to be a little twisted. It is important to get the right else the glass may be put under stress, which could lead to the screen cracking
17 April 2019
·
5 years ago
From album Windscreen
From album Windscreen
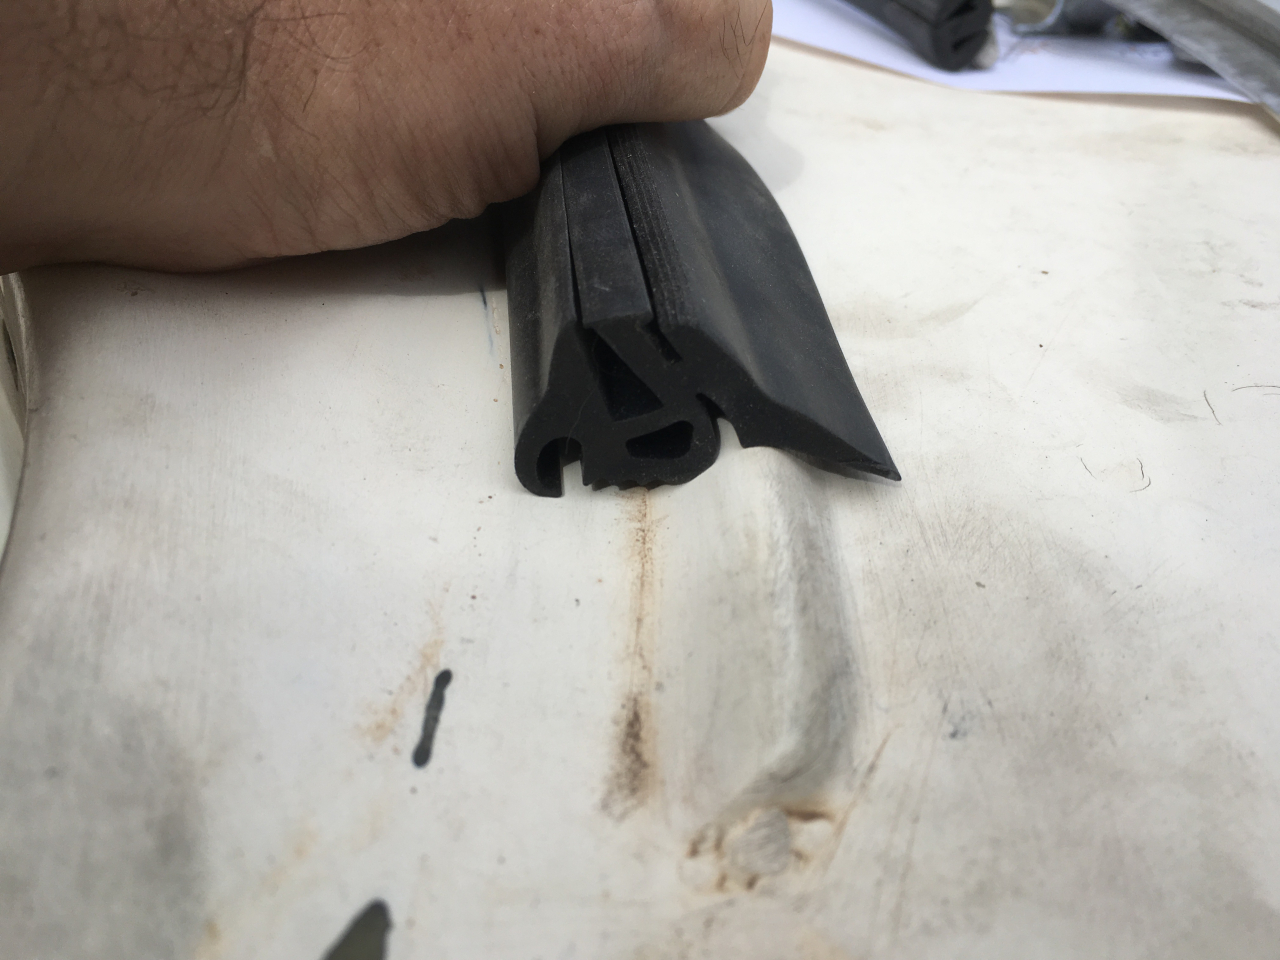
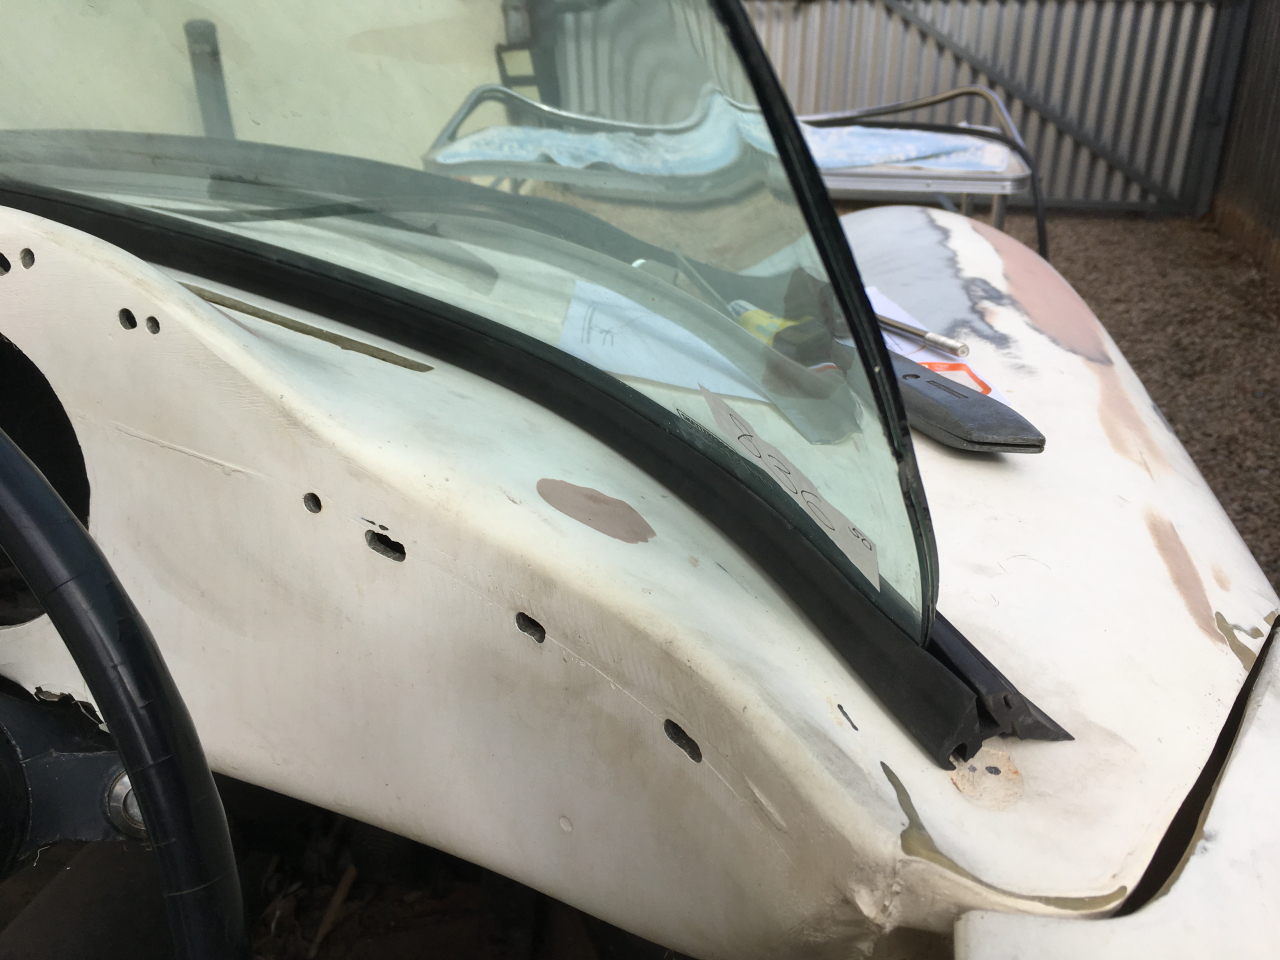
Checking the fit of the lower rubber to the cowl. The rubber needed to be modified to fit
17 April 2019
·
5 years ago
From album Windscreen
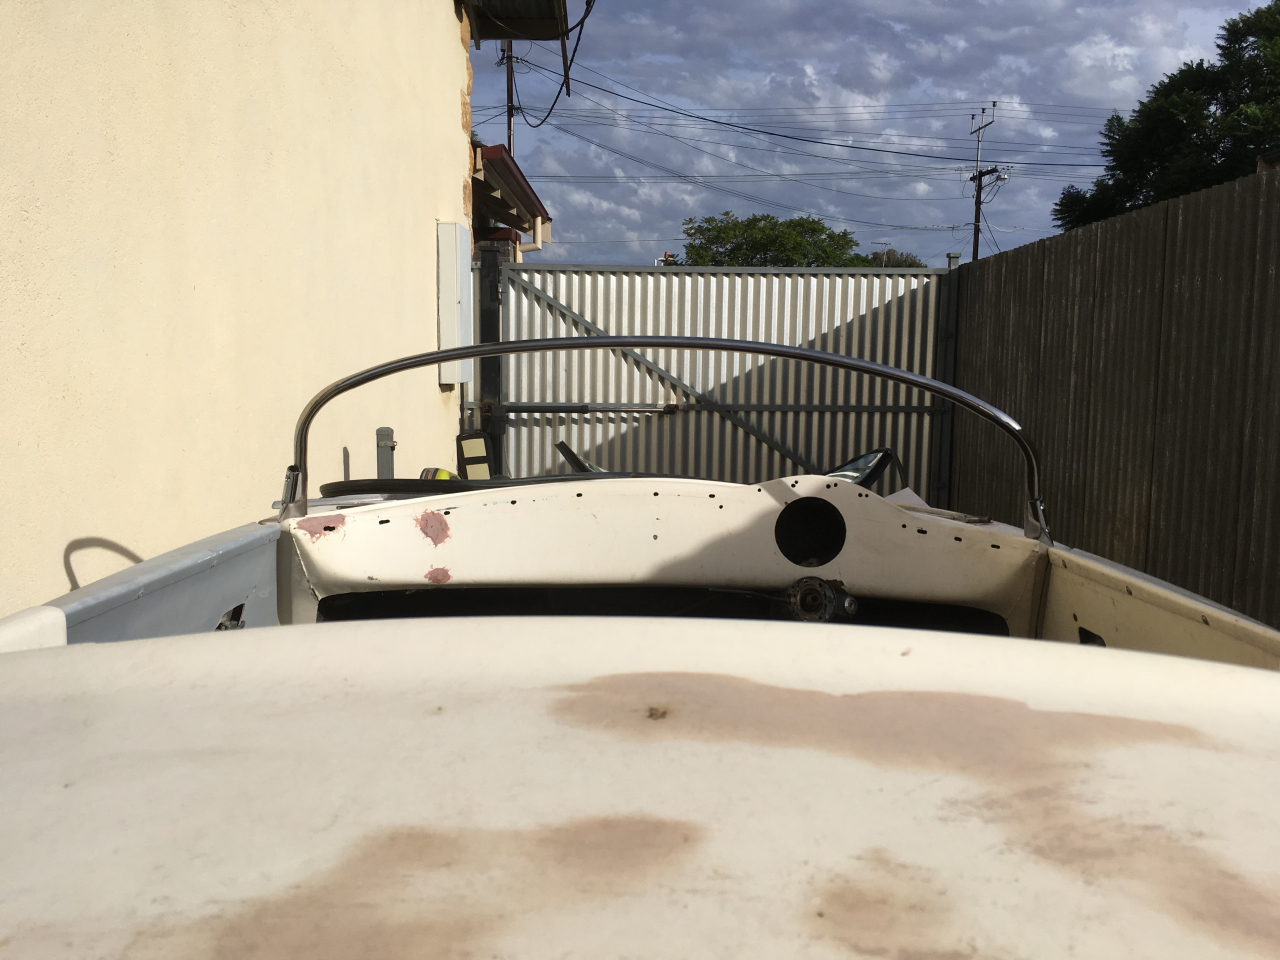
The screen supports required mounting into the body. This involved drilling two 15mm holes, hopefully in the right location.
17 April 2019
·
5 years ago
No photos available
Drop a file here to upload.